The Ultimate Guide to Growing Fresh Hops
The idea of growing and using your own hops is enticing. You want to save money, get into “wet hopping” and simply enjoy using products that you’ve grown yourself in your brews.
Hop plants (humulus lupulus) are typically grown in temperate climates such as the Pacific Northwest, or Australia, New Zealand or South Africa abroad.
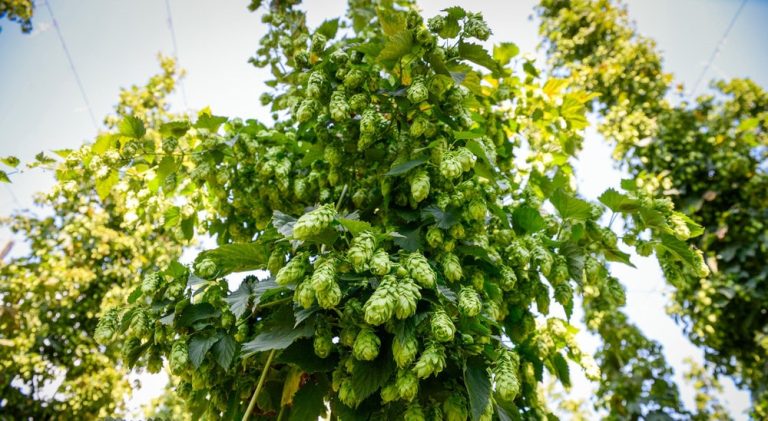
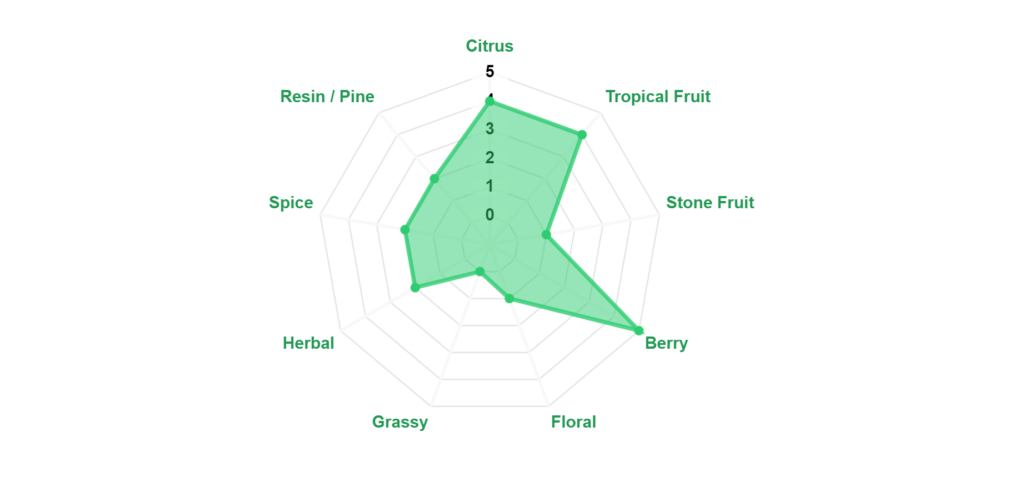
The hops used in brewing beer are the flowers (also called seed cones or strobiles) of the hop plant, and are used to add bittering, flavoring, and stability. Some of the most typical aromas added by hops include floral, fruity, citrus, herbal, pine, grass and spice. Each hop can have its intensity of these flavors shown on a radar chart, which we’ve on over 90% of the hops in our database.
Growing Fresh Hops
Even though hops grow best in the Pacific Northwest of the US, they can be grown anywhere with the right care. Building your own hopyard can be quite the rewarding experience.
First, you will want to buy your hops in March or April. This is when hop rhizomes commonly become available, but if you happen to find them before, just store them in the refrigerator until it is time to plant.
Plant your hop rhiozomes facing south in an area that receives plenty of daytime sunlight. The area should also be slightly elevated and drain well. The baby hop plants should be positioned about 3 feet apart, at a depth of about 6-12 inches. Keep different hop varieties separated by at least 6 feet to prevent cross-contamination.
Start by watering your new hop plants frequently, but only lightly. Too much water can rot the roots of your budding plant, which will kill it or give it a disease.
It takes between 2 and 4 weeks for the plants to start growing. Once they break ground, they can grow very quickly, sometimes up to a foot a day.
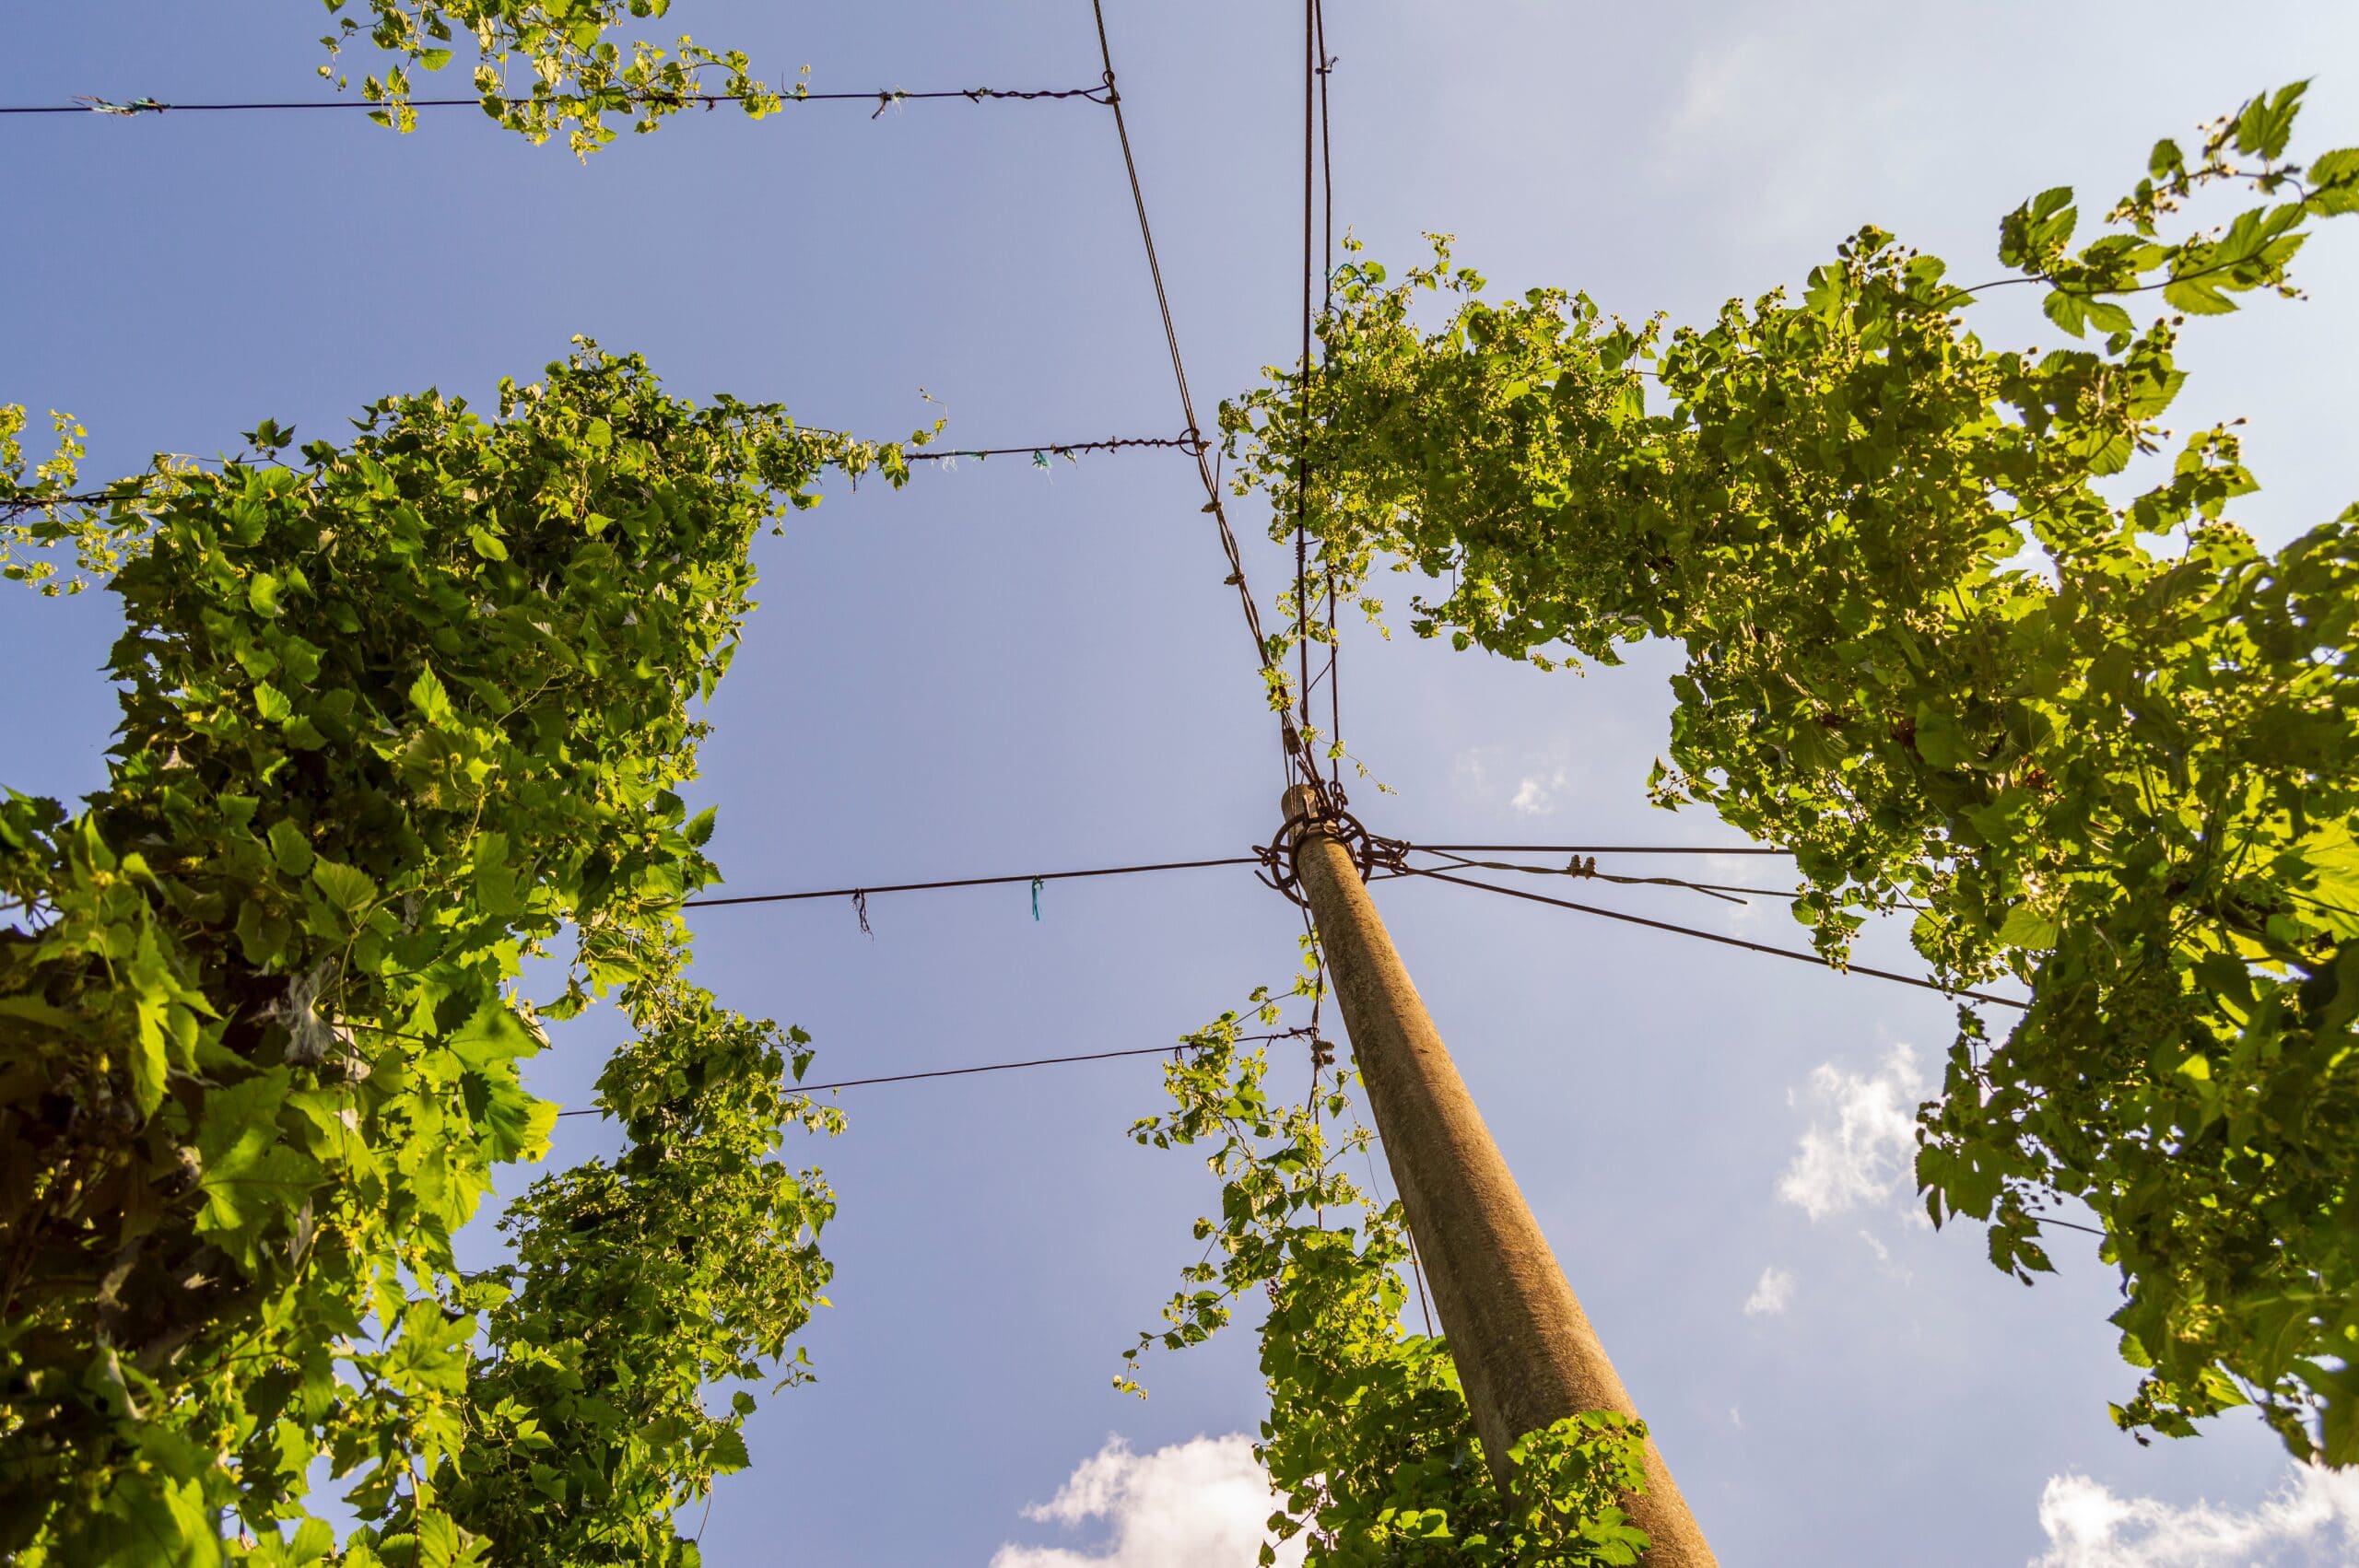
Once the hops start growing, you will need to provide them something to grow on. Trellises are the common structure that hop bines (not vines) grow on, and can sometimes be as high as 20 feet. Using twine works well in this instance because you to cut it from the top during harvest time allowing the full plant to collapse to the ground.
You will want to prune back the excess shoots and keep only the healthiest bines to do all the growing. When cutting back the extra shoots, cut them below ground level. As an added benefit, you can actually eat the hop shoots, similar to asparagus.
Hop Diseases
In the early 1900’s, hops were native to the Midwestern part of the US, with Wisconsin being one of the largest hop producing areas in the world. After prohibition, due to the spread of downy mildew disease, most of the hop production moved to the Pacific Northwest instead.
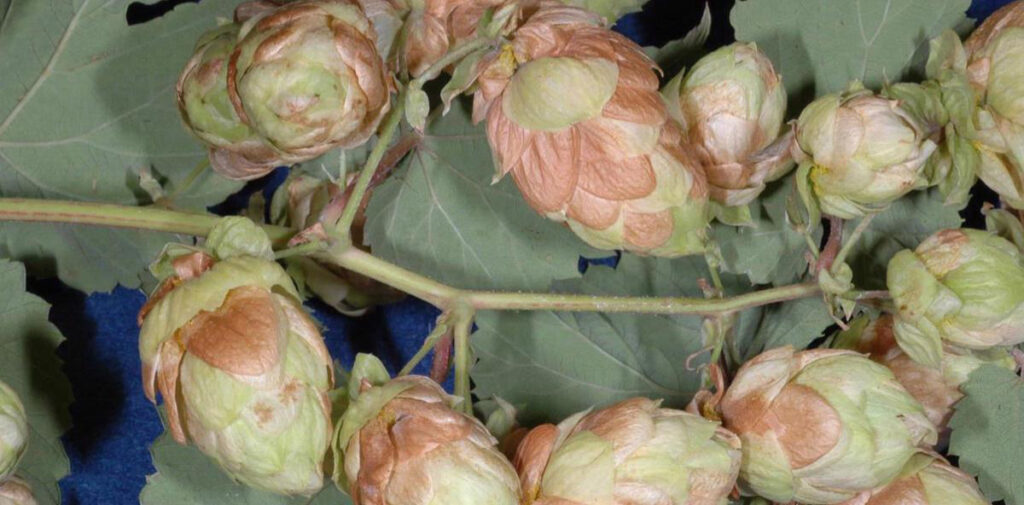
With the availability of fungicides, the Midwest is seeing a resurgence of hopyards. Keep a close eye on your plants and watch for browned flowers, wilted leaves or powdery substances on your leaves and cones. These are all indicative of various hop diseases, which can be prevented with fungicides and keeping your plants mostly dry.
Harvesting Fresh Hops
In the Northern Hemisphere, aroma hops are typically harvested in late August and early September and high alpha-acid hops used for mostly bittering are typically harvested in mid to late September. Southern Hemisphere hops are commonly picked in March.
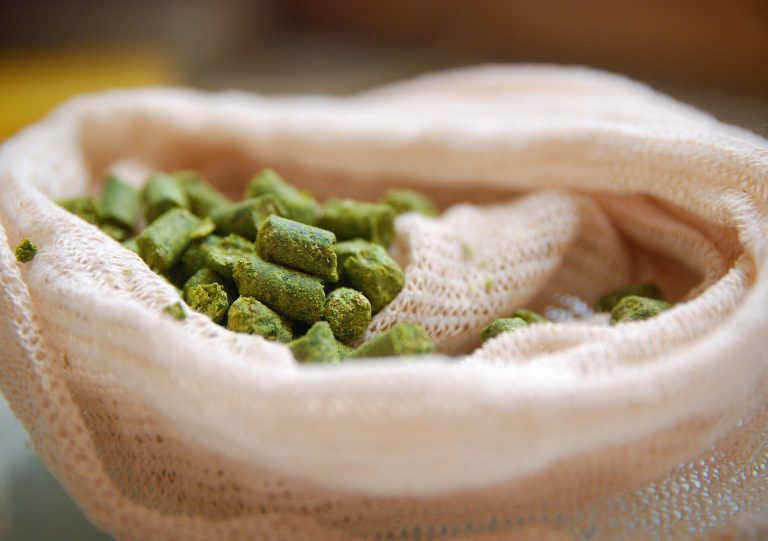
Commercially, hops are preserved by drying them immediately inside a kiln after being picked, then processing them into pellets. Alternatively, when hop cones are picked and used “fresh”, it is called wet hopping.
Each hop plant typically produces about a pound of usable hops on average. Some home growers that have the ability to harvest twice, can potentially double that output. The key with harvesting twice is not cutting the plant down to remove the cones.
If your hop plants are growing on a trellis, you can pick the cones in place. If you used twine, cut the top of the string and pick the cones from the plant as it lies on the ground.
Harvesting hops by hand is a time-consuming process. Estimates show that harvesting an acre of hops will take approximately 750 hours of labor.
At the end of the growing season, we recommend that you cut the hop bines at ground level immediately after the first frost. This will allow your plants to become dormant until next spring.
Storage of Fresh Hops
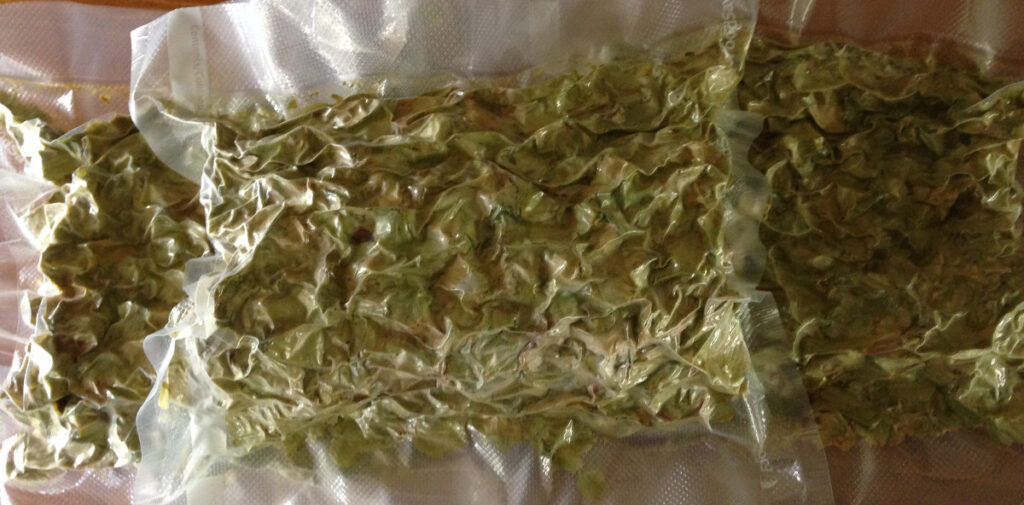
Oxidation is the main enemy of a hop’s quality during storage. Second, fresh hops will grow mildew and mold within a few days if not used quickly.
If you pick your fresh hops before brew day, store them in a sealed plastic container or ziploc bag in the refrigerator. Any hops that were picked fresh should be used within 48 hours of picking, and even then you are pushing the boundaries of what will work. Ideally you should use them immediately after picking.
Drying your hops are a common way to prolong the use of your fresh hops, although they really aren’t “fresh” anymore. Using a food dehydrator is an easy way to dry hops, but many home growers build makeshift racks to handle their harvest. First, stack either window screens or furnace air filters with a single layer of hops between. Then with a box fan, blow air over the whole setup until the hops are brittle and papery. The stems on the hops should snap when bent. A warm garage is an ideal location to dry hops because while it’s out of the sun, it is still hot enough to encourage rapid dehydration. After drying the hops, it is recommended that you vacuum seal, then store them in the freezer.
Freezing fresh hops is also an option, although not ideal. Since enzymatic reactions that cause browning can still occur in the freezer, commercial vegetable packagers will quickly blanch or steam the vegetables to halt the activity. Blanching is something that you can do at home, but will take quite a bit more work. With the added complexity, you run the risk of altering your fresh hop’s flavors. Get a vacuum sealer to remove as much oxygen from the hops as possible and throw them in the freezer. Frozen hops have been known to keep their flavor for months.
Drawbacks of Homegrown Hops
The fact that homegrown hops are limited by their storage stability is the largest drawback for sure. But, there are other issues with using your own hops as well.
1. Toxic for Dogs
The only documented toxicity I’ve been able to find is that certain breeds of dogs can have a reaction to hop ingestion called malignant hyperthermia. This is an uncontrollable rise in body temperature – often exceeding 105°F – that can be fatal to any animal that gets it. The exact component of the hop plant that is toxic is not known, but toxicity can occur from both raw and spent hops.
2. Unknown Brewing Values
The brewing values of hops, including alpha acids, beta acids and essential oils often differ from year to year. While commercial hop growers have perfected their growing process to stabilize these values as much as possible, homegrowers simply do not have the same technology at their disposal. This means that without knowing the exact AA% of your hops, it becomes very difficult to dial into the preferred bitterness of beers.
You can of course do small iterative batches using your hops to test out their bitterness. You can start with the middle range of the AA% of your variety according to our hop database, then adjust from there. The benefit here is that you won’t need to pay for any pricey lab, and you’ll likely end up with drinkable beer at the end of each batch.
If you’re a dedicated homegrower, you can pay for an analysis to be done on your hops. While this used to be fairly expensive, prices seem to have become a bit more reasonable now. What what I can tell, you’ll need to send in an ounce or two of your hops along with $30-50. The AA% you get should be as accurate as the label on your commercial hop packages. Two of the most commonly used labs are AAR and Phoslab.
3. Different Flavors and Aromas
Flavors and aromas of homegrown hops can often differ from their commercially-produced versions as well. Many homegrown hops have been known to have less intense flavors than their commercial counterparts. Depending on the flavor your hops have, you may need to adjust your growing conditions or varieties to suite your desired outcome.
It should also be noted that the drying process does alter the flavor profile of the hop. Many brewers appreciate the change, but it is distinctly different from the wet hop character.
The labs mentioned above in the Brewing Values section also have an option to test for flavors, but since these are more subjective, we suggest you run the analysis yourself instead.
4. Infections when Dry Hopping
I personally would never use wet hops for dry hopping out of concern there may be tiny insects stuck in the hop cones. Adding them only to the boil is the safest option. The introduction of unwanted bacteria through dry hopping is less of a concern since hops are by nature antibacterial.
5. More is Needed
One ounce of dried hops is equal to about 4-6 ounces of wet hops. This means that if you plan on doing an IPA that calls for 8 ounces of dried hops, you will need to have 2-3 pounds of wet hops on hand. This is even more staggering considering that one hop plant typically produces only between 1-2 pounds of hops.
6. Limited Varieties
Many of the popular hops we know and love are trademarked, and not available to be grown at home. Citra, Amarillo, Simcoe, Mosaic, Galaxy are all hops that are trademarked varieties. These hops can only be grown by the likes of the American Dwarf Hop Association, Hopsteiner and the Hop Breeding Company. Rhiozomes of these varieties are not for sale to the public.
The most common homegrown hops include Cascade, Nugget, Chinook, CTZ, Centennial and Galena.
