Stone Xoceveza Imperial Mocha Stout Clone
The first time I had Stone’s Xoceveza, I was blown away. I was in San Diego last year on a business trip and decided to try something different. The smooth, complex flavors were perfectly melded into a stout that was unlike anything else I’ve ever had before.
That moment was a big deal for me. Up until then, I had grown up on IPAs and they were the only style of beer I drank, brewed and thought about. Stone Xoceveza changed that in an instant.
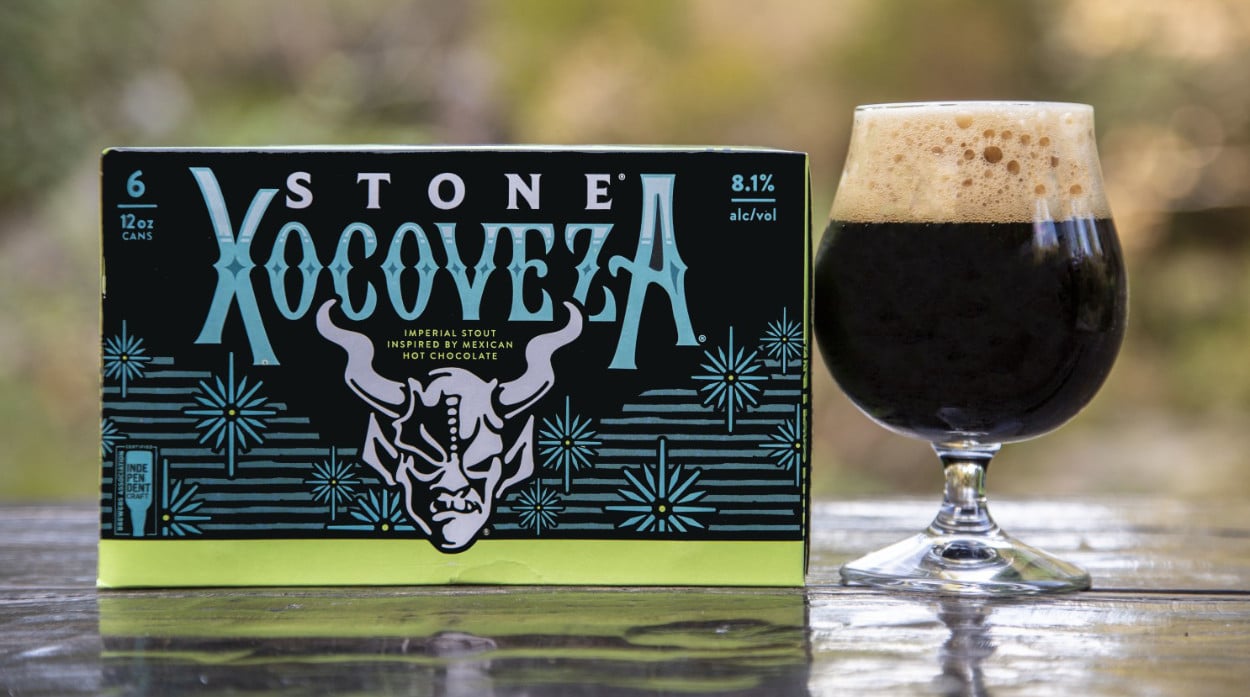
Xoceveza is an Imperial Stout that comes in at 8.1% ABV. Stone’s website says it registers 50 IBUs, but they are very well hidden with the other flavors incorporated into this beer.
The recipe came to Stone by way of homebrewer Chris Banker in 2014. The inspiration came from Mexican hot chocolate combined with coffee. This beer wonderfully showcases the spices, cocoa and subtle coffee roast flavors that have come to define it.
The Setup
I quickly decided that I wanted to stretch my home brewing skills to see if I could come up with something in the same stratosphere as to what Stone brewed. Luckily, Stone is famous for providing a lot of details about what goes into their beer, this particular one no different.
- FEATURED HOPS: English Challenger & East Kent Golding
- SPECIAL INGREDIENTS: Cocoa, coffee, pasilla peppers, vanilla, cinnamon, nutmeg & lactose
- IBUs: 50
- PALATE: Full bodied and very smooth with a light bitterness. The sweetness adds a lot to this beer without being syrupy.
- FLAVOR PROFILE: Cocoa and cinnamon are at the forefront. The coffee, nutmeg and vanilla follow, and the fruitiness and heat of the pasilla peppers come through nicely on the finish.
- COLOR: Pours black
I was also able to find a HomeBrewTalk thread that was littered with comments, attempts and ideas from that forum’s members. This thread and Stone’s website were a perfect jumping off point to create a clone recipe for this wonderful beer.
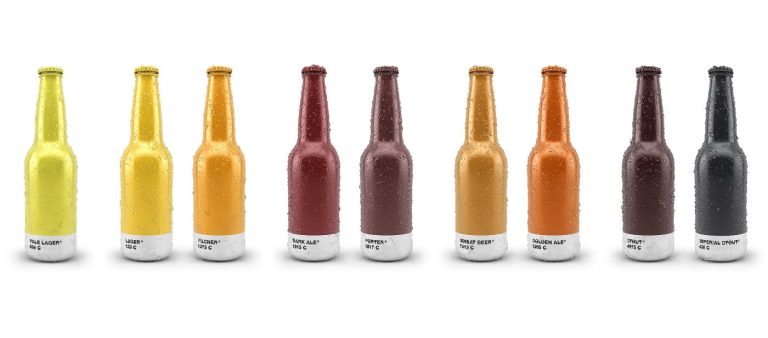
I should note that the color of “black” according to our handy SRM chart shows that the SRM needs to be above 40 to appropriately get the color that Stone has. While this isn’t too useful in picking the exact grain bill, it is helpful in knowing if you are on track or not.
The Recipe
As for the grain bill, I started with this and adjusted it for what I had available, my personal preferences and what I was able to find locally.
- Method: BIAB / All Grain
- Boil Time: 75 minutes
- Batch Size: 5.5 Gallons
- Efficiency: 65%
| Original Gravity | Final Gravity | ABV | IBU | SRM (Color) |
|---|---|---|---|---|
| 1.080 | 1.018 | 8.1% | 60 | 42 |
Grain Bill
| Amount | Fermentable | Bill % |
|---|---|---|
| 11 lbs | Pale Ale Malt 2-Row | 59.3% |
| 2 lbs | Flaked Oats | 10.8% |
| 2 lbs | Munich Light 10L | 10.8% |
| 1 lbs | Carmel / Crystal 60L | 5.4% |
| 10 oz | Lactose (late addition) | 3.4% |
| 8 oz | UK Black Patent | 2.7% |
| 8 oz | German CaraFoam | 2.7% |
| 8 oz | American Chocolate Malt | 2.7% |
| 7 oz | German Carafa II | 2.4% |
| 18.56 lbs | 100% |
Hops
| Amount | Variety | Type | AA% | Use | Time | IBU | Bill % |
|---|---|---|---|---|---|---|---|
| 2.0 oz | Challenger | Pellet | 8.5 | Boil | 75 min | 54.5 | 66.7% |
| 1.0 oz | East Kent Golding | Pellet | 5.0 | Boil | 10 min | 5.5 | 33.3% |
| 3.0 oz | 100% |
Mash & Boil Guidelines
I purposely kept my brewhouse efficiently low because of the oversized grain bill this big stout has. I can normally get my efficiency into the 80%, but for this I was afraid I was going to have some issues getting the best extraction due to about 6 lbs of grain more than I normally use.
My mash target temperature was 152F, for 75 minutes, and I hit that spot on. This was so much grain that I ended up doing my Brew-in-a-Bag inside my Coleman cooler instead of the kettle. 17 pounds of grain and at least 5 gallons of water were going to be way too much for my kettle to handle, and BIAB inside a cooler was pretty easy. Once the mashing was done, I used my auto-siphon to move the wort from the cooler to the boil kettle.
I added the nutmeg, lactose and a couple teaspoons of yeast nutrient to the boil with 10 minutes left.
With dark beers I always have had better luck with longer boil times, so I increased it to 75 minutes.
Yeast
I decided to stick with two dry packs of SafAle S-05 as the yeast. It has a bit higher attenuation than I would have liked for this beer, but I was afraid of the final result being too sweet. I can handle a little extra ABV, but too much sweetness would make it cloying and hard to drink. I may want to change this to a different yeast next time I brew this to get more of an English character out of it.
Adjuncts
I made a vodka tincture with everything below and let it sit in a sealed container about two weeks before adding it to the batch once I racked it to secondary. I only added enough vodka to coat everything – not enough to make everything swim in it – maybe about one and a half cups total.
My first batch I used two ounces of pasilla peppers, but that ended up being about 6 full dried peppers, and a bit too much pepper smell in my opinion. This many peppers kind of took over the smell of the brew, but wasn’t overly strong in taste. These peppers aren’t hot, so I never got the spice from them. In subsequent brews, I decided to drop this to 1 ounce instead.
The flavor profile that Stone created for this beer said that the cinnamon (and cocoa) should be at the forefront of this beer. I’ve had stouts that had too much cinnamon before, and they were undrinkable (I’m talking about you Couch Sofa Quemando). I purposely dialed back the cinnamon a bit from what some homebrewers suggested, and I think it was the right choice.
The cacao nibs gave it a chocolaty taste, but I could have used more…. especially if this is truly a “mocha” stout. I wouldn’t hesitate to add 50% more cocoa nibs to the recipe. It could definitely handle it. Unfortunately they are a bit expensive, so sticking with 4 oz will still produce a wonderfully chocolate beer.
In the first batch, I used 2 ounces of rough-crushed fresh roasted coffee beans. I didn’t quite get enough coffee flavor out of this amount, so I think upping that to 3 ounces should help in that regard. You could probably even go as high as 4 ounces if you are a coffee fanatic – and it wouldn’t be overpowering at all. To crush them, I used a meat tenderizer tool. I didn’t want to use finely ground beans because they would have made it much harder to siphon around, and they are known to add more oils to the brew that way. Crushed was better all around for this use case.
The rest of the items: vanilla beans, and nutmeg were all very subtle. Stone actually says the nutmeg should be barely noticeable, and really should be complimentary instead. I added the nutmeg to the boil at 10 minutes, but I think it would have worked the same if I had added it with the tincture as well.
| Amount | Item | Use |
|---|---|---|
| 1 tsp | Nutmeg | Boil (10 minutes) |
| 4 oz | Cacao Nibs | Secondary |
| 2 each | Cinnamon Stick (chopped) | Secondary |
| 3 each | Vanilla Beans (chopped) | Secondary |
| 1 oz | Pasilla Peppers (chopped) | Secondary |
| 3 oz | Coffee Beans (crushed) | Secondary |
I pitched the whole tincture right into the secondary fermenter. This all sat together in the secondary for about 2 more weeks (4 weeks overall from the time of brewing).
Brewing Notes
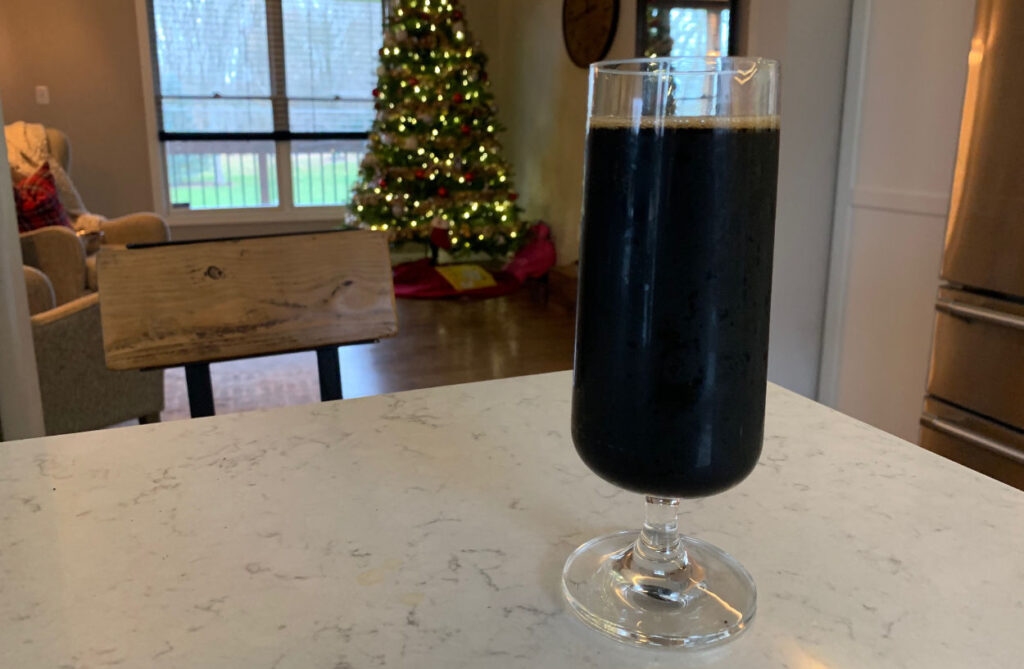
In my first batch, I used 16 ounces of lactose, but the result was a bit sweeter than I would have preferred. I think dropping that down to 10 ounces was a better choice.
Based on the alpha acids of the hops I had picked up, my IBUs ended up a bit higher than Stone’s recommendations. With the amount of sweetness in this beer, the ten extra bitterness units were not noticeable at all. I wouldn’t worry too much about the difference if your hops happen to have slightly higher AA% as well.
Be careful with the amount of peppers. A lot of online forum posts had people using way more peppers than I did. I guess every pepper batch can have a different potency, but 2 ounces (approx. 6 peppers) was a bit too much. I want the peppers to impart a subtle taste and not be overpowering. Less is probably more with this addition.
When it came time for bottling, I made a solution of 1 cup of water and 5 ounces of dextrose. I brought it to a quick boil, then added it to my bottling bucket.
Make sure you use cacoa nibs and not cocoa powder. I made exactly one brew with cocoa powder, and it had a super bitter taste that tasted like the powder itself. If you don’t know what I mean, go take a taste of the powder and see what I mean. It’s awful, and not exactly the taste you’re looking to add into your brew.
Overall, I undershot my efficiency each time I brewed this. This ended up with a little less than 4 gallons to bottle, which is 42 twelve ounce bottles. I am fine with this, as it is more of a brew to break out for special occasions as opposed to one that you want to have multiple of.
I let the bottles condition in my basement for 2 weeks before trying my first one. It was really close to what I remember Stone’s version tasting like a year earlier, so I was happy about that. The changes I noted above (less peppers, less lactose, more coffee) really made a difference in fine-tuning this recipe.
Update 12/23/2020: I just got another can of Stone’s version, and I actually liked mine better. Stone’s definitely had more cinnamon, but not an overpowering amount. Mine was slightly sweeter as well. However, overall it these two were very similar beers.
This is a beer that you want to let mature – the longer, the better. I am very happy with the taste 2 weeks in, but I’m more excited to taste it as the months roll on. I am hoping these flavors should mellow out and meld into something much more complex.
