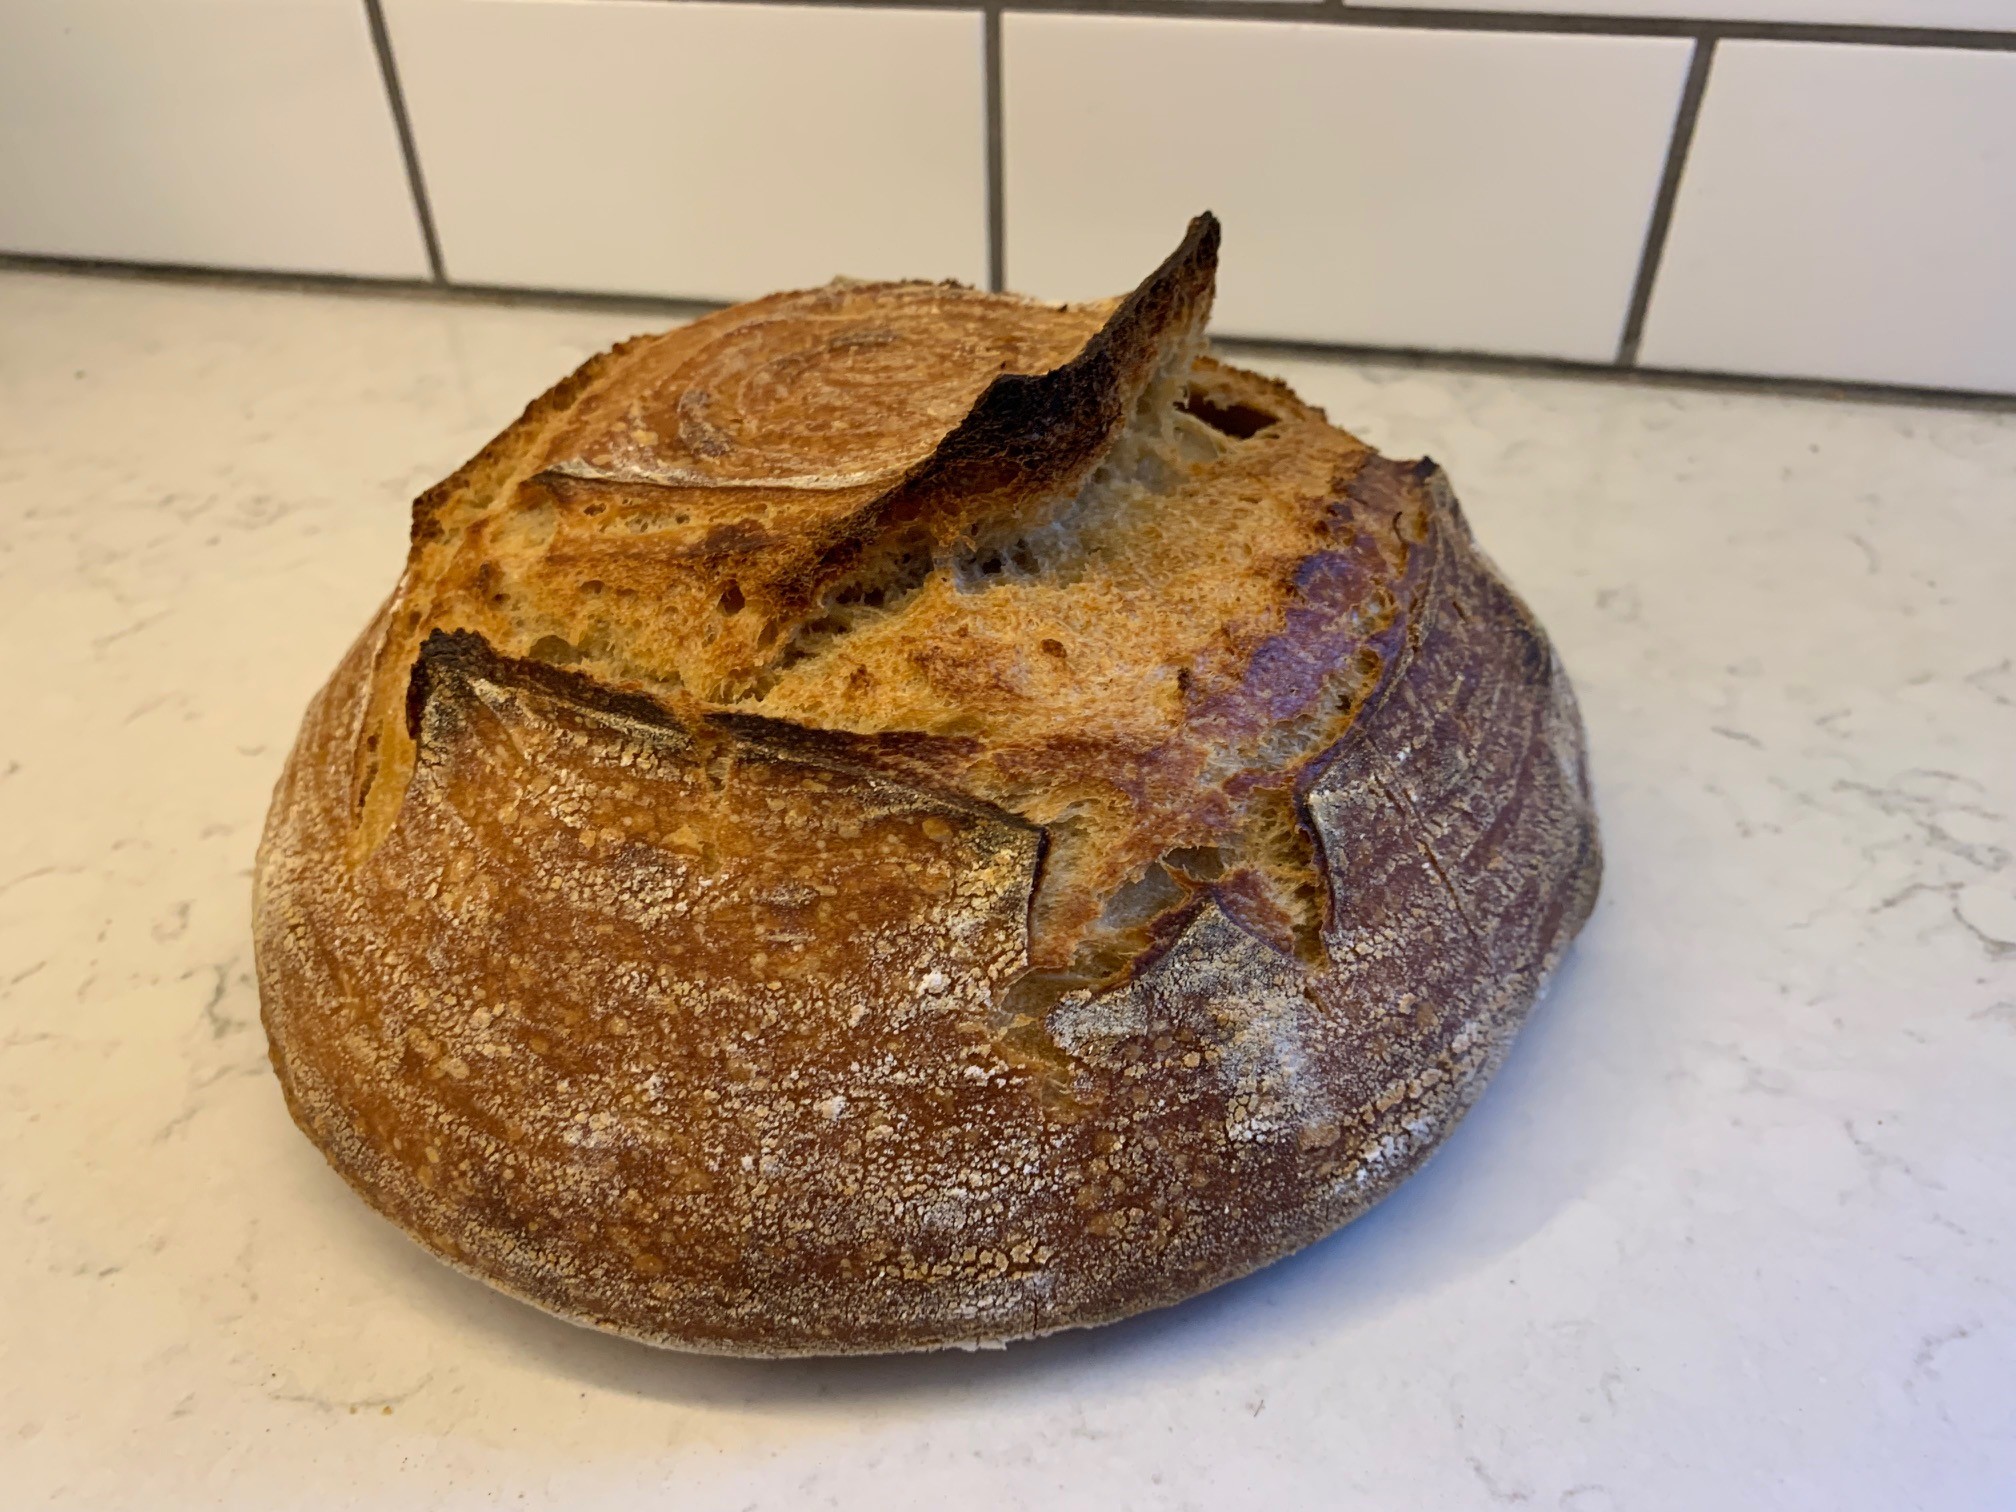
Sourdough Bread Recipe with Spent Beer Grains
When I quit my job a year ago to work for myself full-time, I also picked up a hobby of making sourdough bread.
I have since cobbled together a few different recipes from across the web that have worked for me but also include using spent grains from when I make my own beer.
Storing & Saving the Grains
I do all-grain brewing in a bag, so when I mash out of my brew kettle, I simply leave the spent grains in the bag waiting for the end of the brew day when I clean up. I usually either throw it in the woods for the woodland creatures or put it in my compost bin, but lately I have been saving it for other recipes around the kitchen.
By time I get around to saving the grains, they have been sitting over top a bucket draining for over 2.5 hours. They are still pretty damp, but no longer dripping.
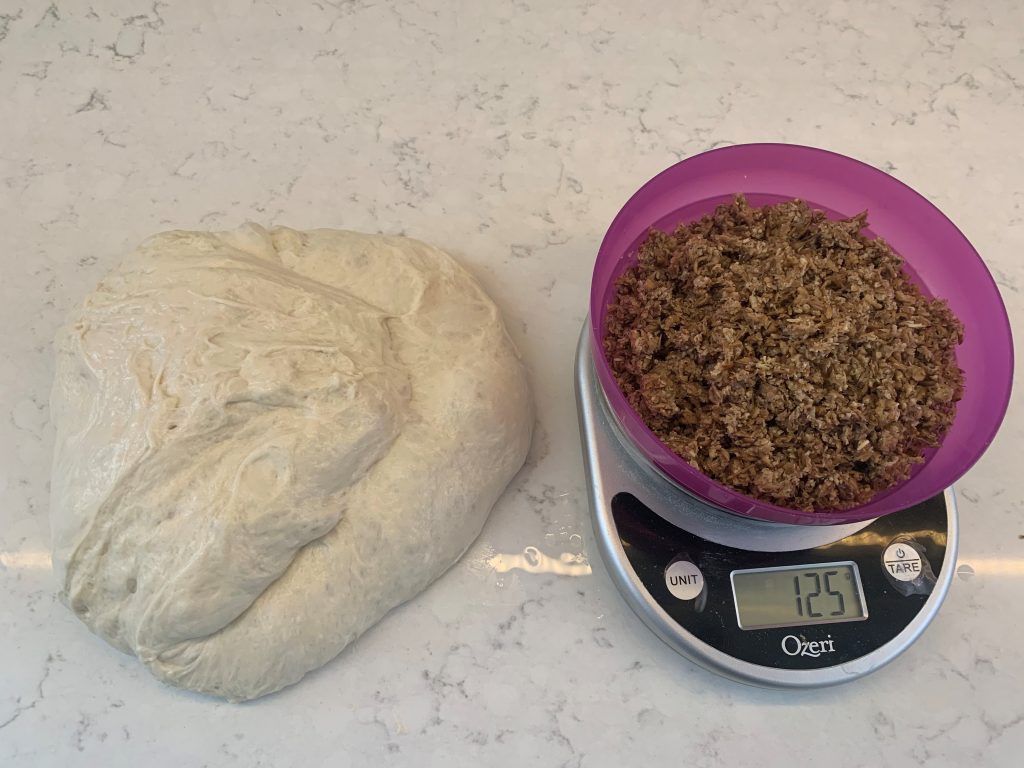
Before I dump the grains in the woods or compost bin, I save a few ziplock bags of 125 grams of grains. I press out the remaining air from the bag, zip them shut, then throw them in my deep freezer.
Note: I only have done this with light-colored beers. I’m sure you could do this with a smaller amount of dark/chocolate grains, but I haven’t yet.
Taste, Texture & Nutritional Differences
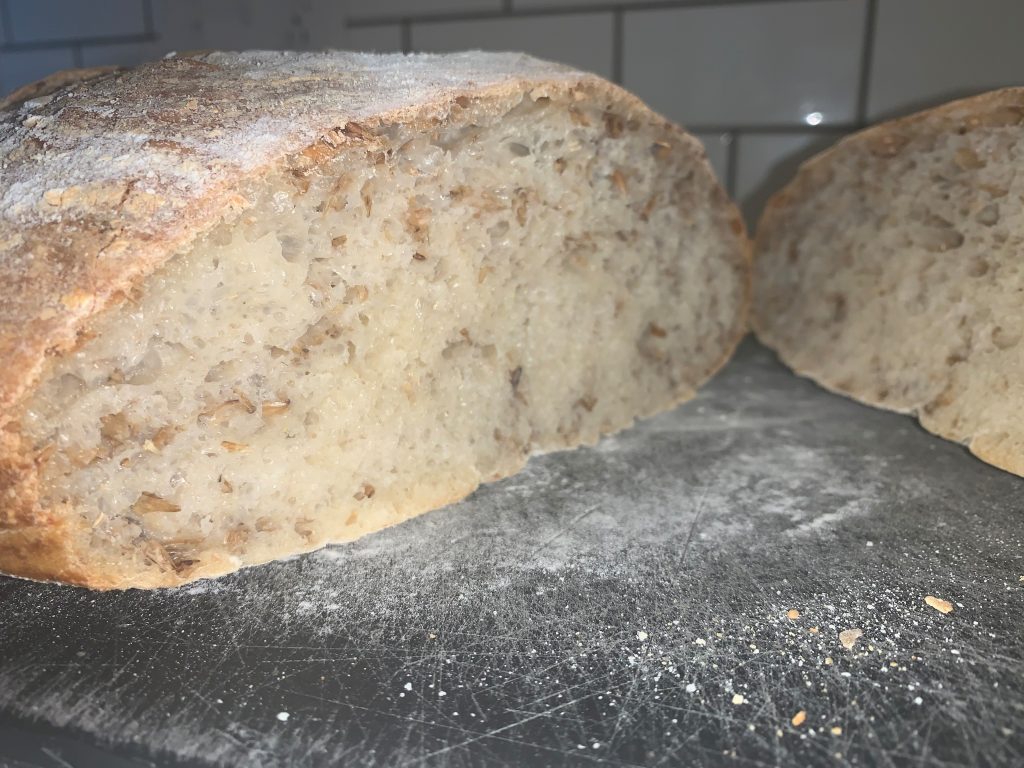
It tastes like a hearty sourdough with a bit of added texture. It certainly looks unusual when compared to my normal white sourdough, but the taste isn’t a whole lot different from what you get from a standard whole grain flour.
I do believe that the bread stays fresher longer with the grains mixed in as they hold extra moisture in the bread, preventing it from going stale as fast as it normally does.
One area that is certainly not open for interpretation is that spent-grains are well known to increase the protein, amino acid, fiber, and minerals of your otherwise bland plain-white bread. This nutritional benefit is more than enough reason to give it a try next time you make some homemade bread.
Recipe Tips
- This recipe assumes you already have a sourdough starter. If you don’t – I suggest following Joshua Weissman’s how-to video.
- This recipe makes 2 loaves of sourdough. If you go through all the trouble of making this bread, you should have more than one to show for it in the end.
- My “Option #2” below that adds some dry active yeast to the bread is probably going to make the purists scream, but I don’t care. Sometimes I just want to be 100% sure my dough will rise.
- I add the grains into the bread dough after the first rest and fold. Technically the grains could be added at the beginning, but I wanted to give the gluten a chance to form before adding in the grains. The grain husks are a bit sharp (comparatively), so they tend to slice the gluten strands and slightly prevent rising at first.
- You can add less grains for a less hearty flavor. I’ve found that 125 grams per loaf seems to be the most grains I can use without making the bread overbearingly “grainy”. I want to use as much grains as I can since a typical 5-gallon batch of homebrew uses 8-13 pounds of dry grain.
The Recipe
INGREDIENTS
- Option 1:
- 200g of strong starter
- Option 2:
- 150g of strong or weak starter
- 1 tsp of dry active yeast
- 16g of salt
- 450g of bread (00) flour
- 450g of all purpose (AP) flour
- 630g of room temp water (70% hydration)
- 250g of spent grains
FIRST DAY (& night before) – Starter Preparation
These steps are meant to get your starter going again if it has been sitting in the fridge for a while. If you already have a strong starter, just add 90g each of water and flour the night before you plan on making your bread.
- Pull your sourdough starter out of fridge 2 days before making a loaf. Discard half of the starter, then add 25g of whole wheat flour and 25g of room temp water the next day, both morning (7am) and night (7pm).
- The next day (the day before making your loaf), discard half then add 25g of whole wheat flour and 25g water at 7am, then feed it again at 7pm with 90g of flour and water (I don’t discard the night before). Leave the starter on your countertop overnight.
SECOND DAY – Dough Creation
I usually start this day around 8-9 am.
- Add all the ingredients except for the spent grains into a large bowl, stir and let rest covered for 30 minutes.
- Take the dough from the bowl and place it onto a wet countertop and fold corners in about 10-12 times. Place the dough back into the bowl seam side down. Wait 2 hours.
- Take the dough from the bowl and place it onto a wet countertop. Stretch it out the best you can and sprinkle the spent grains on top. Fold corners in about 10-12 times, then place the dough back into the bowl seam side down and covered. Wait 2 hours.
- Alternative: split your dough in half now and place only 125g of spent grains onto only one of the dough balls. I usually do this as I end up with two different loafs when all is done.
- Take the dough from the bowl and place it onto a wet countertop. Fold corners in 10-12 times and place it back in bowl seam side down and covered. Wait 1 hour.
- Split dough (if you haven’t already) into two sections on lightly dusted counter.
- Fold each dough 6 times, flip it over and make a tight ball using by constantly pulling the dough towards your body, using the tension of the countertop to increasingly make a tighter ball. Leave the two balls of dough rest on your counter for 1 hour covered with a cloth.
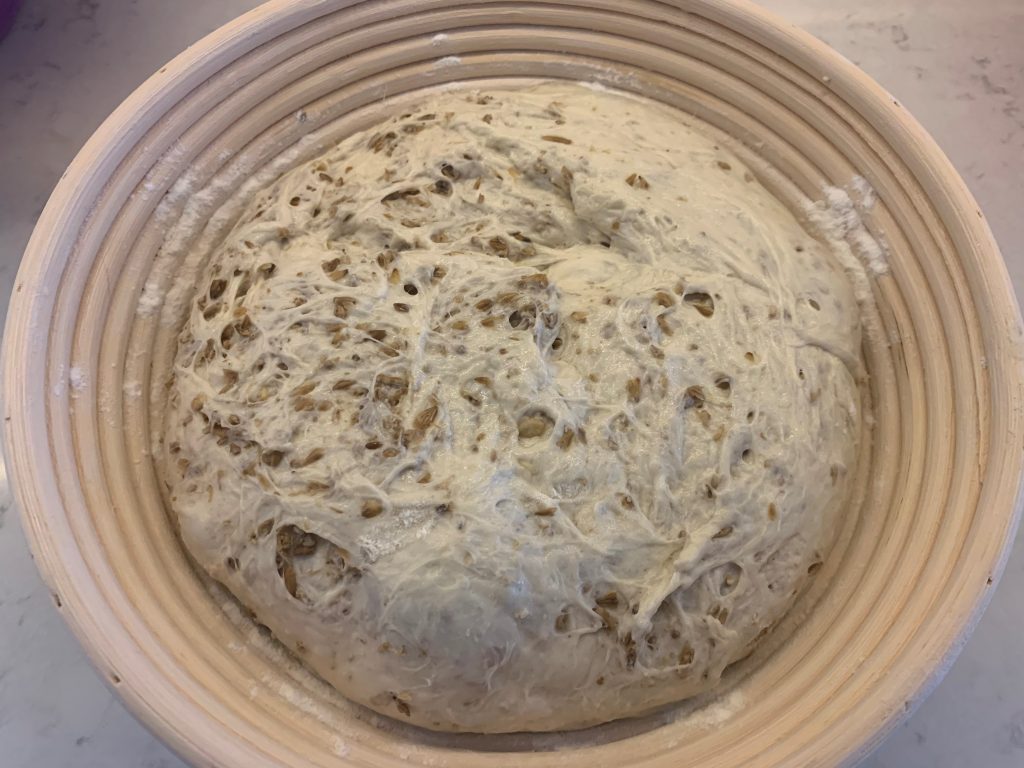
- Flip each dough ball over. Fold the dough 4 times (Right-to-Left, Left-to-Right, Top-to-Middle, Bottom-over-All). Flip it back over – seam side down – and make into a tight ball again. Place each dough ball in a dusted banneton seam side up and let sit on counter uncovered for 2 hours.
- Option: roll top in sesame seeds before placing in banneton. You can also do this the next morning by misting top of fermented loaf with water and placing sesame seeds on before it goes into the oven.
- Place into fridge overnight to bulk ferment.
THIRD DAY – Baking
This can be done any time the next day, but I usually let the oven preheat while I’m drinking my morning coffee.
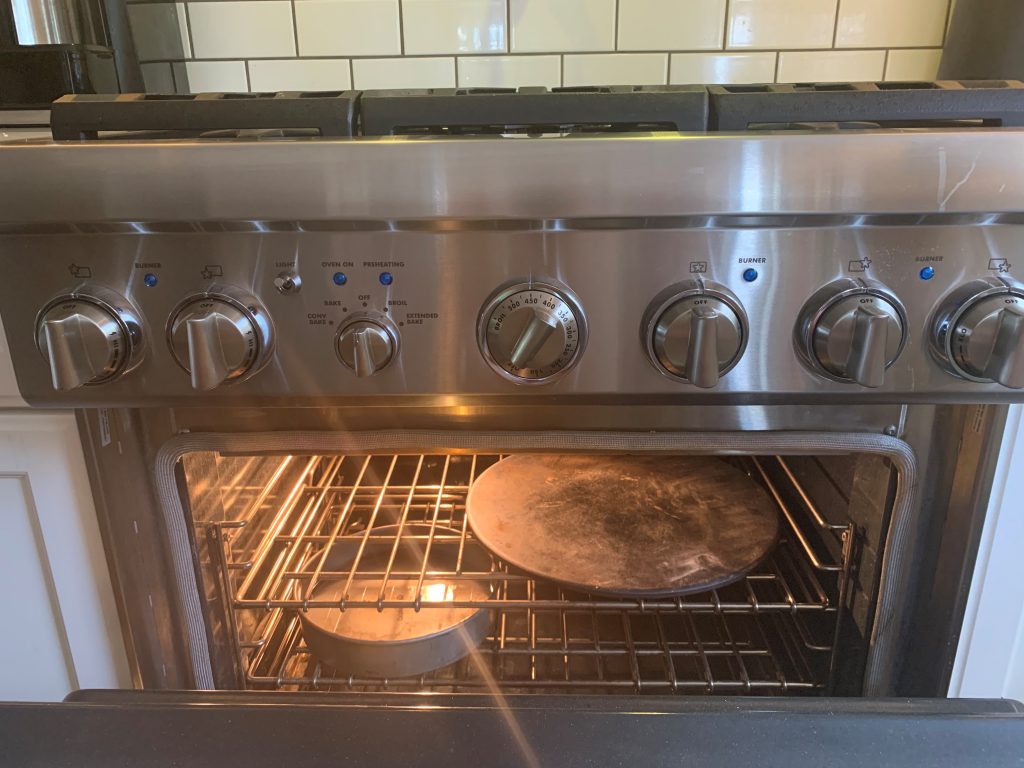
- Place pizza stone into oven and preheat to 450 degrees F.
- Add shallow pan filled with hot water on bottom of oven. Try to stagger from pizza stone.
- Cut top of bread with razor.
- After preheated, place sourdough on the pizza stone for 15 minutes.
- Turn oven down to 375 degrees and bake another 15-25 minutes or until golden brown. Any loaves that have spent grains in them will take a few minutes longer than those without.
If doing multiple loaves, don’t forget to reheat oven to 450 (5-10 minutes) to get it back up to temp before starting second loaf. Refill water if needed as well.
