The 3 Most Common Homebrewing Myths Dispelled
There is a lot of information available online about homebrewing. It’s been a hobby for hundreds of years so there has been a lot written and talked about it online. It can be information overload for any new beginner that is trying to get started in brewing their own beer.
I was once that beginner that read too much and worried about every little detail. I thought that for sure I was going to miss one of the small things and my brew was going to be messed up. Well, I was right – but the overload of information didn’t help.
As a homebrewer that has been doing this for a while now, I wanted to write this article to help others that are now just coming into the hobby. I consider myself a new-age homebrewer and didn’t come into the practice with any pre-conceived ideas of the way things had to be. I did my research and then put it into practice to see if it was true.
These are the top three myths that I came across when starting out. Some have a small hint of truth to them, but most are completely false or at the very least extremely overblown.
Myth #1: Secondary Fermentation Is Necessary
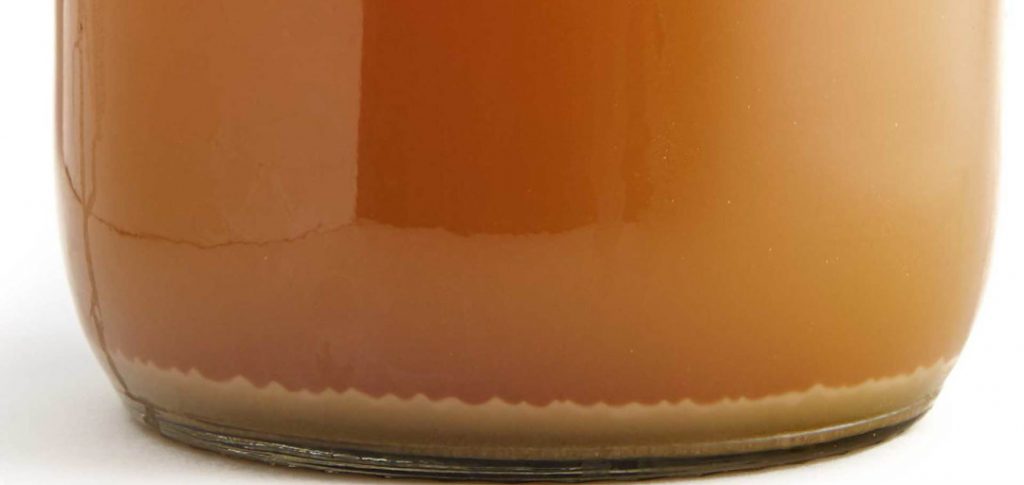
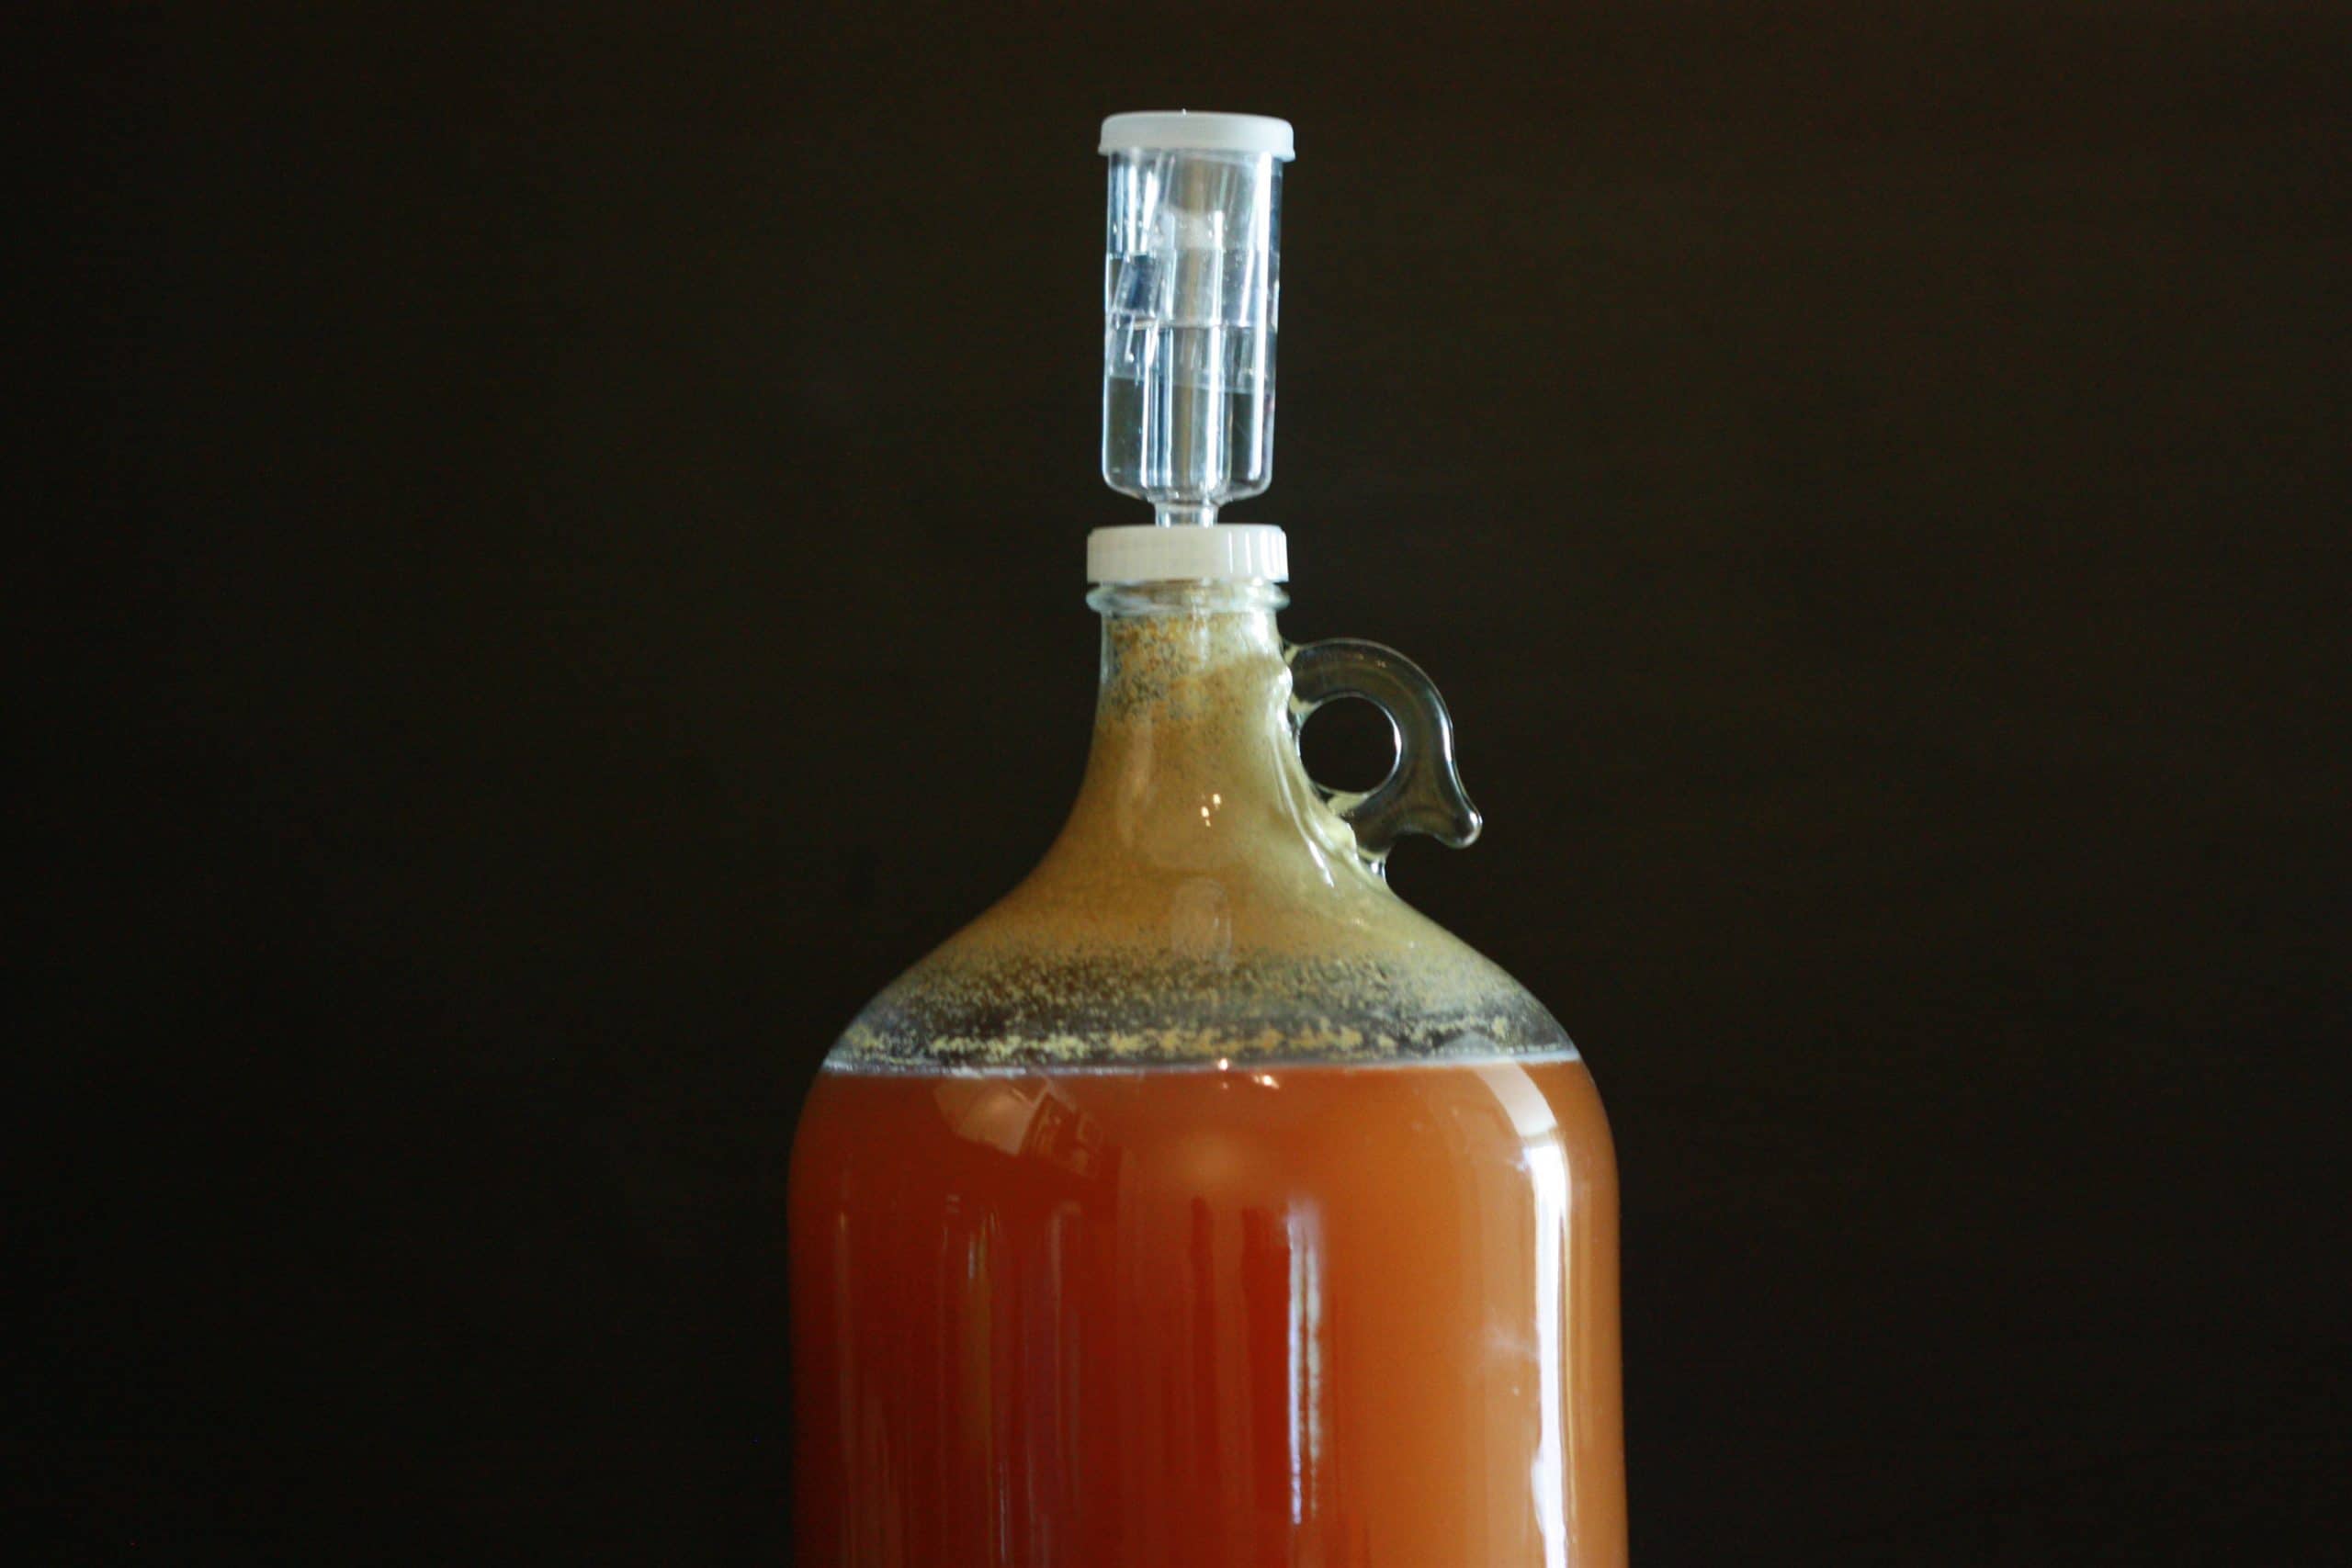
It was said that racking your beer from your primary to a secondary fermentation vessel was said to help 1) clarify the beer, 2) prevent off flavors from extended contact with the trub, and 3) better hop aroma when dry hopping.
The old way of thinking was that you needed to get the newly fermented beer off the trub at the bottom of your primary fermenter as soon as it was close to final gravity. The thinking was that by sitting on the trub for an extended period of time, off-flavors were going to be created and clarity was going to be more difficult.
Trub at the bottom of your fermenter is a pile of dead yeast cells, hops and proteins from the grain that has dropped out of the beer during the boiling or fermentation process. If this trub has ever made it into your final product – bottle or keg – you can agree with me that it doesn’t taste good at all. Its equal parts bitter, gritty and gross. However, in a test done by Brulosophy, the taste testers couldn’t tell the difference between a beer that sat on the trub the full time.
The Brulosophy testers also couldn’t tell the difference in the final clarity of the beer. My thoughts are that while racking your beer into a secondary does help in making sure less sediment gets into your final packaging, the final product doesn’t necessary suffer because of it. What doesn’t settle out by the time it is racked will settle to the bottom of either the bottle or keg, making the clarity issue moot.
Myth #2: Cold Crashing is Necessary
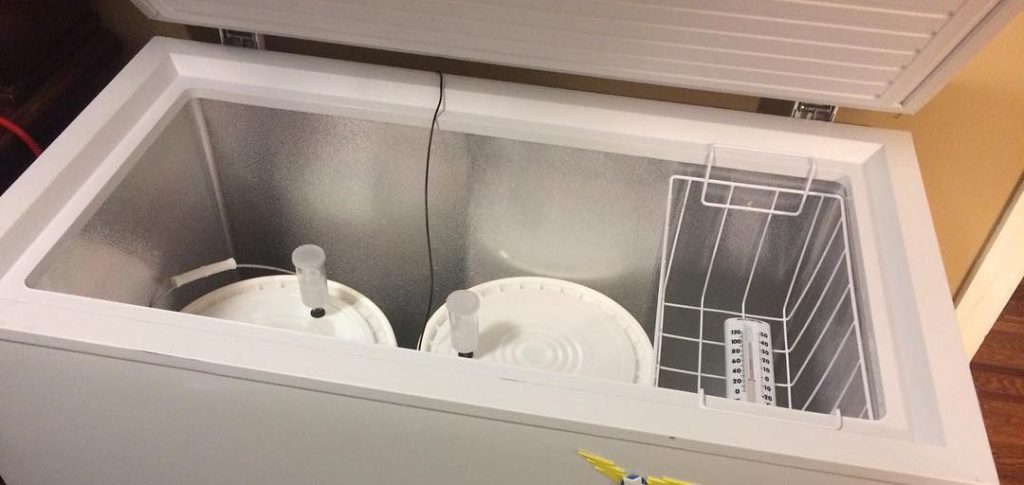
Cold crashing your fermenter before packaging is said to add clarity and drop out as much sediment as possible before it goes into bottles or kegs.
I have to admit – I was skeptical this was as necessary as I first read it was when I first started. This was partly because I didn’t have a refrigerator that was empty enough to ever do this, so I kind of wrote it off immediately.
Turns out I have never cold crashed, and all my beers taste fine. I’ve made everything from west coast IPAs to hazy New Englands to various stouts. Not once have I cold crashed, and not once have I had any problems with clarity (when it was needed). Plus, when you put your keg or bottle into the fridge, it cold crashes there… doesn’t it?
In a Brulosophy exBEERiment, their panel of taste testers could also not tell the difference between a cold crashed beer and one that was packaged warm.
However, I will say that cold crashing does get your beer clearer than if you had not done it. Its just that if you don’t have easy access to a fridge or keezer to do this, then you will be fine. The beer will eventually clear once its bottle or keg is in the fridge.
Myth #3: Brew-in-a-Bag Has Low Efficiency
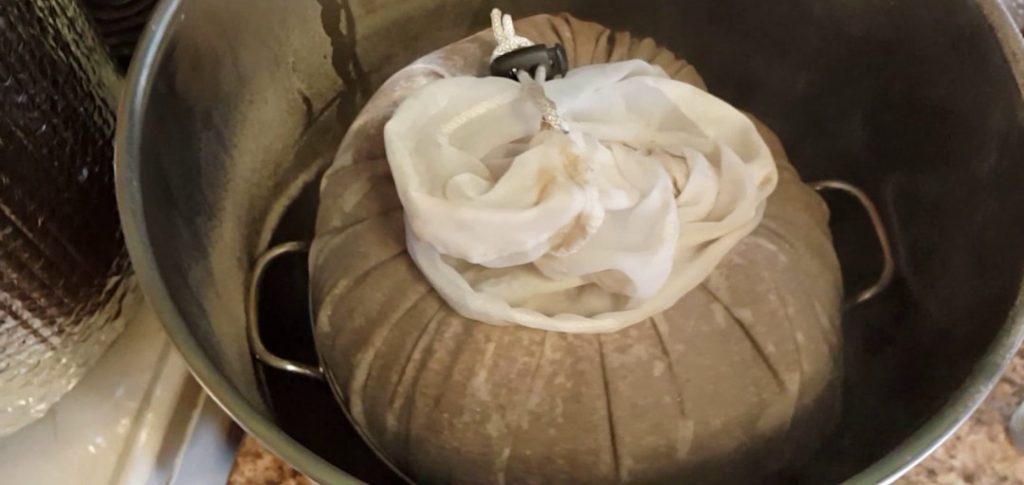
It is said that BIAB brewers generally have less efficiency in their mash sugar extraction when compared to the old-school way of having a lauter tun, mash tun and boil kettle. This is false, but I think I know exactly where the thought came from.
My first two BIAB brew days ended in 60% and 65% efficiency. This is not very good at all and seemed to confirm the fact that you simply cannot get as much sugar out of that type of setup.
I found out that by 1) squeezing the bag, and 2) sparging hot water on top the bag, I have been able to get into the 80-85% efficiency range on a regular basis. The reason I didn’t squeeze the bag is because some homebrewers thought that by squeezing, you were pushing out all the astringent tannins into the wort, thus ruining your beer. Some others online have mentioned that you can squeeze – but not too hard. Well, I think now the general consensus is that you can squeeze the hell out of the bag (especially so with pale malts) and you will never really have a problem with astringency. I bought a pair of silicone gloves and squeeze the bag as much as I possibly can. I want every drop out of that bag – I paid good money for those grains!
The sparging with hot water over top the bag is not as controversial, but it is a common theme that if you have a boil kettle large enough to steep the bag in your full wort volume then you should. I have to agree with that sentiment, but since I usually just use my 8 gallon kettle, I can only steep with about 5.5 gallons before my water+grain mixture is about to overflow. I then heat up 1.5 gallons of water to about 170° F and pour it over the grains with the bag open. I never worry about gently sprinkling the water over the grains either – I just pour it over top, about 1/2 gallon at a time, right into the grains.
With the squeezing + sparging method, I no longer have any efficiency problems.
