Homebrewing Hazy Session IPAs Like a Pro
There are two lines of thinking about session beers:
- It is nice to be able to enjoy a couple beers without getting wrecked.
- If you are going through all the trouble to brew it, make it worthwhile.
To date, I ‘ve been in the latter category of thinkers as all my brews have been 6.5-8.2% ABV. If I am going to consume 3-4 hours of my day over top boiling water, I am going to make sure my time is well spent making a beer that lets me know its there.
Lately however, with the string of 90+° F days we’ve had here in Western Pennsylvania, I am starting to rethink my decision.
So I wanted to take a look at how best to brew Session IPAs so that they taste like the full version, but pack way less of a punch.
What Classifies as a Session IPA?
Lets set the groundwork for what can be considered a Session IPA.
First thing is first, we should mention that session IPAs are simply not watered down regular IPAs. While this may be obvious to some homebrewers, it may be a legitimate question for others. If you watered down a regular IPA, you would certainly produce a beer with lower alcohol content, but it would taste thin and watery. This is not what anyone wants in their IPA.
The BJCP lists 5% ABV as the low end of the American IPA range. Traditional session beers like British bitters and mild ales start around 3.8% ABV and usually don’t top 4.6% ABV. Maybe the most popular session IPA is Founders All Day IPA, and it clocks in at 4.9% ABV.
Session IPAs also share a lot of qualities as a Pale Ale, however Session IPAs are typically more bitter (it is an IPA after all), and drier than it’s pale cousin. So while the two styles share some of their ABV ranges and both are hopped more than regular beers, in our opinion there is enough of a difference to reasonably differentiate the two.
So this should be easy… Let’s take an American Pale Ale recipe and lower its ABV to about four percent, add some extra hops to make it more bitter and hops-forward, and we’ll have our Session IPA, right? As it turns out, this is partly true, but there is a bit more nuance than that. We have to get creative with the grist and use other methods to enhance the mouthfeel that the grain would normally take care of for us.
Hazy Session IPAs
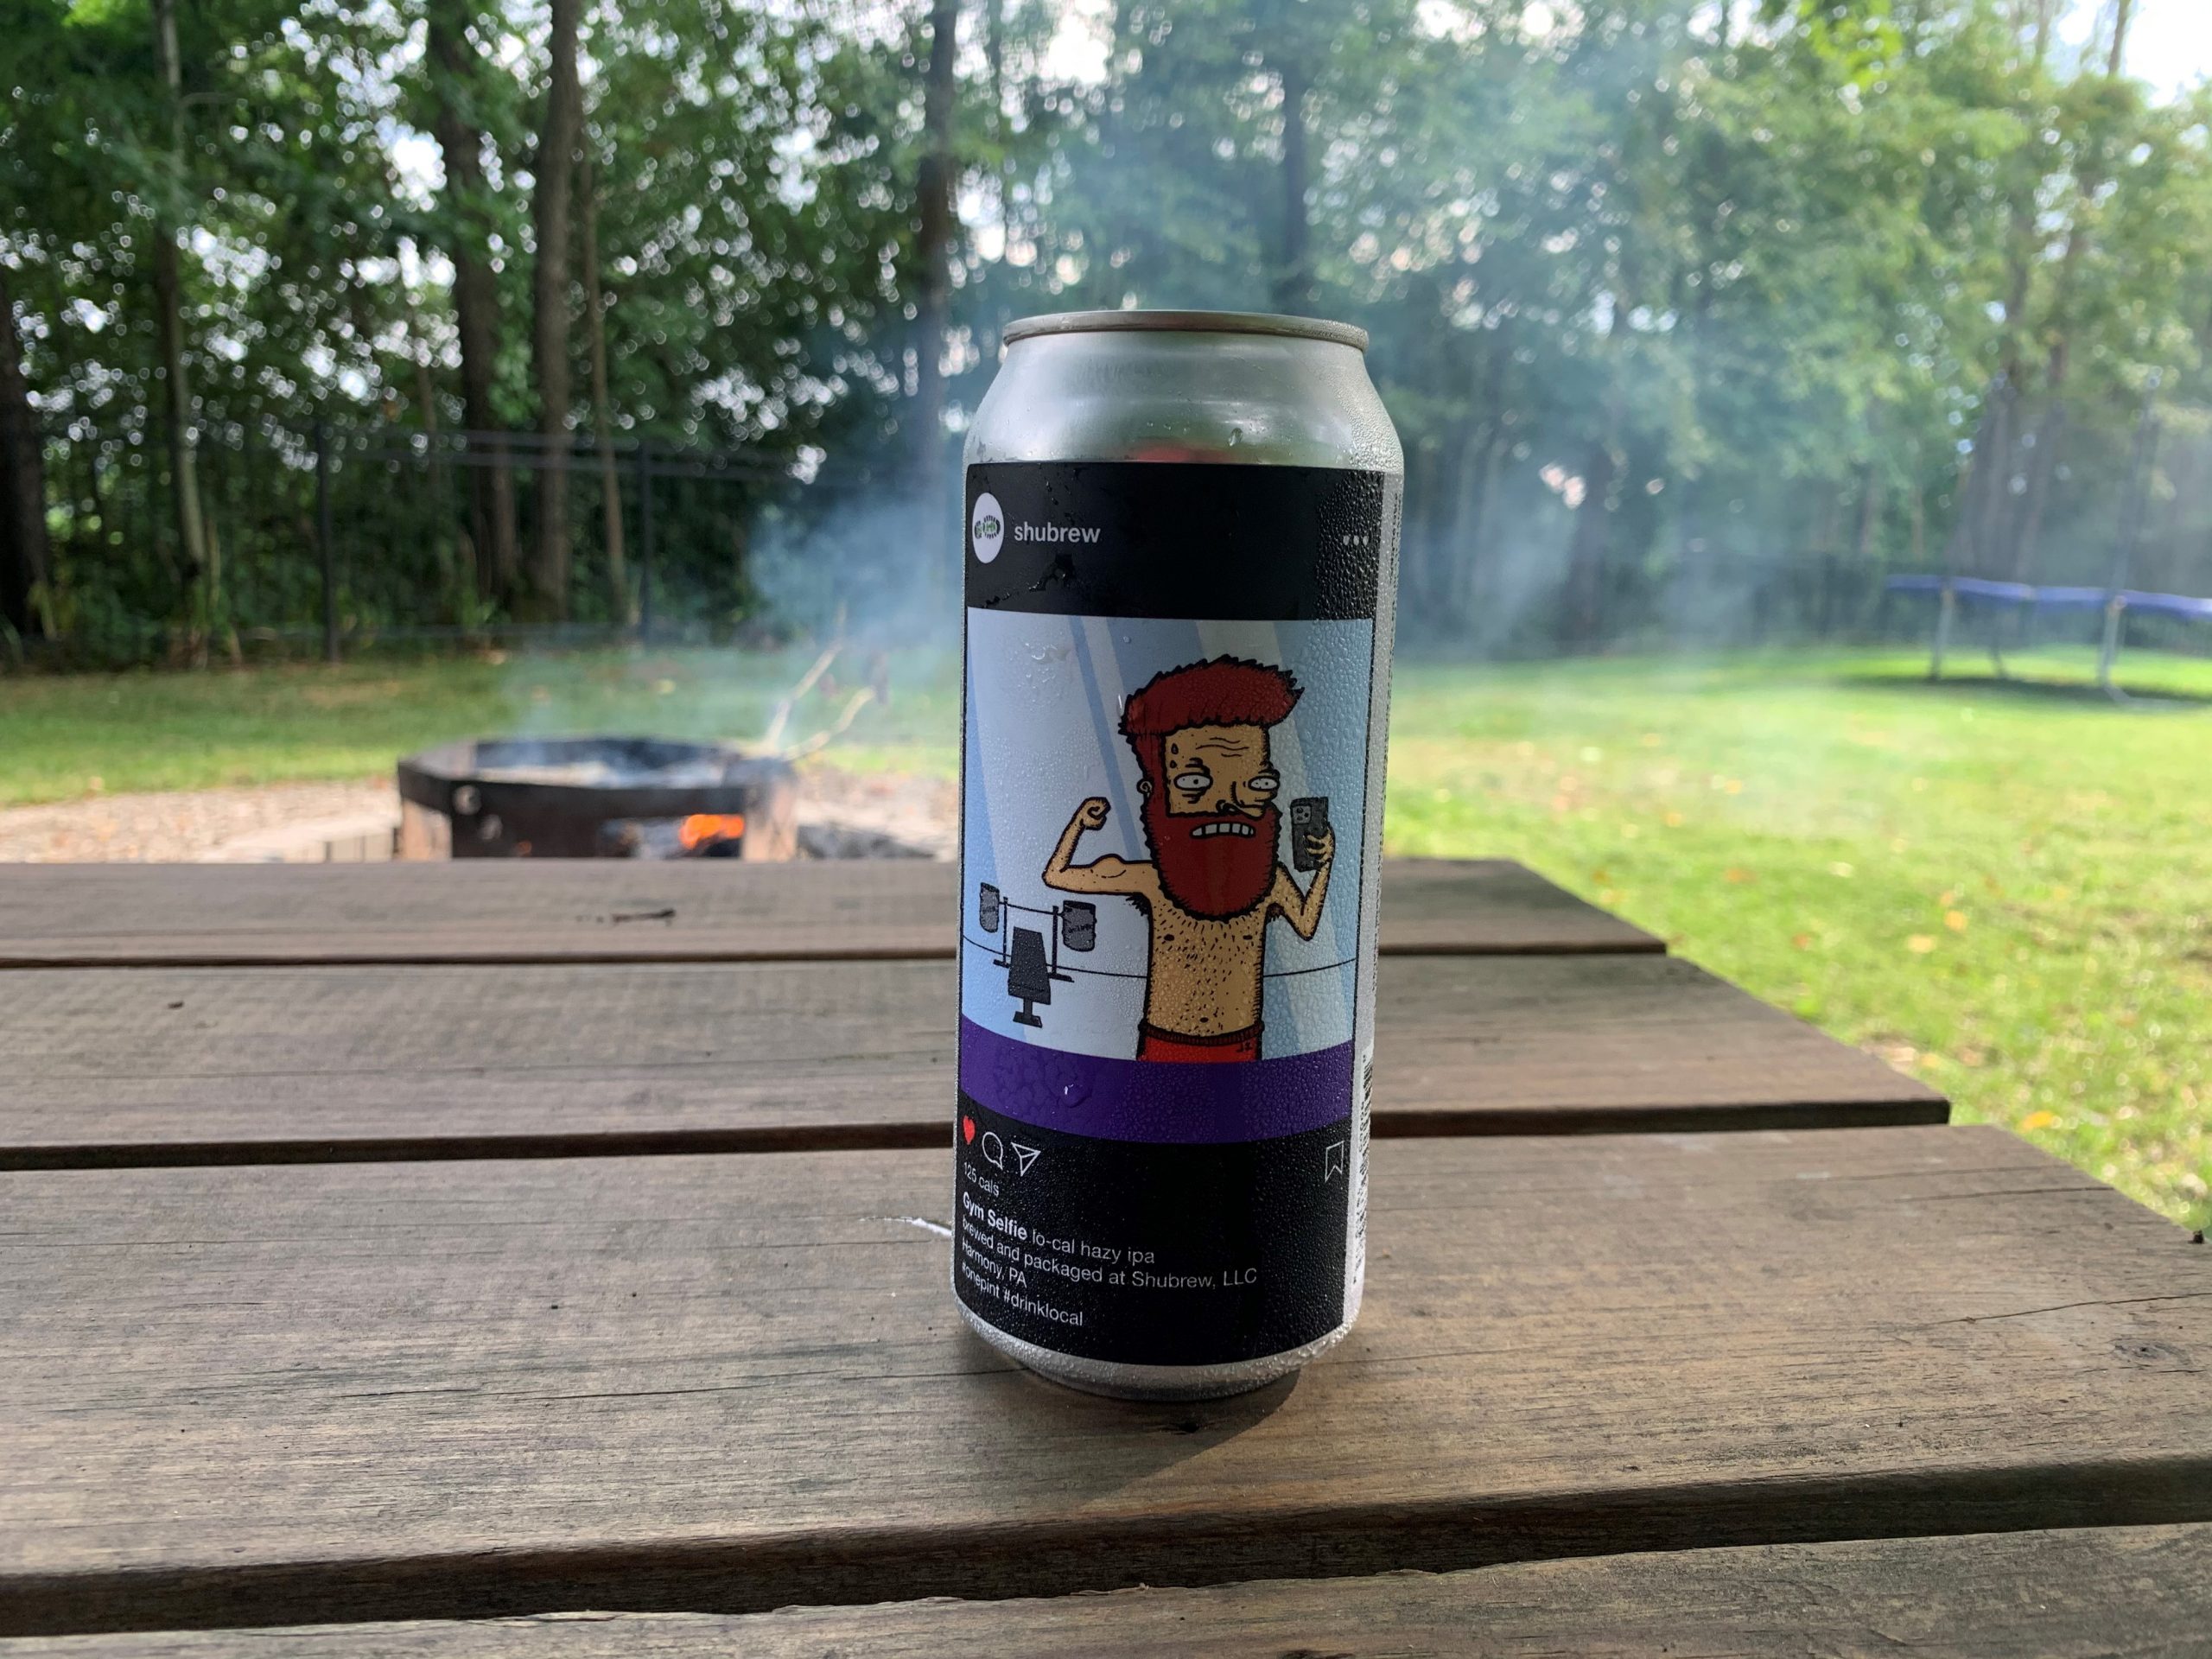
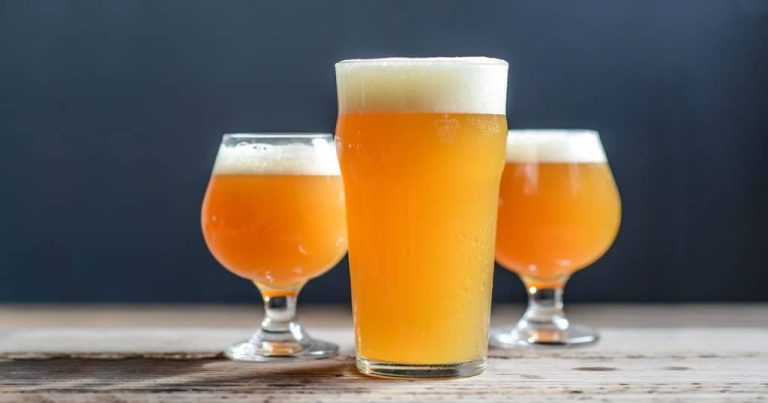
My first New England-style Session IPA was Gym Selfie from ShuBrew (pictured above) and while you could tell it was only 4.2%, it was also marketed as a low-calorie beer meaning it was likely around only 100 calories. This is the beer that made me reconsider trying to brew a lower ABV version of my favorite style. I wanted to learn the best way to get that rich taste and thicker mouthfeel in a beer that obviously was not brewed the same way as a regular New England IPA.
Designing the Best New England Session IPA
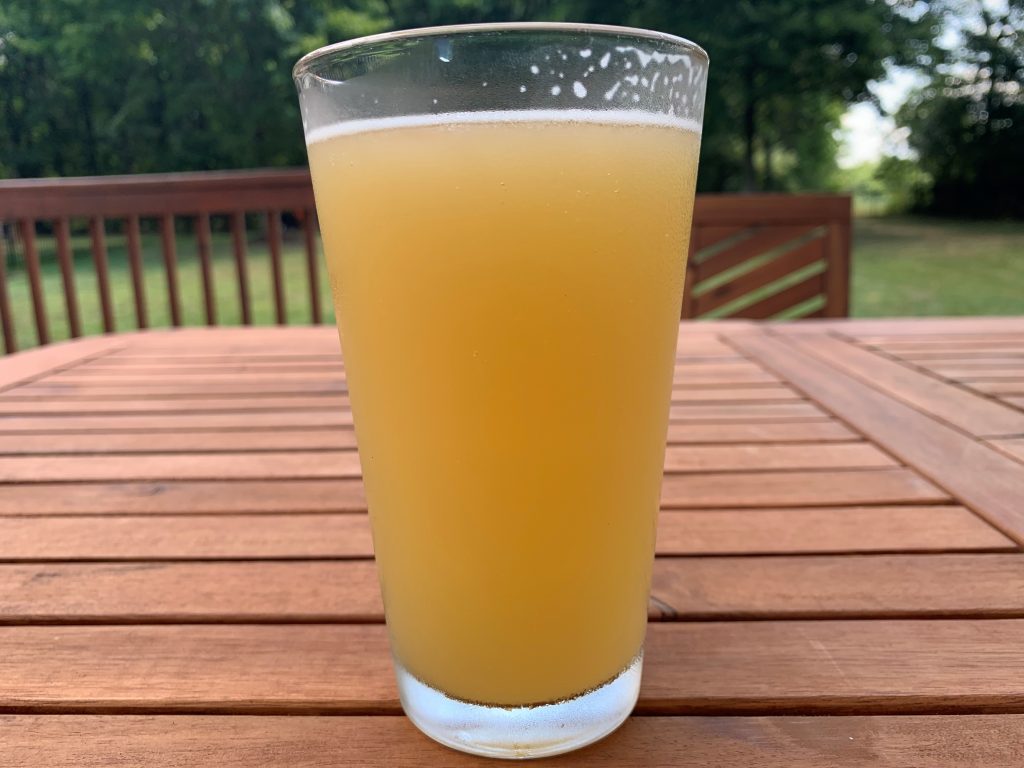
Hopping will be the easy part, but first we need to find a grain bill that will add sweetness and fullness to the beer without increasing the ABV much. We can start off with about 50% of our bill using basic 2-row Pale Malt, then layer some other additions in that have specific uses in this beer.
- Munich Light malt is known to be a great body builder but it doesn’t have a large impact on flavor and color.
- The Caramel/Crystal 20L malt will add sweetness and body but with a much larger impact on both flavor and color. The sweetness from the Crystal malt will make the beer have a fuller mouthfeel and its melanoidins will produce a “browning” effect that will add maltiness to our beer. This extra malt flavor will help balance out the hops we add later on.
- Flaked and Malted Oats will provide the signature haze and pillow-y mouthfeel that we’ve all come to expect from New England IPAs.
- 8 ounces of Maltodextrin will help beef up the beer’s body another way, but without adding any sweetness or fermentable sugars.
So here is what we have for our grist:
| Amount | Fermentable | Color | Bill % |
|---|---|---|---|
| 5.5 lb. | 2-Row | 1.8 L | 52.4% |
| 1 lb. | Vienna Malt | 4 L | 9.5% |
| 1 lb. | Munich Light | 10 L | 9.5% |
| 1 lb. | Crystal 20L | 20 L | 9.5% |
| 1 lb. | Flaked Oats | 2.2 L | 9.5% |
| 0.5 lb. | Malted Oats | 2.5 L | 4.8% |
| 0.5 lb. | Maltodextrin (late addition) | 4.8% | |
| 10.5 lb | 100% |
What we are left with is a beer with 10.5 pounds of grain that only has an OG of 1.049 and a FG of 1.015. By using a low-attenuating yeast like London Ale III (WY1318), we can keep that ABV down even easier. This should make our final beer 4.4% ABV with a light straw color (6.5 SRM).
As a comparison, if we just did a 10.5 lb grist of strictly 2-row, the stats would look a little different: 1.049 OG, 1.012 FG with a 4.9% ABV.
This is for a 5.5 gallon batch.
You can mash for 60 minutes at normal temperatures (149° F), or even slightly higher to extract a bit more non-fermentable sugars (154° F). The extra non-fermentable sugars will help give the beer even more body.
I wanted to stay pretty simple with the hop schedule because we are just looking for an easy drinking and “common” NEIPA. Because of that, I chose to only use Citra and Mosaic, but you can swap those out with any hops that you’d prefer.
| Amount | Variety | Type | AA% | Use | Time | IBU | Bill % |
|---|---|---|---|---|---|---|---|
| 0.30 oz | Citra | Pellet | 11 | Boil | 60 min | 12.68 | 3.8% |
| 1.00 oz | Citra | Pellet | 11 | Boil | 5 min | 8.43 | 12.8% |
| 1.50 oz | Citra | Pellet | 11 | Whirlpool @ 180° F | 10 min | 7.64 | 19.2% |
| 1.50 oz | Citra | Pellet | 11 | Dry Hop | 6 days | 19.2% | |
| 1.50 oz | Mosaic | Pellet | 12.5 | Dry Hop | 6 days | 19.2% | |
| 1.00 oz | Citra | Pellet | 11 | Dry Hop | 3 days | 12.8% | |
| 1.00 oz | Mosaic | Pellet | 12.5 | Dry Hop | 3 days | 12.8% | |
| 7.8 oz | 27.85 | 100% |
