Should You Use a Hop Spider or Muslin Bag?
There are infinite ways to use hops in home brewing. No matter how you are using them right now, there is always one question that keeps popping up:
Should you contain the hops using a bag or hopper, or just let them fly loose?
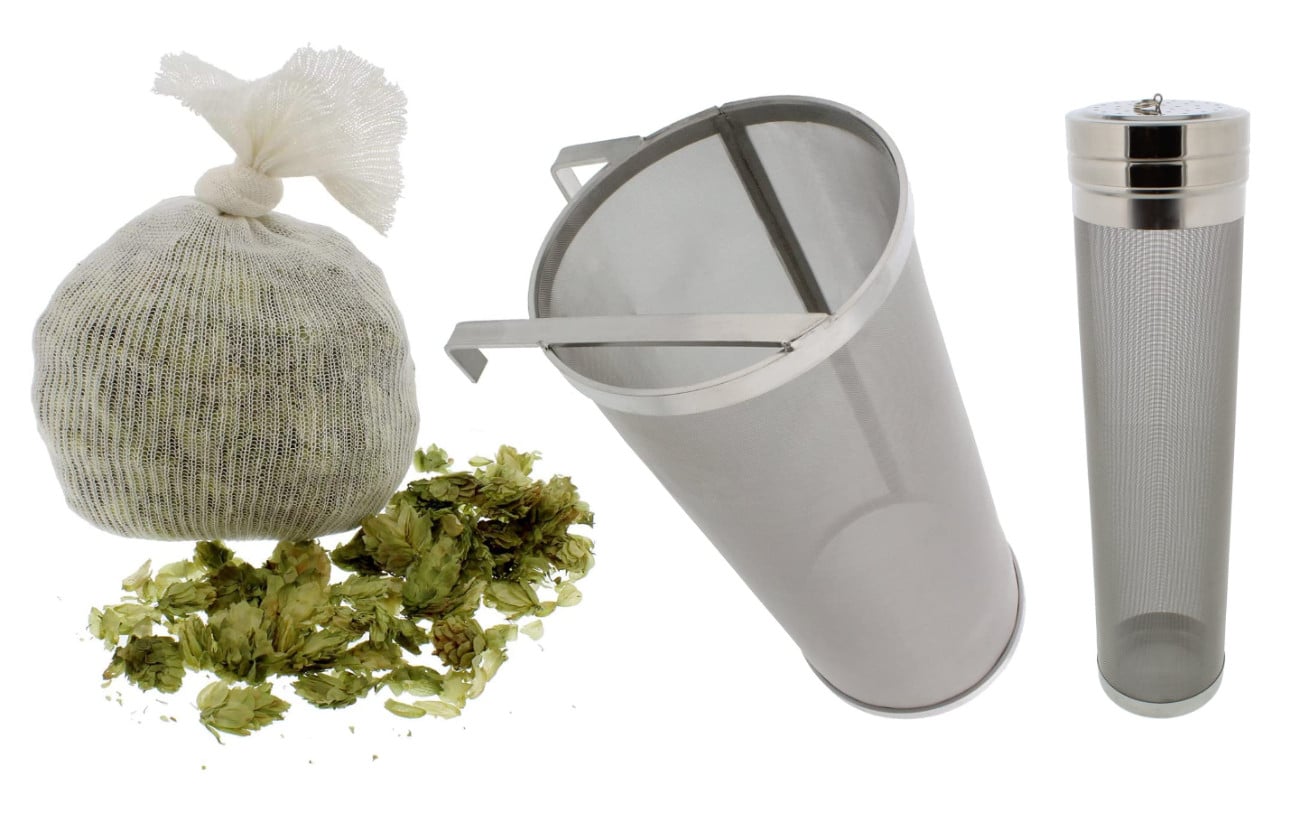
This is a multi-faceted question. Containment methods – a hop spider or muslin bag – are usually used to aid in cleanup and for easy removal. But today, we are going to look how they impact flavor extraction.
Hops are such an essential (and expensive) ingredient to brewing your own beer. It makes sense that we would want to use them in the most efficient way possible.
The Purpose of a Hop Spider
I had always been on the side of recommending the use of a hop spider in the boil. They make cleanup a cinch and dramatically reduce the amount of wort loss.
The use of a hop spider is supposed to reduce wort loss by removing all plant matter with the spider, leaving all the sweet wort behind. You typically don’t want boiled hops to make their way into the fermenter, but I’ve yet been able to find a conclusive study suggesting that boil hops definitely need to be filtered out.
However, there are a lot of ways to keep hop particles out of your fermenter without a spider:
- Cover your auto-siphon’s intake end with cheesecloth or your BIAB bag to stop the plant matter from transferring.
- Whirlpool the kettle hard and fast to create a hop and trub “cone” in the middle of the kettle that will allow you to stay away from it when transferring.
- Use a strainer to transfer the cool (not hot!) wort from the kettle to the fermenter. This is the way that Denny Conn suggested using on StackExchange.
Ok, so hop spiders make cleanup easier, but how do they impact hop utilization?
Considering there are so many ways to remove the hops at the end of the boil, getting 100% of the use out of your hops should be priority number one.
Well, as it turns out, each hop addition has its pros and cons you need to weigh first.
Hop Utilization: Bittering Additions
We will get into the downside of using a hop spider in the kettle below, but during boil additions, a hop spider still makes sense. The rolling boil agitates the hops inside the hop spider enough to get almost complete utilization. In addition, these early bittering charges are usually small enough that there isn’t enough hop matter to clog the pores of the steel mesh.
This is proven out by a Brulosophy exBEERiment where they ran a triangle test to see if people could taste the difference between a beer hopped in a bag vs loose in the boil. It turned out that while there was a slight flavor difference, the IBUs were virtually the same. Both beers were reported to have tasted great, so I’m going to keep with the use of a hop spider in this stage.
Verdict: Use a hop spider for early boil additions. Or don’t… it probably doesn’t matter.
Hop Utilization: Late Boil and Whirlpool
First and foremost, late boil and whirlpool additions tend to be much larger charges. An IPA that uses 1 ounce of hops for bittering may use 3-6 ounces in the whirlpool. This huge discrepancy creates a different set of challenges.
A major downside to the hop spider in this phase of brewing is that it’s difficult to get the hops whirlpooling good without a recirculating pump. If you have an old-fashioned kettle with a hop spider, you are more so performing a hop stand, and NOT a whirlpool. A whirlpool requires constant moving of the hops. It is this agitation of the hops that help fuel optimal utilization.
Large pellet hop charges tend to really clog up the fine steel mesh of hop spiders as they disintegrate. This creates a type of barrier between the hops and the wort they are supposed to be flavoring. The more hops inside your spider, the more of a barrier they will create. Reducing this barrier is important.
While anecdotal, members of the HomeBrewTalk Forum mention that they have all found that a hop spider reduces the flavor and aroma extraction of their hops. Some compensate by adding more hops, but that seems like a poor solution just for easier cleanup.
Verdict: For large hop charges (> 1 ounce) in the whirlpool, you are going to want to hop loose unless you have a recirculating pump. Deal with the cleanup issue later.
Hop Utilization: Dry Hopping
Hopsteiner did a study on this very question back in 2013.
This graph from their report shows the varying amounts of alpha acids and linalool oil extracted by different dosing methods during dry hopping.

You can see the alpha acids dissolved far more quickly when added in loose form. This is interesting, but AA extraction not the primary purpose of dry hopping additions. The flavor and aroma oils (in this case linalool), the use of pellets in loose form gave almost 50% more extraction efficiency. This will ultimately lead to a beer with a more intense aroma.
This shows that the more room the hops have to move around in your vessel, the better the extraction will be. This is expected to be true for all stages of hop usage.
Verdict: Dry hopping with loose pellets gets you much better results as opposed to inside a muslin bag. But your mileage may vary depending on your equipment and preferences, which I get into below.
Loose Hop Problems
If the Hopstiner study results are so emphatic, why doesn’t everyone throw the hops in loose?
Well, for many reasons it turns out:
- Some home brewers wash their yeast, which should only be done without hop matter in it.
- Free-floating hops create a hell of a mess. They get stuck to the sides of your kettle, immersion chiller, fermenter, and clog your autosiphon.
- If you happen to keg, any larger hop particles make it into the keg will surely clog the posts, making for one hell of a mess when trying to fix it.
The question you have to ask yourself, which is more important: Less mess and headache or better hop utilization?
It appears you can’t really have both.
