My First Attempt at Homebrewing Cider
Its fall in the Northeast. Leaves are starting to change, pumpkins are for sale at road-side stands and fresh-pressed cider is available at just about every store in the area.
Up until now I’ve only ever home brewed beer. My wife and I are huge beer drinkers, and its taken me numerous shots at getting my New England IPA recipes to a place that is respectable.
However, I’d always wanted to try my hand at cider making. I have a friend that has an apple orchard – but I needed some trial and error first. I decided to keep my first time as basic as possible. After that, I could then adjust it as I become more comfortable with the process.
Well, as it turned out – the process is a hundred times easier than beer making and with some quality ingredients, can make a great cider very easily.
Use Fresh-Pressed Juice
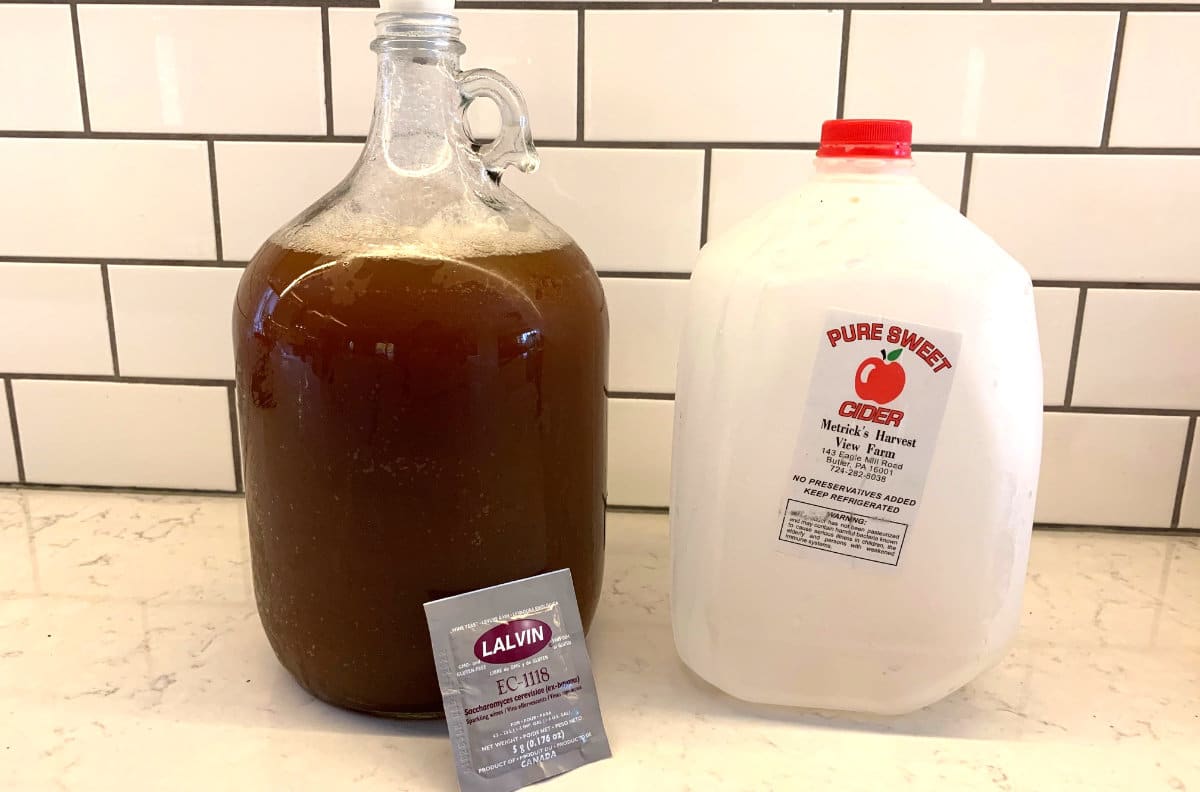
I have a local farm that sells their own fresh-pressed cider, and I got a gallon of it. Seriously, get the good stuff if possible. The stuff that has a short expiration date, is cloudy as hell, needs to be kept cold and is so fresh that the outside of the container is still sticky from filling.
A lot of recipes mention that you can use store-brand apple juice for cider. That may be so, but that is not what I am going for. The stuff made from concentrate is missing many of the tannins and flavors that you can only get from fresh-pressing. Apple juice from concentrate is known to take months more than cider. It needs to mellow out and often is left with little-to-no apple flavor since it’s basically pure sugar.
Get the good stuff if possible. The only issue is that it’s only really available in October-November in the United States, so your timing is limited. Next time, I want to press my own apples, but spending $4 on a gallon of cider was too easy. It allowed me to focus on getting my process down instead of worrying about pressing (which, as it turned out would have been the hardest part).
The Recipe
- 1 Gallon Fresh-Pressed Cider (room temp)
- 1 packet of dry EC-1118 Lalvin Wine Yeast
- 1/2 cup of pre-boiled water (used to rehydrate the yeast)
Honestly, that’s it. After rehydrating the yeast for about 30 minutes according to the steps on the back of the packet, I dumped everything into a sanitized 1 gallon carboy.
As a usual home brewer of beer, I was used to hours of boiling and hopping and cooldown… but there was none of that here. Cider is so much easier. The same sanitization steps are required, but none of the other stuff, which made for a refreshingly simple brew day hour.
There was not a lot of headroom left in the 1 gallon carboy, and my fears of high-krausen overflowing through the airlock were spot on. About 36 hours after pitching, krausen made its way into my airlock and clogged it. The fermentation was pretty vigorous for the first 3-4 days, but then died down to just a bubble every 10 seconds through the airlock.
I left the carboy sit in my dark basement – that stays at a stable 65° F (18° C) – for about 4 weeks. By then, the airlock had hardly any bubbles.
Note: 1 gallon carboys are smaller and a bit more difficult to get samples from. I actually didn’t take a final gravity test before deciding to bottle because my wine thief didn’t fit through the opening. I guesstimated it was ready by the decreased airlock activity.
With such a small batch, I decided against racking to a secondary carboy.
Back Sweetening & Bottling
You can actually drink the flat cider right out of the carboy once it’s done fermenting. I tried it, and it was extremely tasty. Big on apple taste, but a bit dry… and of course flat.
I wanted it to be a bit sweeter and carbonated, so I boiled the following together. Once it cooled down, I combined it with my cider that I had siphoned out into a sanitized bucket.
- 1 cup of water
- 1/8 cup of dextrose (for carbonation)
- 12 packets (or 3 tablespoons) of Truvia sweetener
Truvia – or Splenda – is a sweetener from the stevia plant, and is unfermentable by yeast. This makes it the perfect product for back sweetening your cider. If you used table sugar to sweeten, the yeast left in the cider would devour it, turn it to alcohol and potentially explode your bottle. Don’t use table sugar to sweeten.
Bottling was pretty easy. Cider can’t really oxidize, so I just poured it into the bottles using a sanitized funnel and pitcher. 1 gallon of cider made 12 12-oz bottles.
Carbonation took about two weeks sitting on my room-temperature counter. I am slow-drinking these 12 bottles, so I can see how the cider matures over time. I think it is a good sign that it tastes so damn good 4 weeks after pitching the yeast.
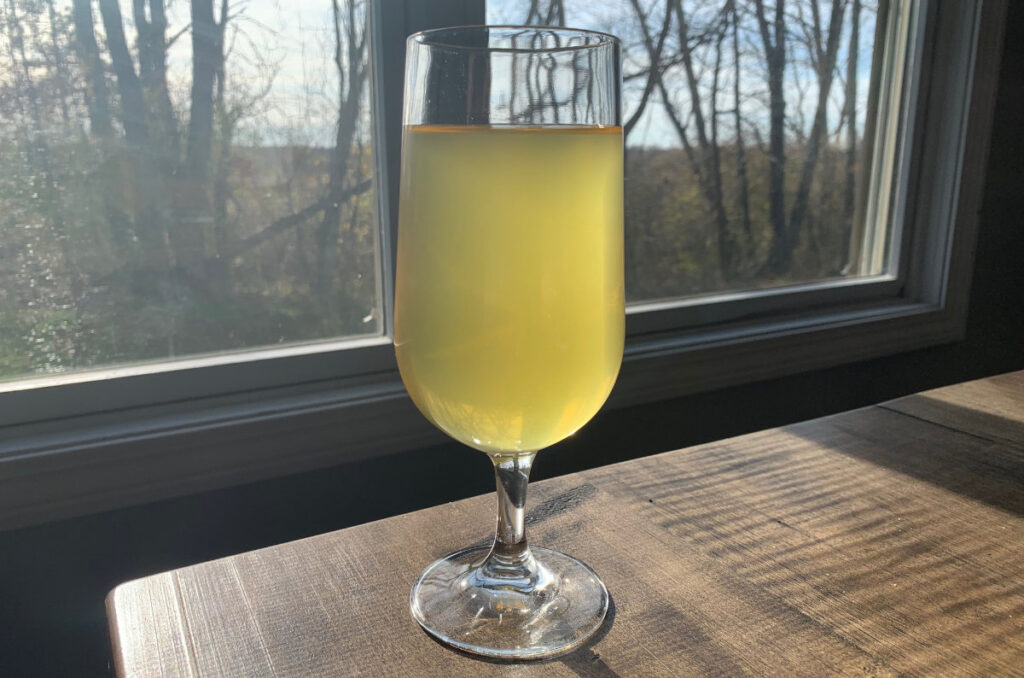
It is very smooth and has no perceptible off-tastes. It is big on apple flavor, and is light and refreshing to drink. The sugar from the Truvia packets added the perfect amount of sweetness. Overall I am very happy with this experiment.
Looking Forward to Next Time
A dry champagne yeast EC-1114 was a good idea, which allowed me to adjust the sweetness afterwards. I had originally thought about using a less-attenuative yeast like London Ale III to keep the sweetness intact instead of having to back-sweeten, but I liked the approach I used now. I’ll stick with it.
If I do change it up, I may try a souring yeast like Brettanomyces claussenii added to the secondary. There are a few brands that have this style, notably White Labs (WLP645) and Omega (OYL-201).
I read elsewhere that adding crushed crab apples would help increase the tannin levels, which should in ramp up the apple flavor. There are crab apple trees on my property, and may throw a few in next time to see what happens. I think they would be mostly useful if you happen to be using store-brand apple juice instead of the fresh-pressd stuff I used.
This was an enjoyable experience all around. It was super easy compared to beer, and the results were immediately fantastic. I may have to get around to building my own cider press to be ready for next fall.
