Keg Fermenting: Floating Dip Tube vs Cut it vs Bend it. Which is Best?
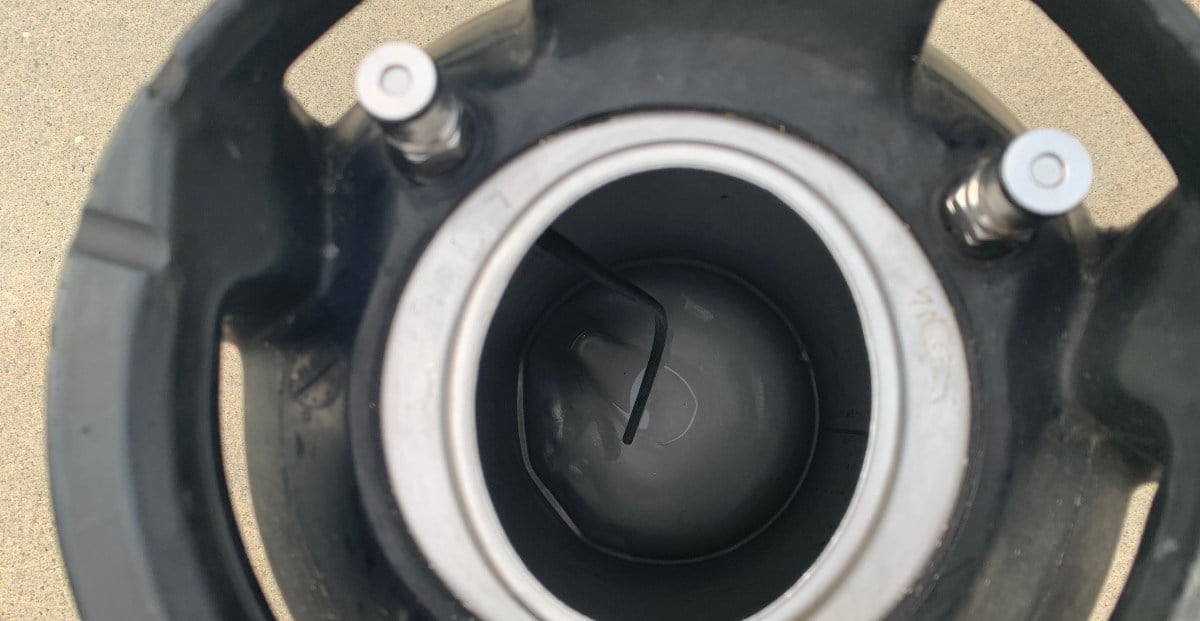
When you start fermenting inside a corny keg, the one alteration you need to make to your keg is with the dip tube. In a normal keg, the dip tube extends to the very bottom in order to extract every last drop of the beer it holds. When fermenting your beer inside a keg, if left alone, the dip tube will extend down into the trub that settles at the bottom.
There are different ways homebrewers handle the diptube/trub problem. We discuss each of these ways and come up with the preferred method.
Leave it Alone
Many hardy homebrewers have decided to simply leave their dip tube alone. The thought is that they can simply dump out the first 32 ounces or so of beer that flows out after tapping the keg. They reason that this is most of the trub, and everything else is drinkable beer.
There have been Brulosophy exBEERiments that show beer sitting on top kettle trub for an extended period of time does not cause off-flavors. This means that in theory there is no reason to quickly remove the trub from the keg.
However, I’ve never had luck with this method as it always seems to ruin more than the oft-referred to 32 ounces. Many times I’ve seen sludge come out at the beginning of my pours up until about half the keg is gone.
Bend the Dip Tube
Bending the dip tube is a common method to because it is reversible. Don’t like the height of the bend? Change it. Don’t like it bent at all? Straighten it back out (the best you can). Leaving too much beer at the bottom? Bend it back down. Adjustment and the ability to fine-tune the height is the primary benefit for preferring this method.
This was the first way I tried, and while it makes a ton of sense in theory, I just didn’t like it in practice.
First, the bent dip tube spins inside the keg as you try and tighten the post after cleaning. You don’t notice the spinning on a straight dip tube, but when it is bent, it hits then scrapes the side of the keg as it turns around. I did everything I could to try and keep the bent area to stay in the middle of the keg with no luck. A healthy dose of silicone grease didn’t help and either did me trying to hold it in place while tightening the post.
Secondly, depending on how sharp the bend is, it makes the dip tube pretty difficult to get in and out of the opening at the top of the keg. When making the bend, I had thought I had the perfect shape but quickly realized that the bend “as-is” was not going to slide through the opening, so I had to adjust it.
If you do decide to bend it, be careful to not kink the tube. This will ruin it and it will cause you to have to buy a new one. The key is the make the bend over a large portion of the tube, and not concentrated on just the bottom 4-5 inches. When I bent the dip tube, my bend started about 10 inches (0.25 m) up from the bottom and stretched down about 7 inches (0.18 m).
If you would prefer to buy a dip tube already bent, you can find a couple on Amazon.
Cut the Dip Tube
This method is probably the most popular out of the “cheap methods”, but it is irreversible, which is why I didn’t even try it.
However, with this method, if you find that you are leaving too much beer behind, you can’t reverse or lengthen the dip tube. Most places and how-to articles online suggest you cut the bottom 1-inch off the dip tube, and work up from there as needed.
If you do decide to cut the tube, make sure you get a tube cutter. It will ensure that you don’t smash the end of the tube, which would obviously not be great.
Replace with a Floating Dip Tube
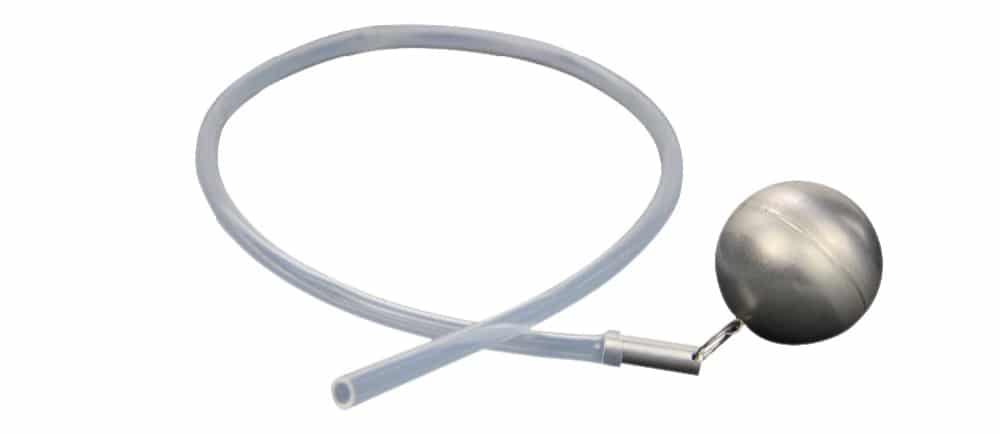
This is the method I settled on, and I’ve very happy with my choice.
While you still have the irreversibly cut your dip tube, the floating nature of this method ensures that you never have to worry about it being too short and leaving too much beer left inside the keg.
To install, you’ll need to cut your liquid dip tube to about 3-4 inches in length. Then, squeeze one end of the silicone tubing over the cut end of the dip tube, and attach the float to the other end.
The float is designed to keep the end of the silicone tubing 1 inch below the surface of the beer, resulting in clear pouring every time.
You can find these at most brewing supply stores. Here is one from Amazon.
