Guide to Fermenting Homebrew in a Corny Keg
Fermenting your homebrew under pressure has tons of benefits. From a reduced need for temperature control to natural carbonation to reduced oxidation… pressurized fermentation should be a tool in every homebrewer’s arsenal if possible.
Most types of beers will benefit from fermenting under pressure including New England IPAs that are chock-full of hop and grain compounds that are super sensitive to oxygen to lagers that need to be fermented long and cold.
In order to do pressurized fermentation, you will ideally have a corny keg available. You can use other pressure-rated fermentation vessels, but most are rated for only minimal pressure, and will not be as easily transferred to the serving keg.
This how-to article will assume you are using a stainless steel corny keg to ferment in. These guys can handle up to 130 PSI, so no matter what you throw in them, they will be able to handle it.
Besides the keg, the only equipment you’ll absolutely need is a spunding valve. Other optional items include a blow off hose and an anti-foam agent.
While you can take advantage of the no-chill method of brewing with this process, I still use my immersion chiller. This is due to the fact that I primarily brew beers that use the whirlpooling additions and I am impatient. Since I am working to get the beer down to whirlpool temps (185-170 F), I might as well finish it off. Plus, I just want to have everything done in one evening rather than waiting til the next day to pitch yeast.
Steps to Fermenting in a Corny Keg
- The first step in this process is to make sure your batch sizes are correct. Most places online suggest a 4.5 gallon batch due to the size limitations of the corny kegs, but I still make a 5.5 gallon batch and it is because I start the pressurization immediately, so I don’t need any headspace.
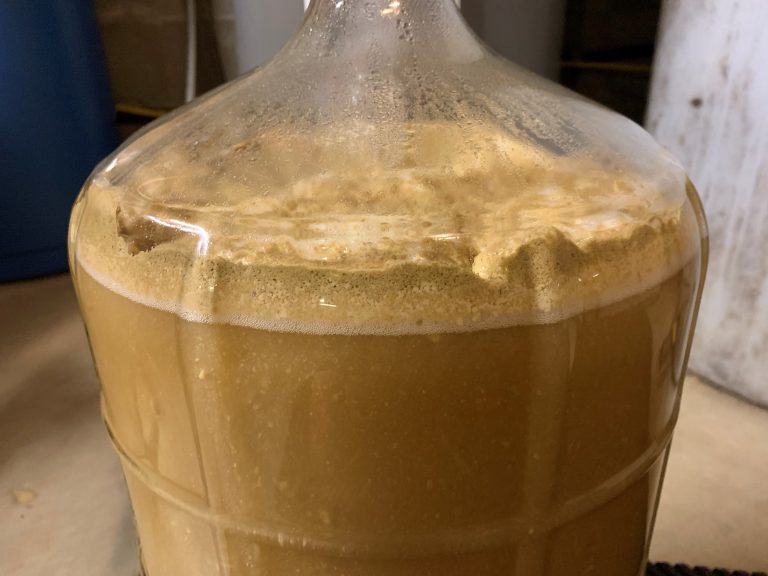
- After your wort is to temperature, siphon it into the fermentation keg (FK). If you are made a 5.5 gallon batch, fill it to the weld line inside the keg. This should hopefully leave about 1/2 gallon of wort in your boil kettle that is full of the hot- and cold-break. No sense in taking up valuable space in your keg with that stuff. If you are going to use a blow off valve at first, you want to only fill this with about 4.5 gallons of wort. You’ll need to leave enough headspace in the keg for the krausen.
- Aerate the wort by shaking the keg or using a shot of oxygen using a carbonation stone. Add 15-20 drops of FermCap-S or similar on top of the wort, pitch the yeast, then close up keg.
- If you filled it with 4.5 gallons, then you will want to attach a blow off tube to the gas post with the other end into a container of StarSan. You can do this a few ways:
- Get about 3 feet of hose and a #6 stopper. Squeeze the stopper onto the gas post threads (after removing the post and poppit)
- Get a spare Gas Quick Disconnect and attach a hose line to it with a clamp.
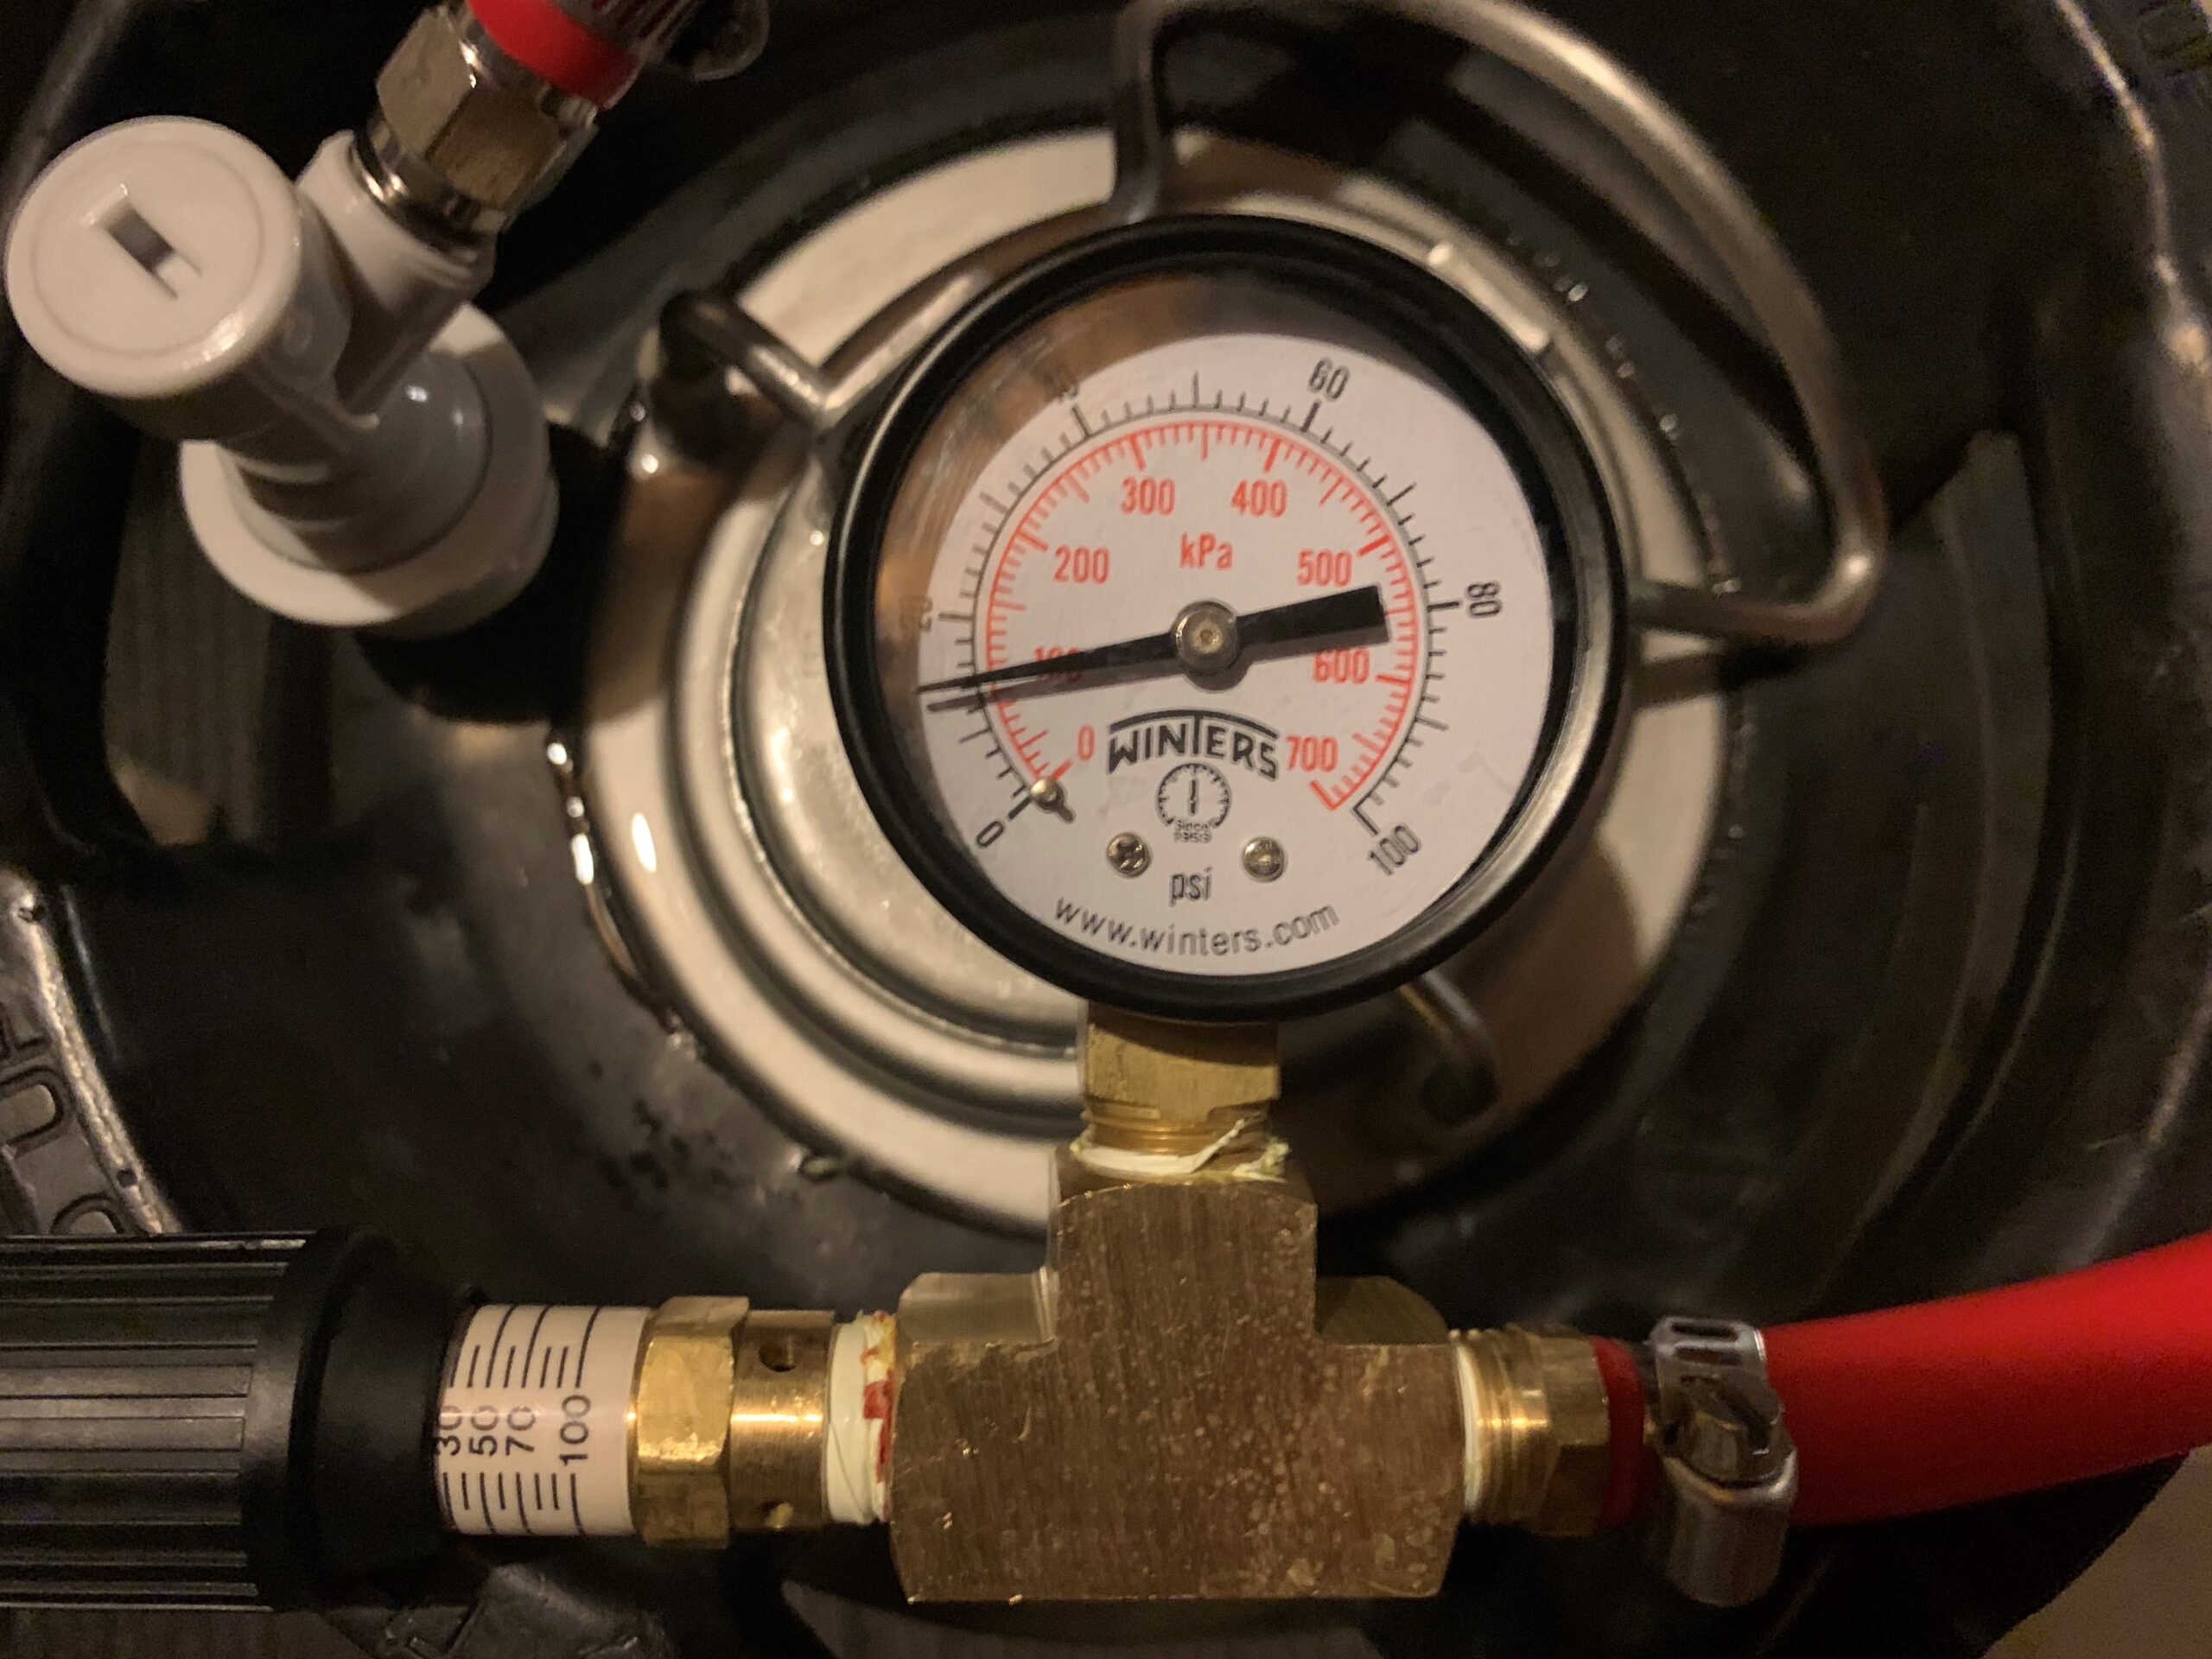
- If you filled it with 5 gallons (to the weld line), then attach your spunding valve to the gas post and setting it to around 12.5 psi. This pressure will keep your krausen in check and away from clogging your gas post.
- If your beer requires a dry hop, so it as the fermentation vigor starts to diminish. You can tell by how much air is coming out of your blow off tube or how loud the hissing is from your spunding valve. I suggest using a muslin bag if you don’t have a filter around your dip tube. I use the ArborFab Auto Siphon Filter, but others have had success modifying a dry hop SS canister with a hole up top that the dip tube fits inside. With a filtration screen in place, dry hop directly into the keg. Dry hopping directly into the keg and not inside an enclosed filter or bag gets much better hop utilization. In my opinion the difference in flavor is huge. Pro Tip: Cryo hops are really useful here as they reduce the amount of trub loss and have less of a chance of clogging posts or filters.
- If you originally used a blow off tube, now switch to the spunding valve once the krausen starts going down. Set it to 12.5 PSI to begin pressurized fermentation.
- Periodically take a gravity reading. Once pressure is built up inside the keg, use it to push out beer using a picnic tap. Alternatively, you can slowly let out the pressure and opening the keg, but really defeats the purpose of this low oxygen setup.
- Once beer is within 3-4 points of final gravity, we will transfer it to the serving keg (SK)
- Ensure SK is fully purged of oxygen. This can be done by filling it with StarSan or distilled water, then using CO2 to push it all out the liquid side using a picnic tap. If you decide to do a second dry hop (DDH) in the serving keg, purge the keg first, then quickly open the top to drop in the hops, close back up, then use the pressure release valve to help remove some oxygen that could be sitting on the top while adding more CO2 via your tank. Loose hops here work better as well, so again if you don’t have a filtration screen in place, use a muslin bag.
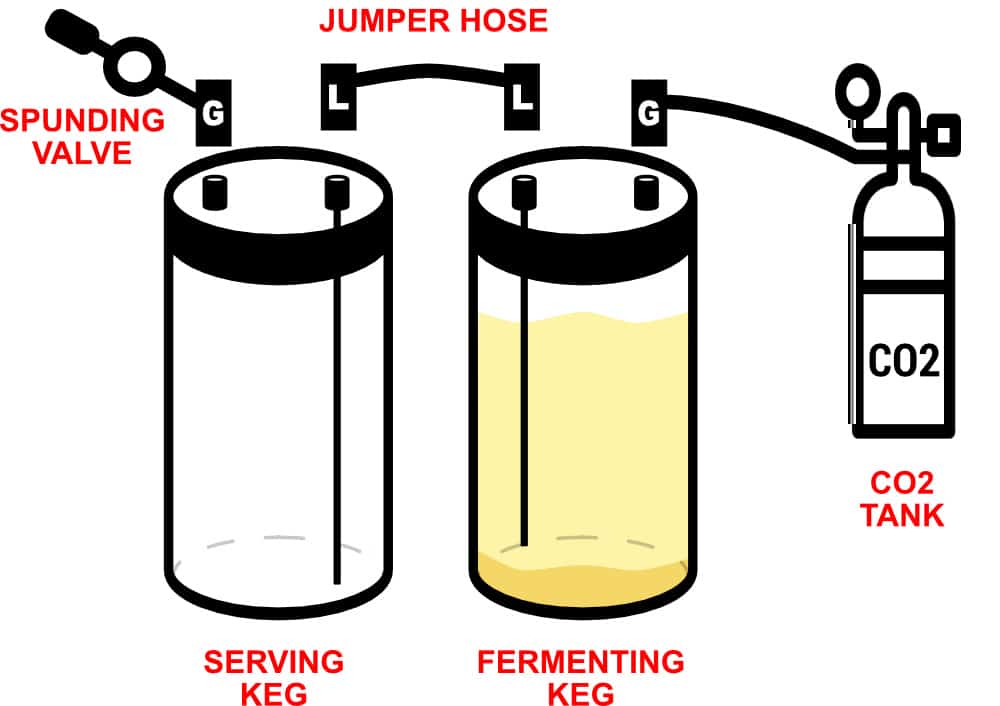
- Move the spunding valve to the serving keg’s gas post and set it very, very low, like 1-2 psi.
- Transfer the beer from FK to SK using liquid-liquid jumper hose using the CO2 tank attached to the gas port of the FK. The spunding valve on the SK should expel any CO2 that needs to be displaced as the new keg fills.

- When complete, raise spunding valve’s setting to around 20-30 PSI so you can naturally carbonate the beer with the remaining fermentation, which should only take a day or two. If you happen to over carbonate the beer, don’t worry too much – there are a few steps you can take to remedy that.
- Chill then serve. The first pint or two will probably have lots of sediment that can be dumped.
Tips & Tricks I’ve Learned
After a few hours of pitching your yeast, double check that the keg lid is not leaking. I had a small leak in the lid’s gasket that didn’t allow the spunding valve to build up any pressure at all. Luckily for me, I just needed to load the gasket up with grease and resat it. Once the yeast get going, you can tell almost immediately if the lid is airtight or not. A quick spray with StarSan will show you bubbles if there are any leaks.
In the fermentation keg, consider bending or cutting the dip tube. The fermentation keg will have all the trub at the bottom that you won’t want to transfer over to your serving keg. My preference here is to simply bend it, so I can adjust it later on.
In the serving keg, get a floating dip tube. No matter how much you try to leave the trub behind in the fermenting keg, some will make it over, especially if it was moved over before final gravity was reached.
DDH with Cryo hops. Seriously… they give you great flavor, reduce beer loss since they are low on beer-soaking vegetation, and all the big guys do it.
I personally start with the spunding value immediately. I’d rather get as much beer out of each keg as possible, and there are too many good reasons not to do it. A blow off tube will work, but the trade offs aren’t worth it in my opinion.
