Build Your Own DIY Spunding Valve for Corny Keg Fermentation
If you ferment inside a corny keg, you will need a spunding valve to release the pressure as the yeast go about their job eating up sugar and producing CO2.
A spunding valve is made up of a pressure gauge and a pressure release valve held together with a myriad of connectors. They connect to the gas-out port on your corny keg to release the pressure generated from the fermentation going on inside, the same exact thing an airlock bubbler does when connected to a carboy or plastic bucket fermenter.
In place of a spunding valve you can instead attach about 4 feet of vinyl hose to a gas quick disconnect and place the other end of the hose into a bucket of sanitizer, similar to a blowoff.
Spunding valves go for around $45 on Amazon and about $10 less on places like MoreBeer! However, isn’t it more fun to build your own? I agreed, so I’m going to show you how I did it.
I ended up buying all the materials off of Amazon. After doing some quick comparison shopping, I found that Lowes and Home Depot were actually more expensive, and they didn’t have all the materials I needed to make the complete product. So 100% Amazon it was.
The Finished Product
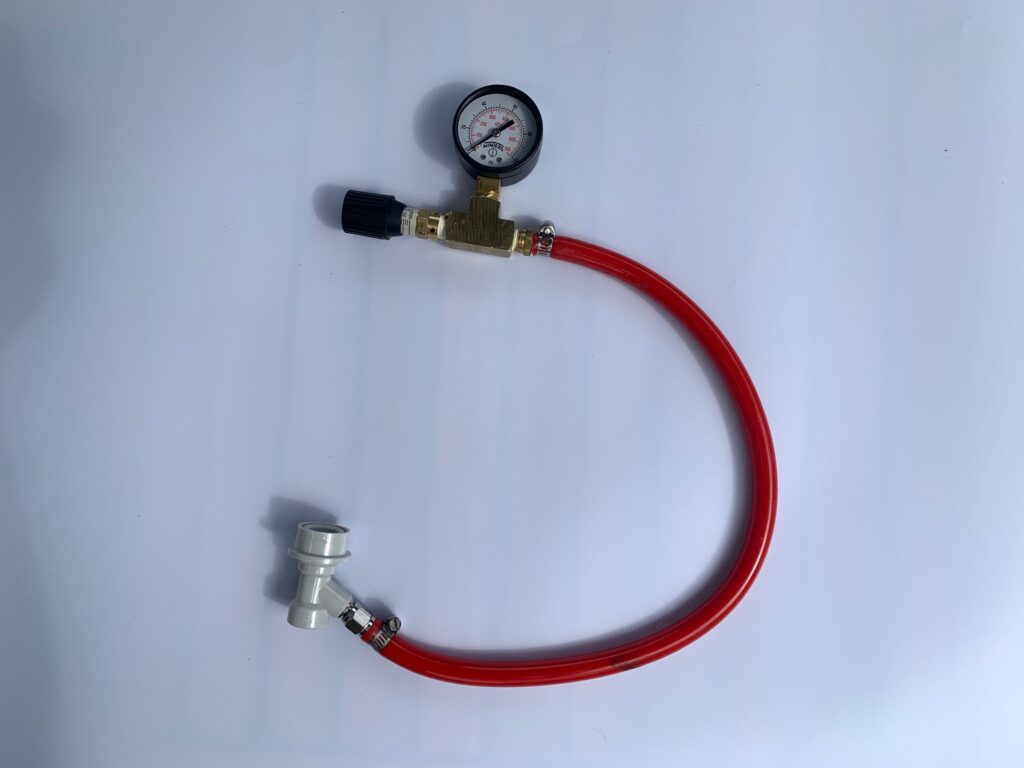
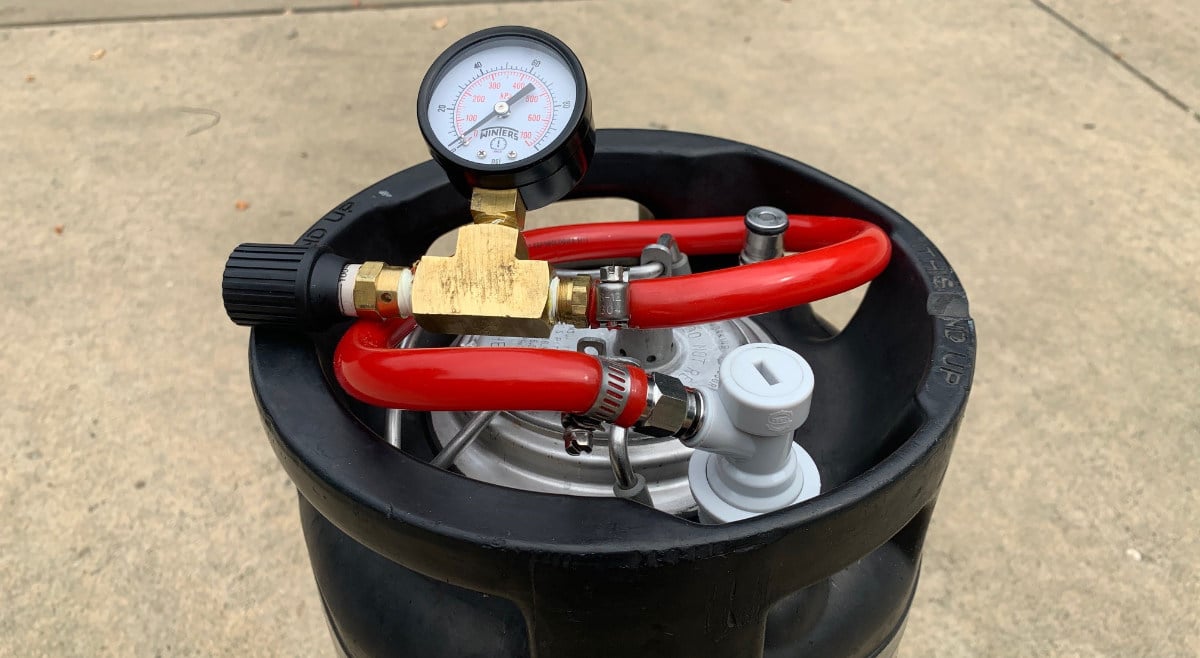
Naturally, you want to see what the final product looks like first. Here it is. You’ll notice that I decided to attach a hose to the keg-side. Most spunding valves are rigid and stick up at a 45-degree angle off of the keg. I built it this way for a few different reasons:
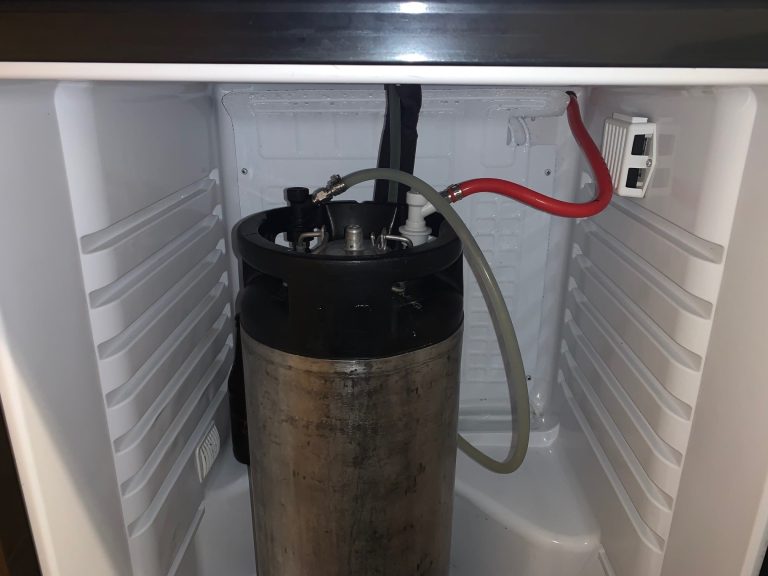
- If I decide to cold crash, I wanted to make sure the height and width of the corny keg and spunding valve combo would fit neatly into my kegerator.
- Sticking out at a 45-degree angle made me nervous that I was going break something by accidentally knocking the keg over or bumping into the valve.
Materials Needed
These are all the materials I needed to make the valve, which ended up costing me around $31 (I’m a Prime member), but I had some red CO2 vinyl tubing lying around, so I didn’t have to buy that. If I had, it would have been closer to $41 to build it completely.
It is important to note that I have a ball-lock corny keg, so if you have a pin-lock you’ll have to ensure you get the correct pin-lock disconnect.
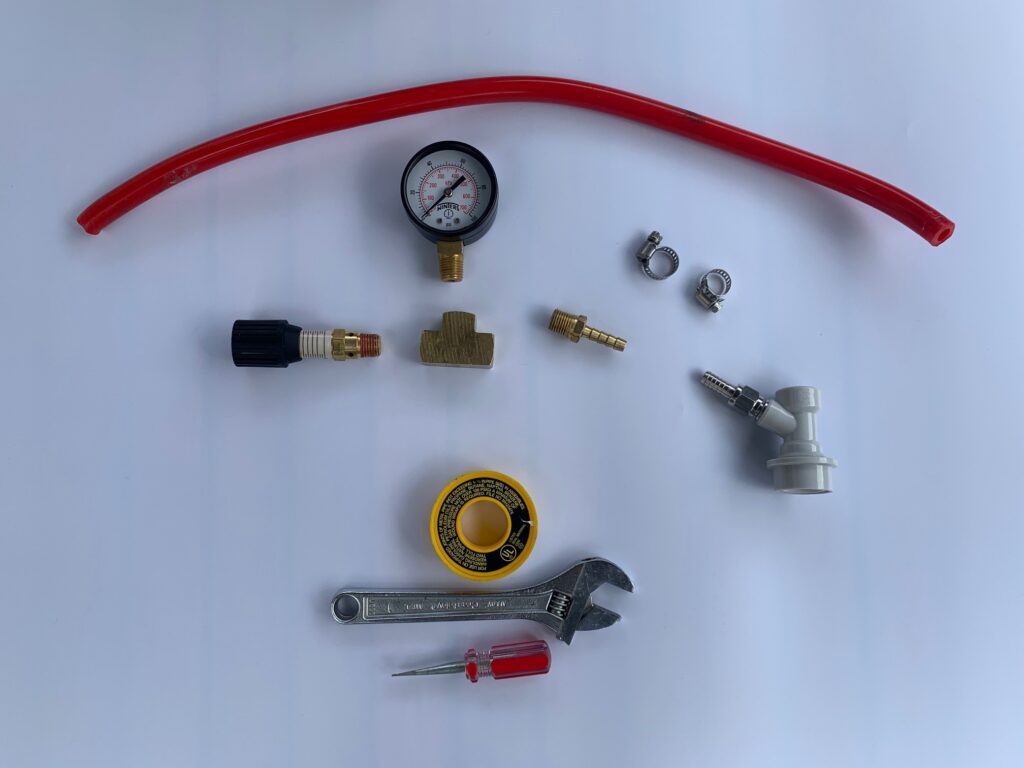
| Image | Product Description | Amazon |
|---|---|---|
 | Winters Dual Pressure Gauge (1/4″ NPT) | Buy Now |
 | Control Devices CR Series Brass Pressure Relief Valve Adjustable (1/4″ NPT) | Buy Now |
 | Brass Tee Fitting, Female (1/4″ NPT) | Buy Now |
 | Brass Hose Fitting, Adapter 1/4″ Barb x 1/4″ NPT Male Pipe | Buy Now |
 | Ball Lock Disconnect – Barb Gas (if you need a pin lock disconnect, use this one instead) | Buy Now |
 | Vinyl Hose, Clear or Red (5/16″ ID) You’ll need about 12-16 inches of hose | Buy Now |
 | Hose Clamps, Micro Size 4 You’ll need two (2) of them | Buy Now |
Tools Needed
- Small crescent wrench
- Flat screwdriver
- Gas line Teflon tape
Steps to Build
Assembly is extremely easy.
- Wrap about two inches of Teflon tape around each of the three fittings: pressure release valve (PRV), gauge and hose barb.
- Attach the three fittings to the tee in the order shown in the image. I liked that Amazon had the squared-off brass tee because I could place it in my vice and tighten the fittings with my crescent wrench. Without the use of a vice, I would have had to use two crescent wrenches.
- Tighten them until over half of the threads are inside the fitting, ensuring that the gauge is facing forward once you’re done.
- Attach the hose to the barb on one end with one of the hose clamps, and the gas quick disconnect on the other.
- Test it does not leak under pressure. To do this, I filled an empty keg with about 20 PSI of CO2 from my canister, then disconnected it. Next, I attached my new CLOSED spunding valve to the gas post on my keg. The gauge should read around 20-ish psi and should hold. Spray the whole contraption with a StarSan solution or use diluted soapy water. If there are any leaks at any of the connections you will see bubbles starting to form. If you see no bubbles, you did a good job. Slowly unscrew the PRV and you will feel/hear the gas from the keg starting to release with the gauge dropping in pressure measured.
Pro Tip: I had a bit of trouble getting the quick disconnect (QD) to easy go on my gas post. squeeze a few small drops of silicone faucet grease on the post’s rubber gasket. It takes the effort of getting the QD off from a 10 to a 3.
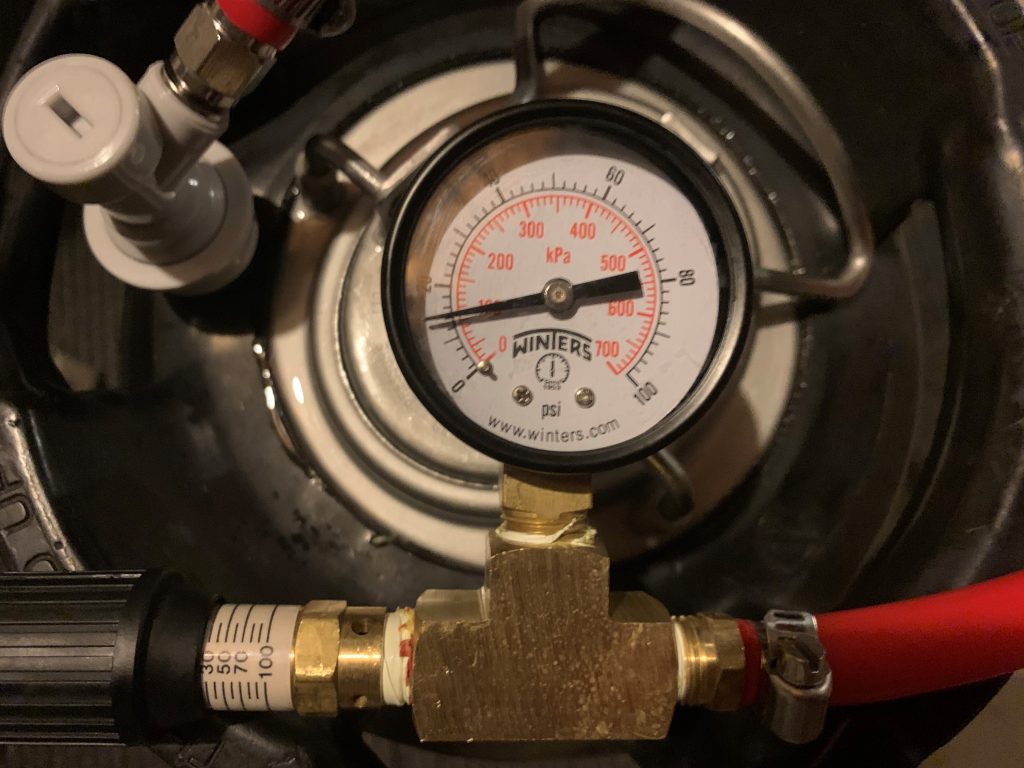
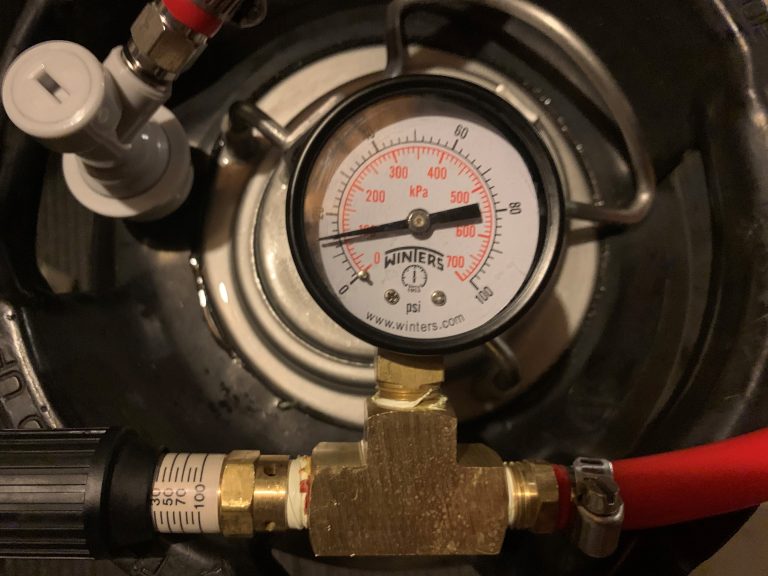
Pro Tip #2: Trust the gauge’s pressure value instead of the PRV’s setting. I found they do not coincide with each other, so I’ve taken to trusting the gauge and not the lines on the PRV. You can see in the image below that they do not match. The PRV is showing 30 PSI and the gauge is showing 15 PSI.
