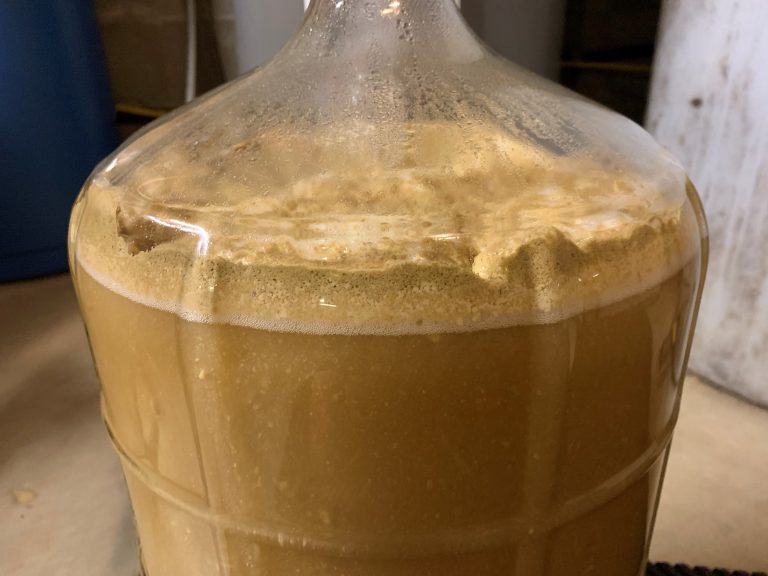
Brew-in-a-Bag Brewing on a Budget
I started my homebrewing using extract kits however I never really had any luck in getting beer that I would be happy to drink. I decided to give all grain brewing a try as it was mentioned that taking that as the next step would have the single greatest impact on my beer’s quality as compared to anything else.
They were right.
Brew-in-a-Bag vs Old School Way
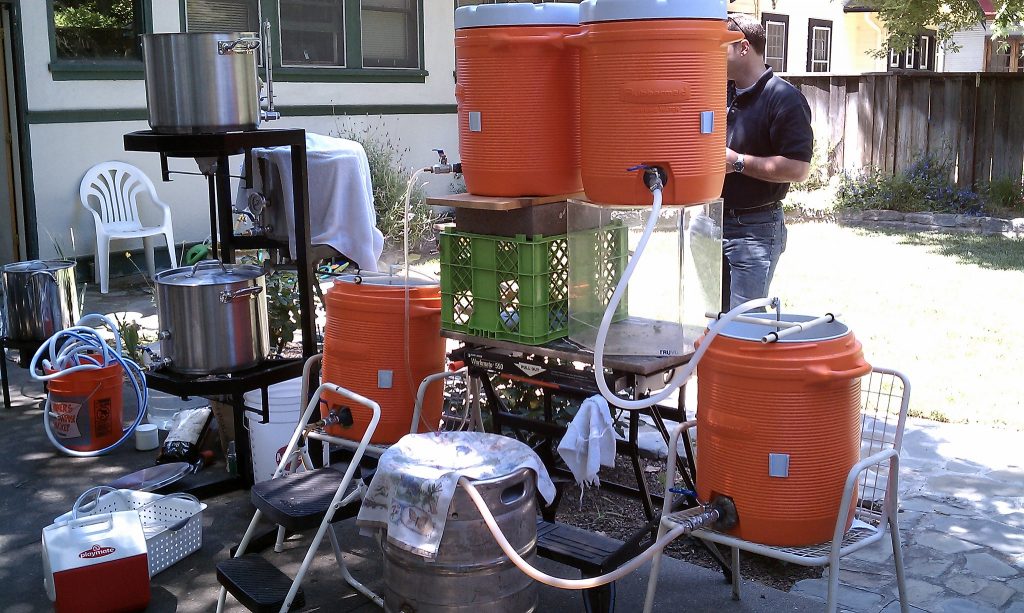
There are some old timers that will swear that if you aren’t using a lauter, mash tun and performing a vorlauf, then you somehow aren’t doing it right. I respectfully disagree and I have no problem making a wonderful beer using the same amount of grain and water using my brew in a bag system.
Beginners using Brew-in-a-Bag – or BIAB for short – will hear about various problems with going this route including decreased efficiency of their mash, and the hazards of squeezing the bag.
Related: Read about how to get the most out of your BIAB setup
To combat decreased efficiency in your BIAB setup, it is important to try and get as much sugar washed off your grains as possible. This usually means adding a sparge step as well as squeezing the grain bag. Some homebrewers were originally concerned that by squeezing the bag, you would be releasing astringent tannins into your wort. I have never had this issue arise, and I think it has largely been debunked as a myth just as long as you hit your temperatures correctly and follow all the other rules of safe and sanitized brewing.
All-in-One Systems
All-in-one systems are for those that don’t mind spending a few extra dollars in order for an easier brew day. These systems such as the Grainfather, Anvil Foundry or Robobrew come with electric heating coils, a grain basket, cooling systems, digital displays, Wi-Fi or Bluetooth connectivity and lots of accessories. These systems can range anywhere from $400 to $1,200. You will find cheaper models, but they are plagued with difficultly getting the wort to boil in a reasonable amount of time.
Build Your Own BIAB System
If you don’t mind giving up on some of the benefits that an all-in-one system has, you can assemble a pretty great BIAB system for significantly less. There will always be upgrades you’ll like to have, and those can come later as you decide what parts of your brew day would benefit most from new equipment.
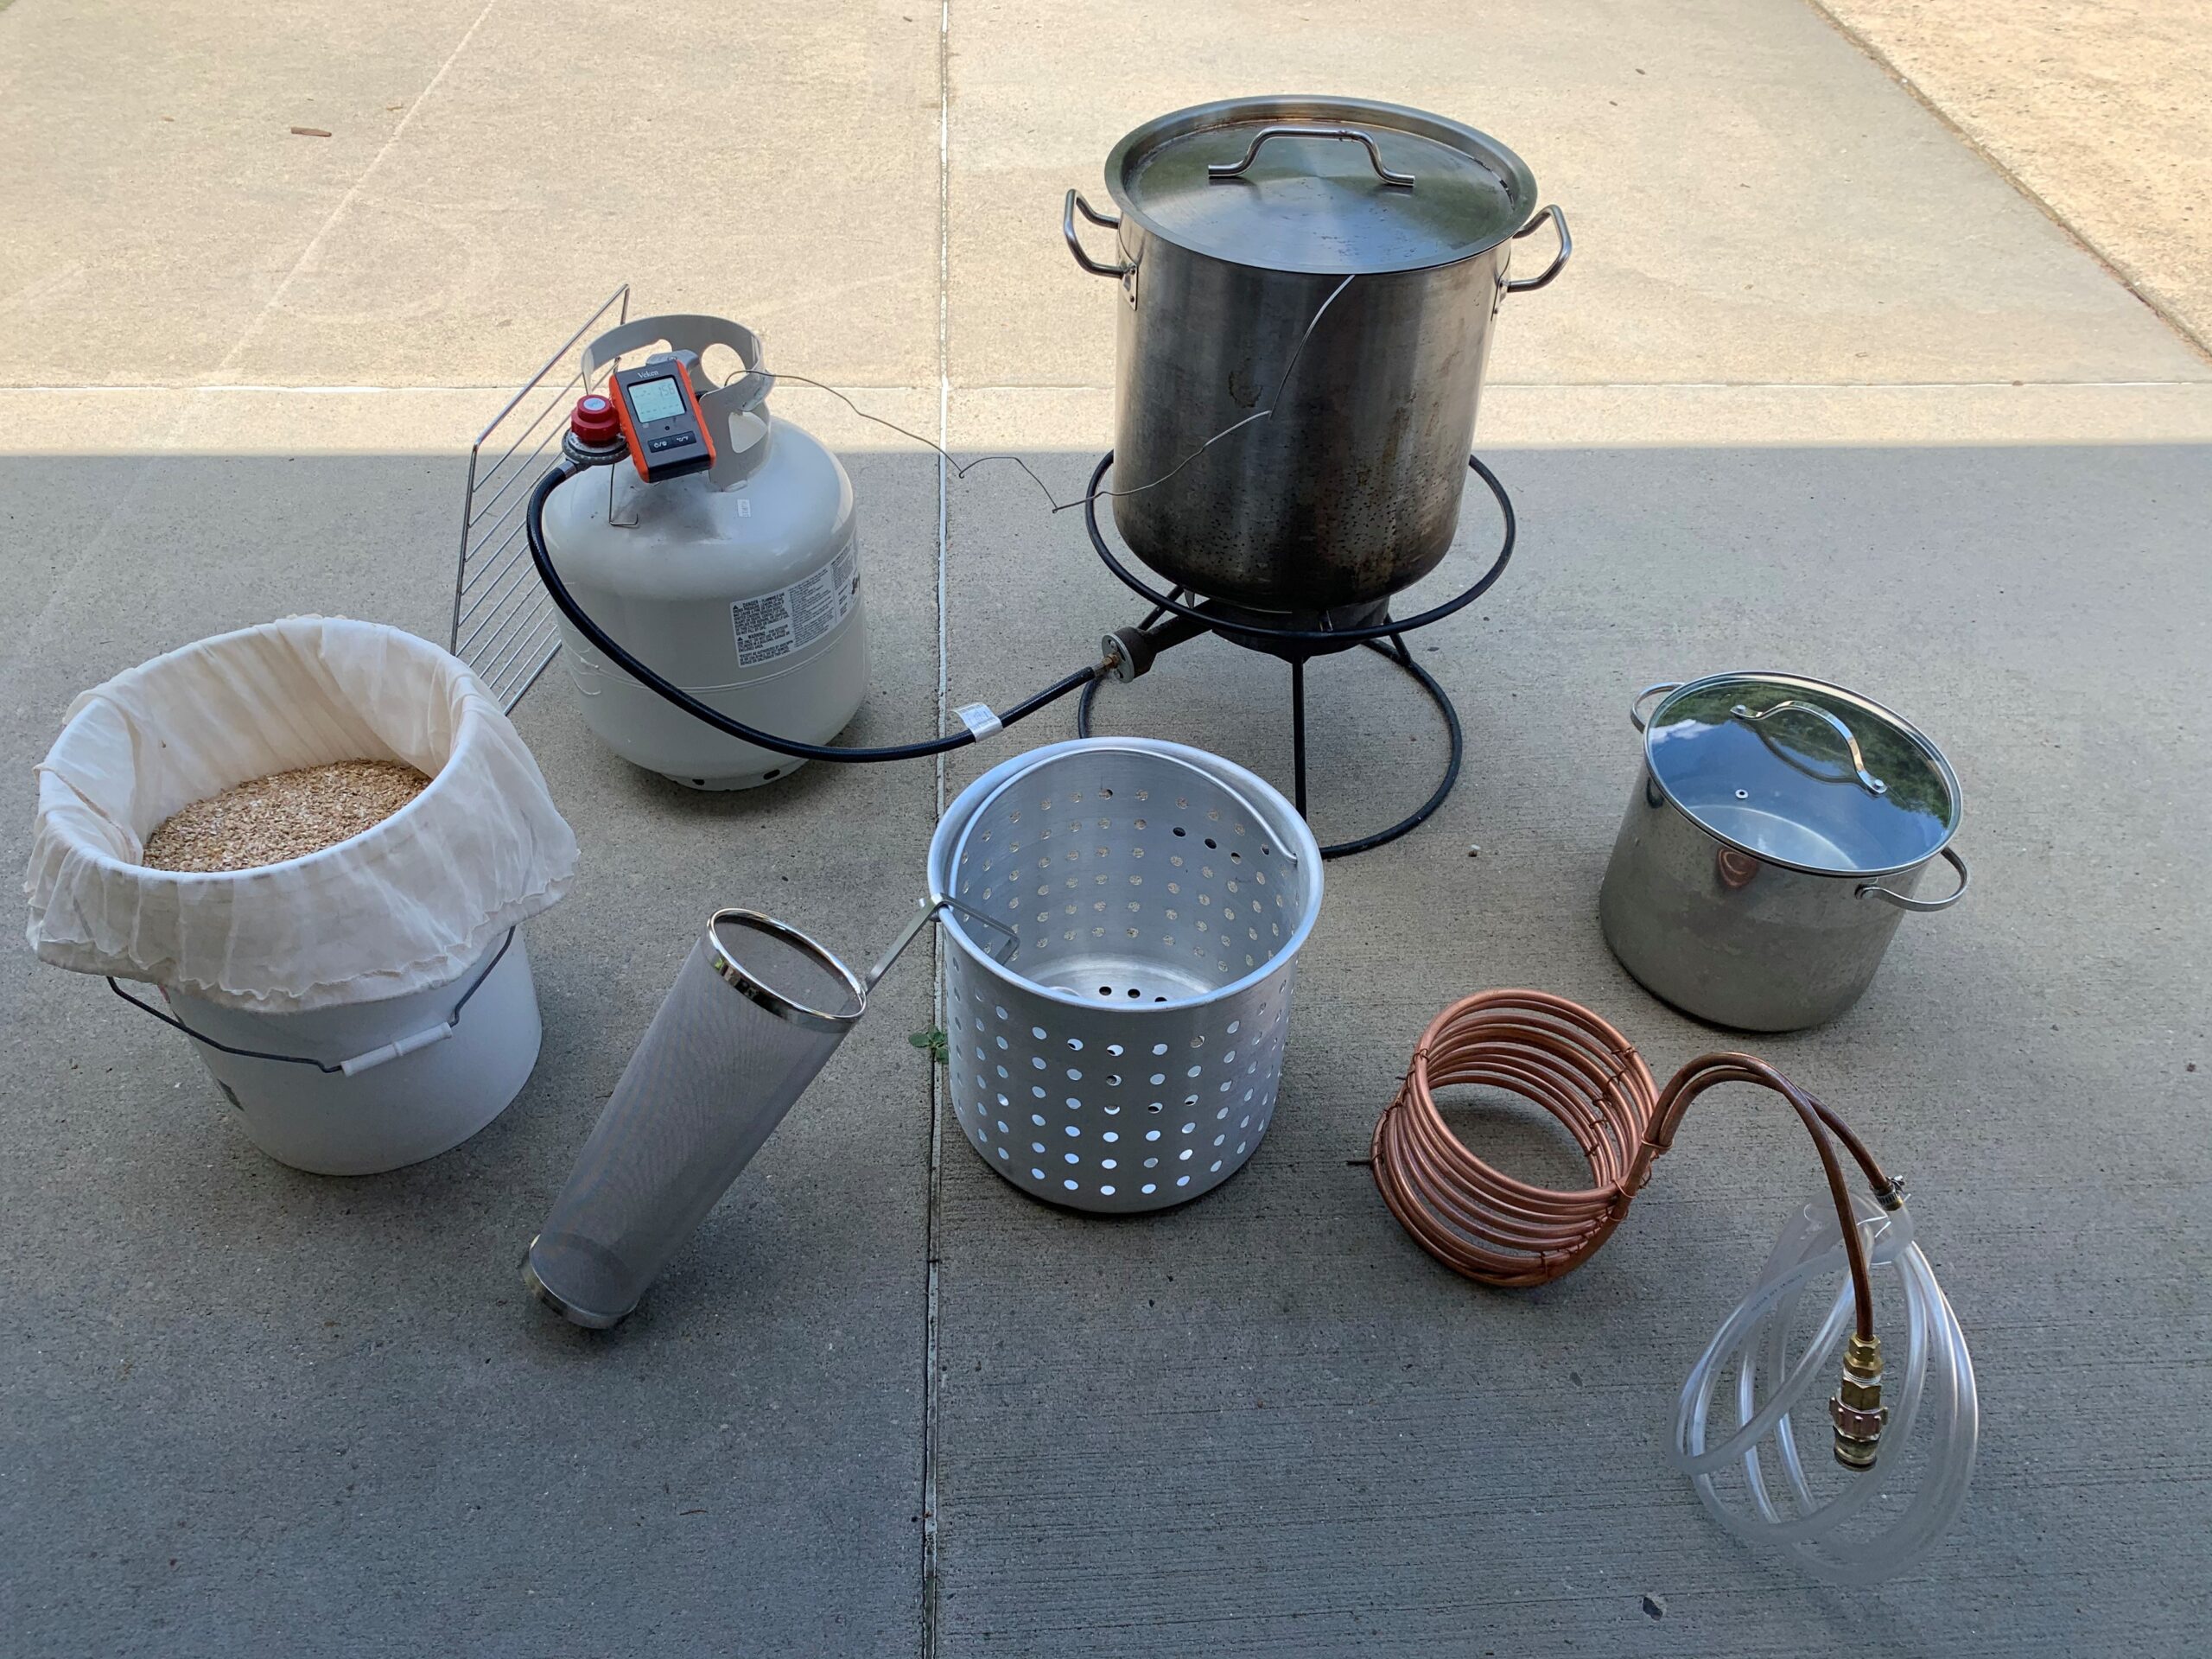
For beginners just getting into Brew-in-a-Bag brewing, the following 5 gallon setup should only cost you less than $300 depending on what supplies you already have on hand, which deals you can find and how handy you are at making your own immersion chiller.
- Stainless Steel Brew Kettle with Basket
- Propane Burner
- Silicon Gloves
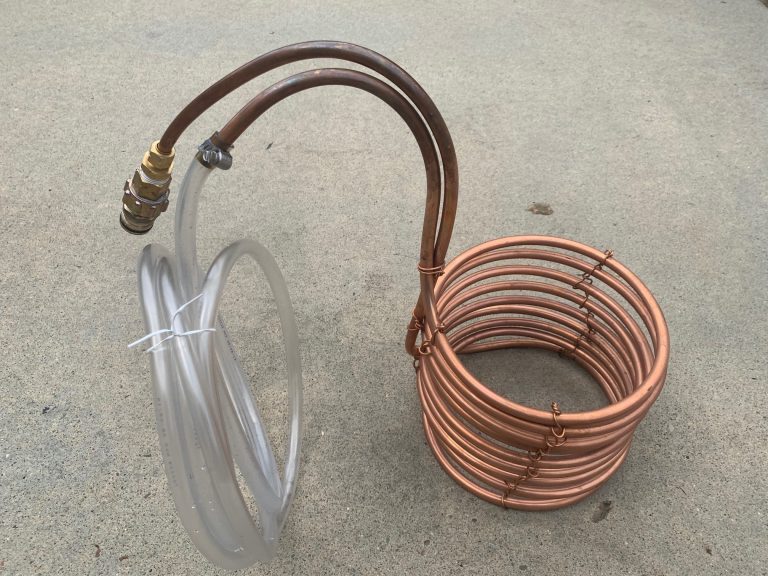
- DIY Immersion Chiller
- Hop Spider
- Cooling Rack (found one in my kitchen)
- Spare 2-3 gallon stock pot from the kitchen
- Nylon BIAB Bag
- Remote Digital Meat Thermometer
Budget Tip: Check Facebook Marketplace and Craigslist to used brewing equipment. I just did a quick search on both now and found 4 different listings of people selling their used equipment.
How to Brew-in-a-Bag: My Process
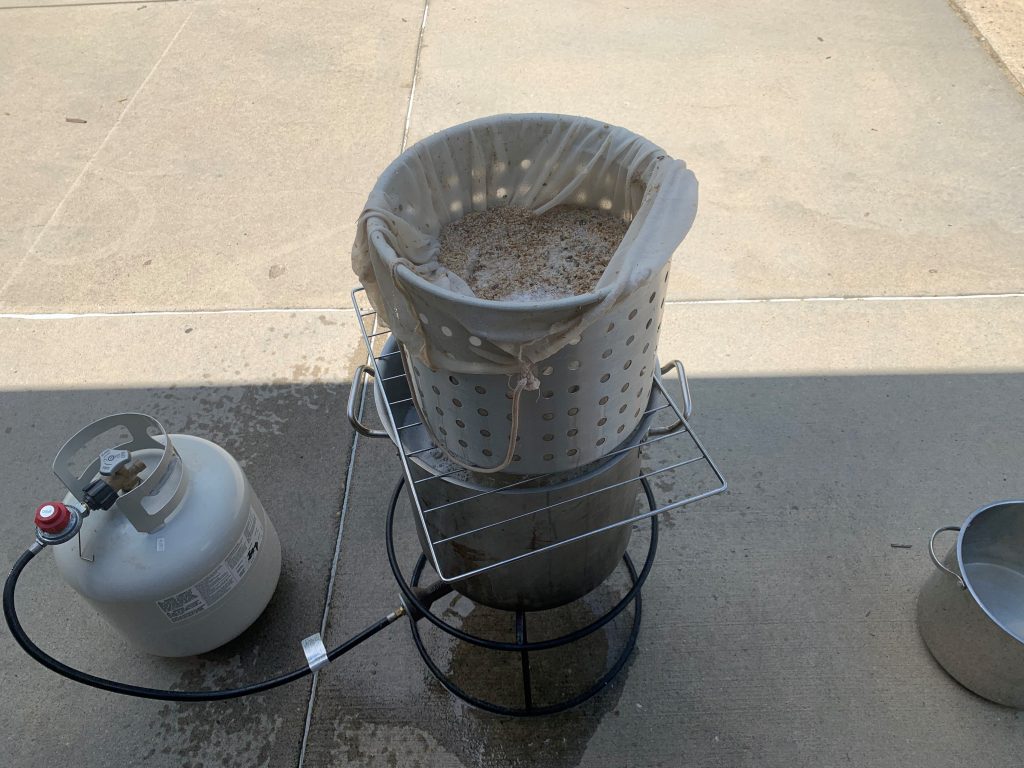
- I pull 8 gallons of well water from the pressure tank before the water softener and add my calcium chloride and gypsum.
- I put about 6 gallons of that water in my pot (without the strainer insert) and start the burner on high. With my remote thermometer I wait until the water hits my strike temperature.
- While waiting, I measure out my grain and place it into one of my nylon bags.
- Once the mash water is at the correct temperature, I turn off the burner, drop in my nylon bag with the grains in it and stir the heck out of it to get rid of any dough balls.
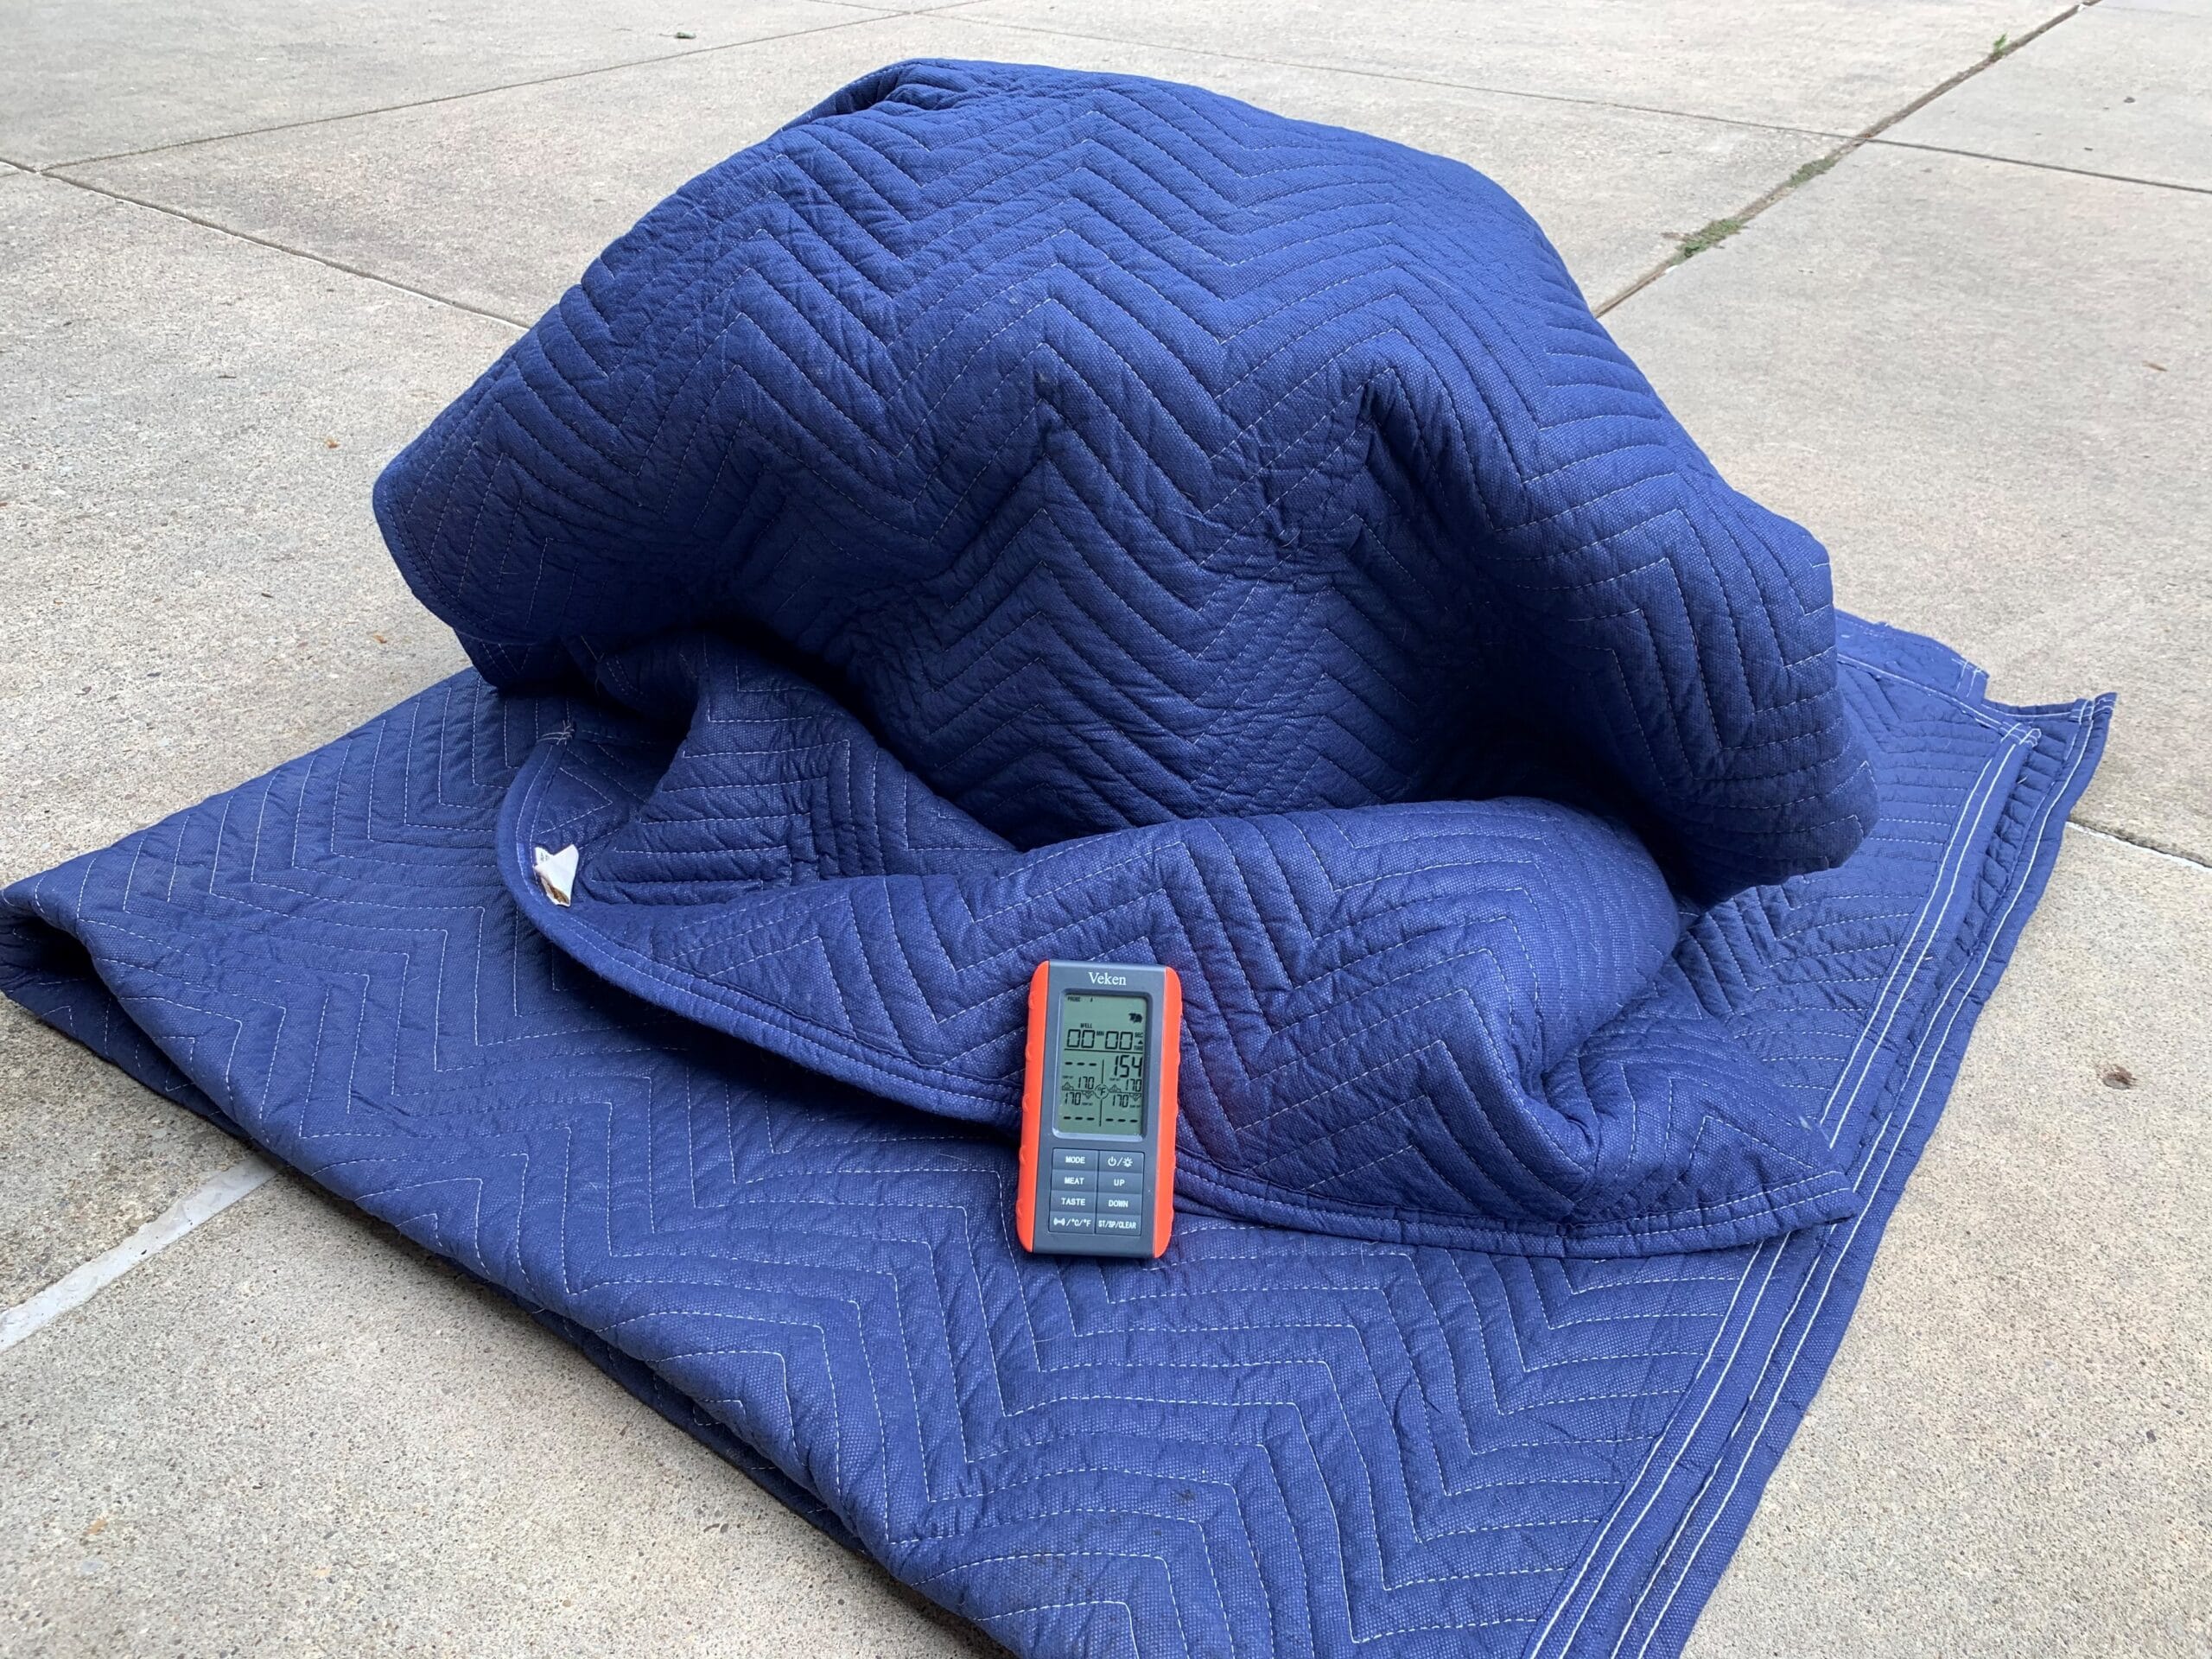
- I then place the lid back on the pot and wrap it with a few moving blankets I have lying around for the mash duration (60 min).

- About halfway through the mash, I put the remaining water for the sparge in my second stock pot and heat that up to temp (usually around 170 F).
- After the time is up, I place the kettle back on the burner stand and lift the bag out of the mash water while simultaneously putting the cooling rack on top the kettle and the bag inside the strainer, on top the cooling rack. This process was a bit tricky at first, but if you have everything you need beside the kettle, it’s not too bad.
- I then twist the bag shut and squeeze it with the silicon gloves on until most of the easy water is out of it. I then open the bag and start to pour most of the sparge water on top the grain bed maybe a half gallon at a time, letting the water just run out the bottom into the kettle.
- After I have about 6.5 gallons of wort in my kettle I stop sparging and then do another round of “twist and squeeze” of the grain bag.
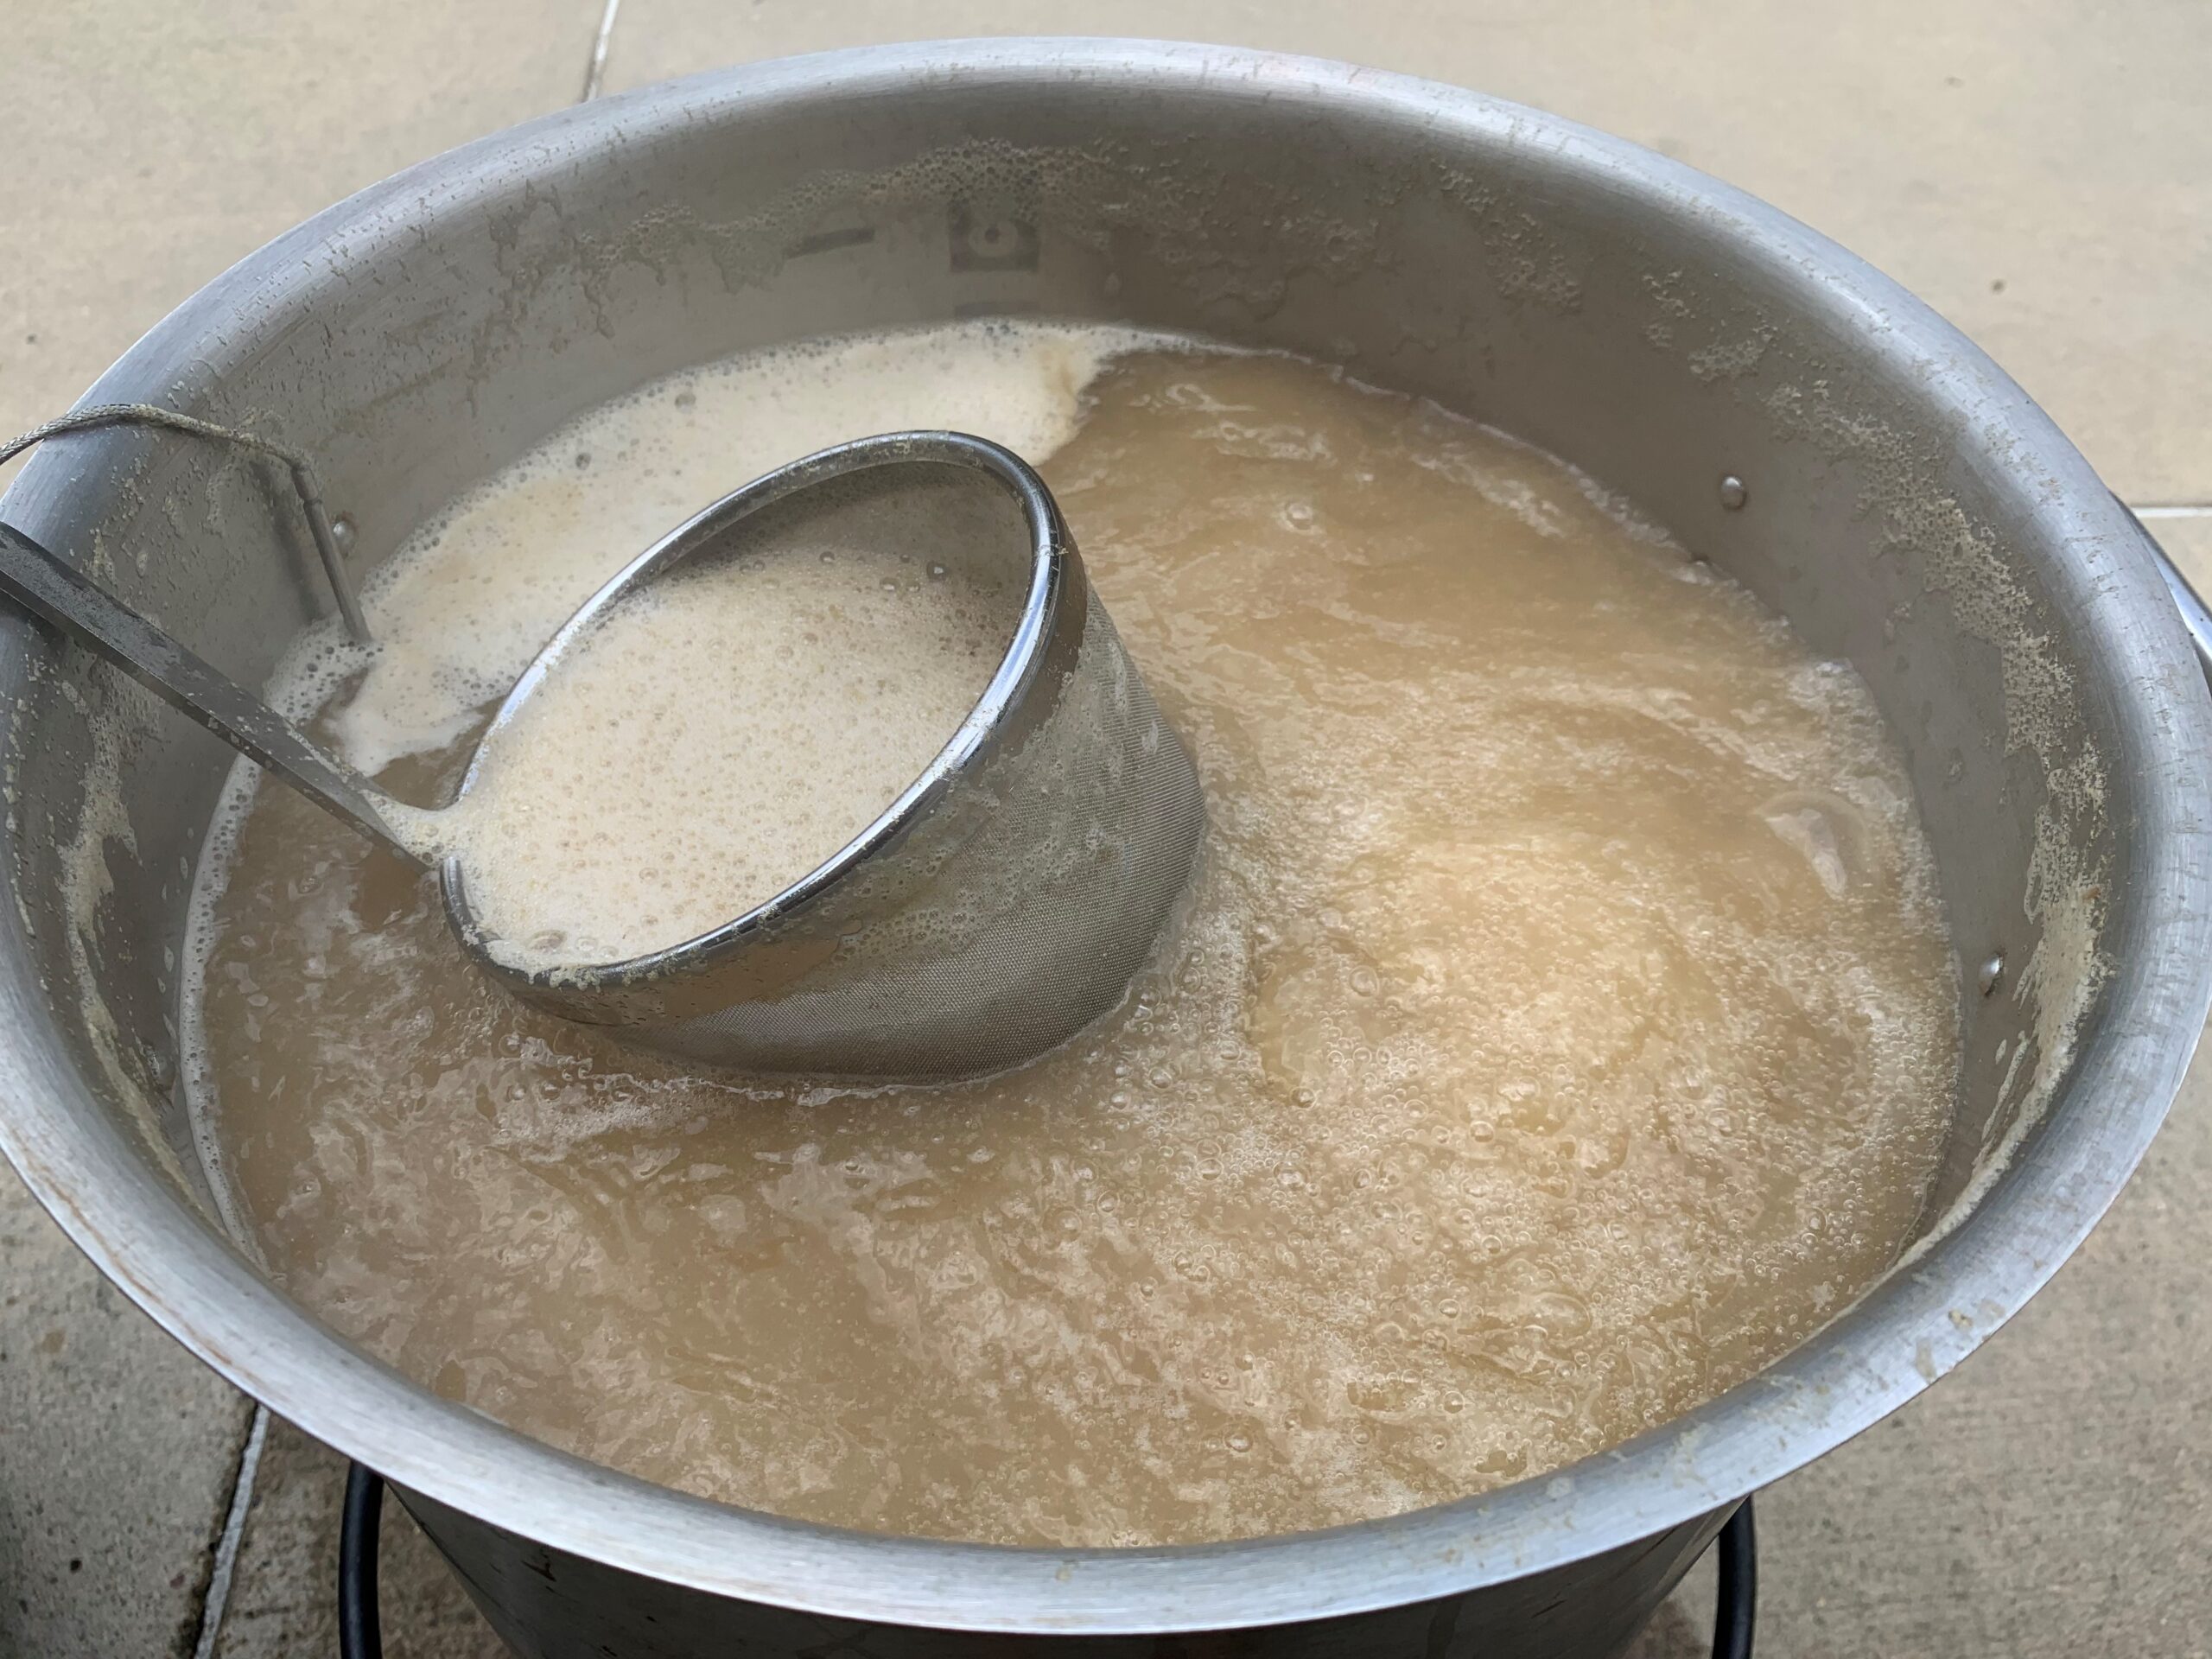
- At this point you should have about 7 gallons of sweet wort in your kettle, which you can begin to heat again. Don’t forget to place the hop spider in the kettle!

- With 15 minutes left in the boil I always add my immersion chiller and get the garden hose and Rubbermaid containers ready (to catch the water runoff) ready.
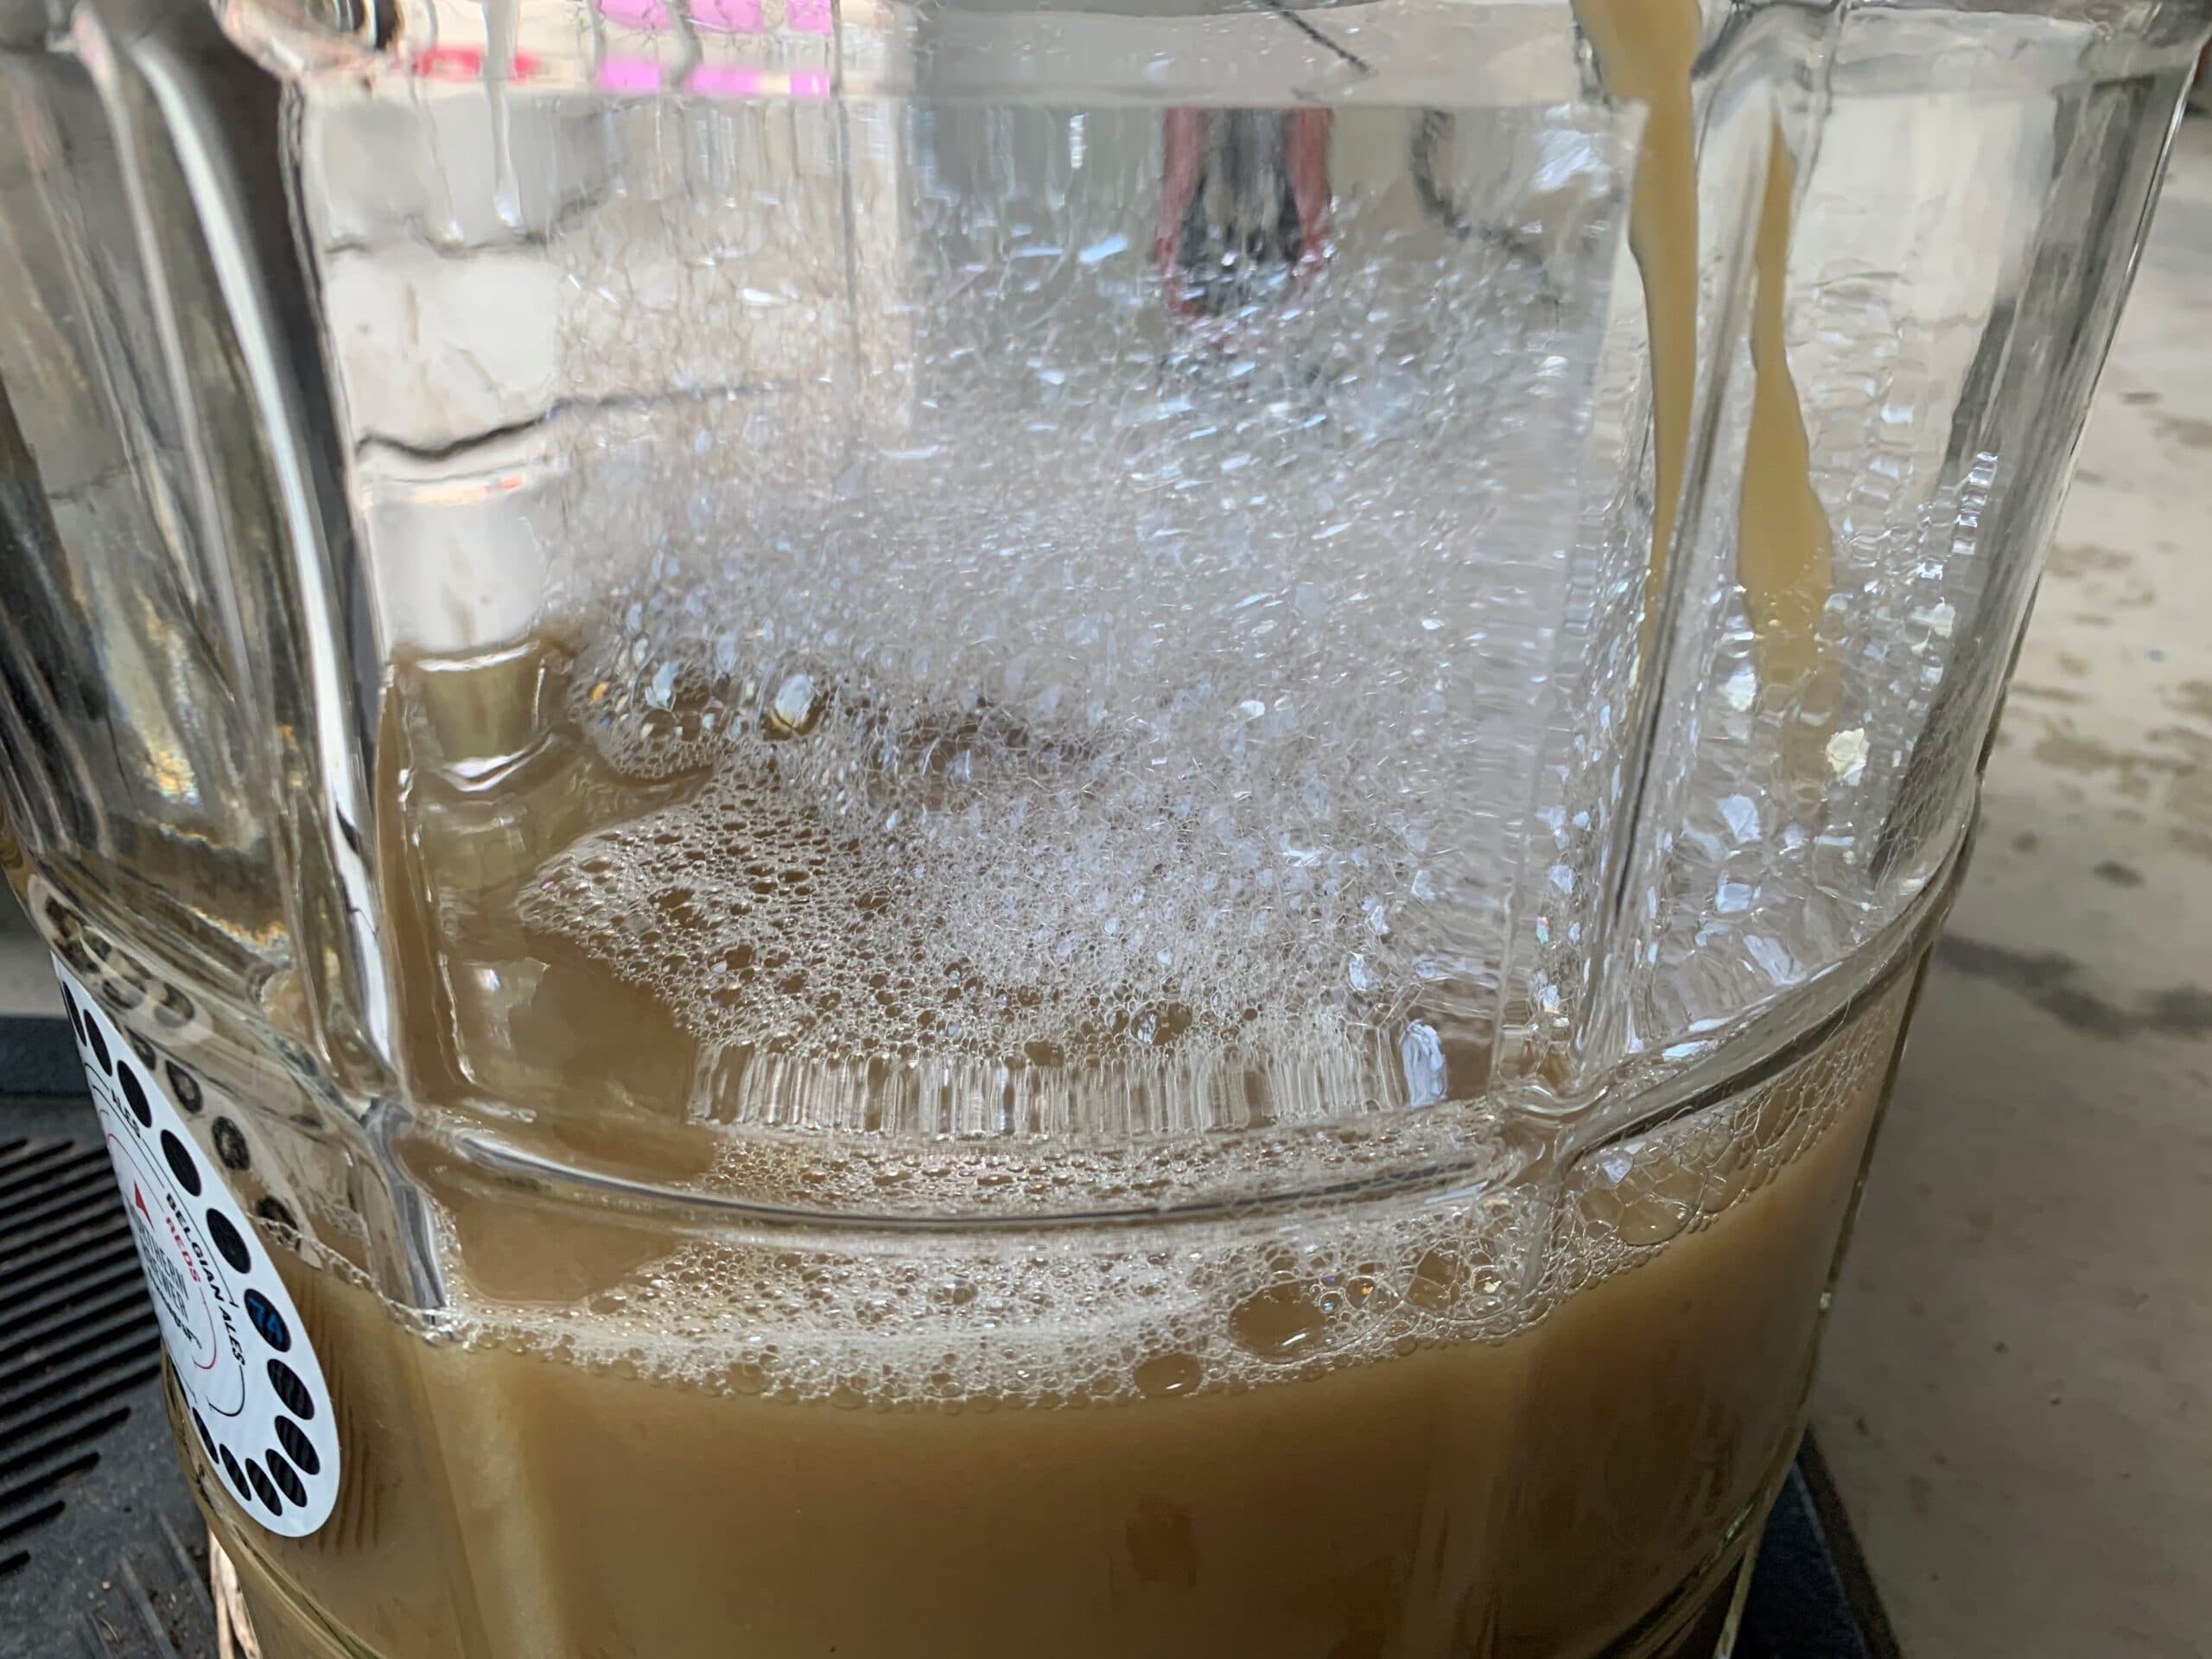
- After the wort is down to temp I use my auto-siphon to move the wort to my carboy. If you don’t have a siphon, you can always just pour the wort into your fermentation vessel through a funnel. Either way works just fine.

