6 Types of Wort Chillers Available
As a home brewer, how you’ve chilled your wort has probably gone through a few iterations over the years. If you were anything like me, you started with an ice bath, then quickly upgraded to an immersion or plate wort chiller. There are extreme levels of chilling wort that go beyond those options, but one thing has remained constant: your wort needs to get to pitching temperature at some point.
Regardless of if you do it: fast, slow, expensive or DIY… it needs to happen.
Why Does Wort Need Chilled?
As wort is boiled, it reaches a temperature of 212 °F (100 °C). Wort being brought to this temperature does a few things:
- The wort becomes sanitized. Any microbes, bacteria or harmful contaminants will be killed off at high temperatures such as these. Technically water only needs to reach 170 °F (77 °C) for a bout a minute to become sanitized.
- Proteins drop out of the wort, resulting in clearer beer.
- IBUs are added as hops are boiled for longer periods of time.
- DMS – an off flavor – is released as wort is boiled.
However, wort is not beer. Wort only becomes beer after yeast is added, and these little organisms ferment the sugars from the grain into alcohol.
If you pitch yeast into boiling wort, the yeast will die a painful death and will not ferment anything. While each strain of yeast has its own preferred operating temperature range, most are between 44-73 °F (7-22 °C). Ale yeasts operate in the higher section of that range, and lager yeasts the lower.
The Chill or No-Chill Debate
The big conversation lately has been whether to immediately chill your wort, or to let it cool naturally. No-chill methods consist of hot wort being poured into a closed container and being allowed to cool slowly overnight.
There are pros and cons to both methods.
Why You Should Immediately Chill Your Wort:
- It saves time. This is the biggest benefit for me. I want to get my wort down to pitching temperature as fast as possible, so I can add the yeast, then ignore it for a week or two.
- It reduces the chance for infection. Chilling your wort fast gets it past the dangerous temperatures that are ripe for infection. Bacteria love warm temps just below 160 °F (71 °C), so the longer it stays in that range… the longer the wort is at risk.
- It prevents off-flavors. DMS can still be created at temperatures over 140 °F, and hops (if left in the wort) will continue to isomerize until the wort drops below 175 °F (79 °C).
- It reduces chill haze. Rapidly cooling your wort to optimal pitching temperature also improves the cold break or the precipitation of proteins and tannins from your wort.
Why You Should No-Chill Your Wort:
- It saves water, energy and/or money. An immersion chiller can use upwards of 20 gallons of water to cool 5 gallons of wort down to 70 °F. If you happen to pay for your home’s water, then you’re wasting money as well as water.
Things to Consider Before Purchasing
All the wort chilling devices below will get the job done effectively. However, they all vary wildly in price. Glycol chillers can run upwards of $1000, while immersion chillers can cost only about $50 if you do it yourself.
Some methods or devices are faster than others. If you brew large batches over 5 gallons, then you may not have the time available to wait for the wort to cool down on its own. In this case, a Glycol chiller may be your best option regardless of its high price tag.
The waste each method it creates is a major consideration you need to take into account as well. Do you feel comfortable wasting 20+ gallons of water if you choose an immersion chiller? I actually am, because I don’t technically waste it. What water I don’t use during cleanup, I use to water my garden. But others may have different scenarios.
You’ll also need to decide on what material your chiller will be made of. You can find both counterflow and immersion chillers available in stainless steel and copper. Copper is the better choice for efficiency as it is a better conductor of heat than stainless steel, which will result in less waste of water. However, stainless is a less expensive material and easier to clean than copper.
The Six Methods of Wort Chilling
Immersion Chillers
The “I know what I’m doing” Option
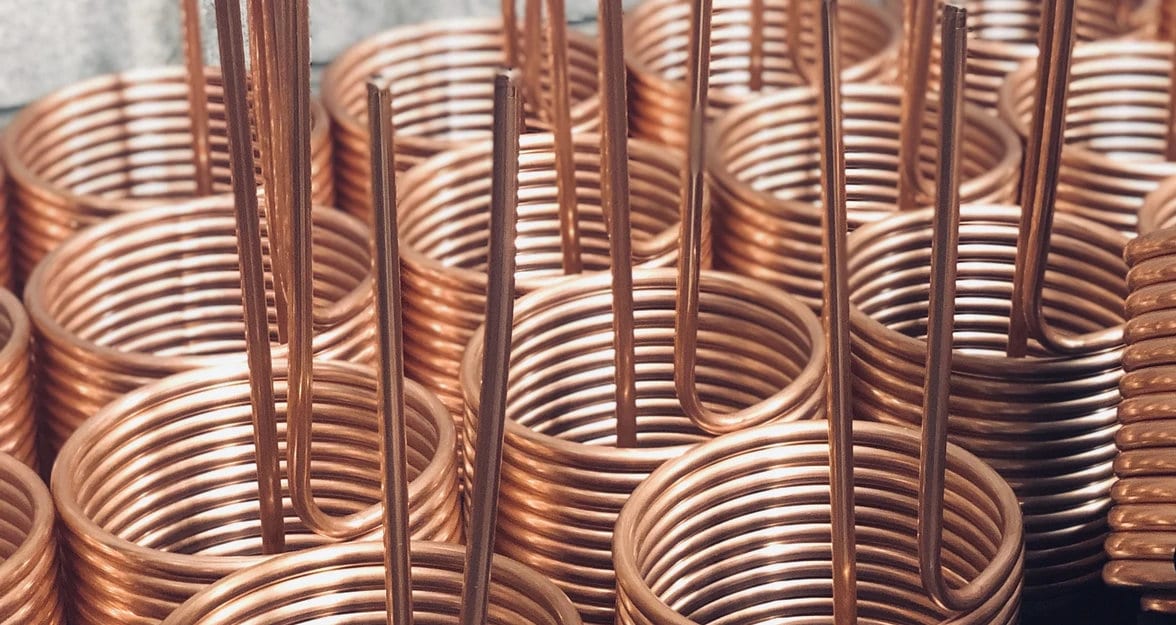
Immersion chillers run cold water from a garden hose through copper pipes that sit inside your wort. This is one of the first upgrades a home brewer makes as they become more experienced with this hobby.
Immersion chillers come in either copper or stainless steel. Both are fine, although copper is said to cool your wort faster.
This product from Coldbreak is US made and already comes with the needed garden hose fittings.
Counterflow Chillers
Requires a Pump
Counterflow chillers are a tube-inside-a-tube design and work by running hot wort from the boil kettle through the inner tube while cold water flows in the opposite direction through the outer tube.
This counterflow chiller from NY Brew Supply comes with 25′ of 1/2″ copper tubing that allows for a quick transfer of heat with just a garden hose.
It works much faster than an immersion chiller, which reduces waste, however it also is a closed system that will need to be cleaned after use, and it requires the use of a pump.
Plate Chillers
Requires a Pump
There are a few options to choose from when it comes to plate chillers. The most common variation is the number of plates. Basically, the more plates it has, the quicker it is at cooling, but its price rises accordingly.
The major drawback of using a plate chiller is that you’ll need a circulation pump if you don’t already have one. It is also a closed system, which runs the risk of infection if not cleaned properly inside.
This 30 plate chiller is reasonably priced, has great reviews and will do the job quicker than an immersion chiller with less waste. Don’t waste your time on any size less than 30 plates.
Glycol Chillers
Most Expensive Option – Pro Grade
There are two different glycol chillers on the market today. The Grainfather shown here and the Blichmann. Both sport about the same hefty price tag, have similar features and are quality made.
Having a system like this is the perfect addition to ensure craft brewery-like results. It is multiuse as well: It cold crashes, controls fermentation temps and cools wort down from boiling.
No-Chill Container
The “Take-Your-Time” Option
You can use any food-safe and air-tight container for this, but we like this dedicated HDPE container best.
Whatever container you choose, just make sure it is spotless and sanitized with StarSan before filling.
Ice Bath Method
The Beginners/Budget Option
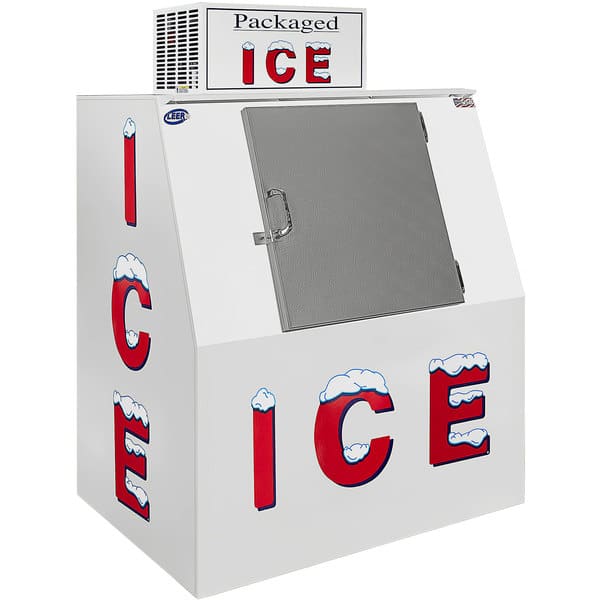
This is the most basic method, and not one we would recommend unless it’s your first time. Buying ice can get expensive, especially in the quantities you’ll need. A 5 gallon batch of beer will take about 3 Big Bags of ice, each of which costs me around $8.
You can also freeze your own ice in containers, which is 100% OK… but that requires me to 1) think ahead and 2) be super basic… either of which I have little interest in.
Bonus: DIY Immersion Chiller
The Do-It-Yourself Option
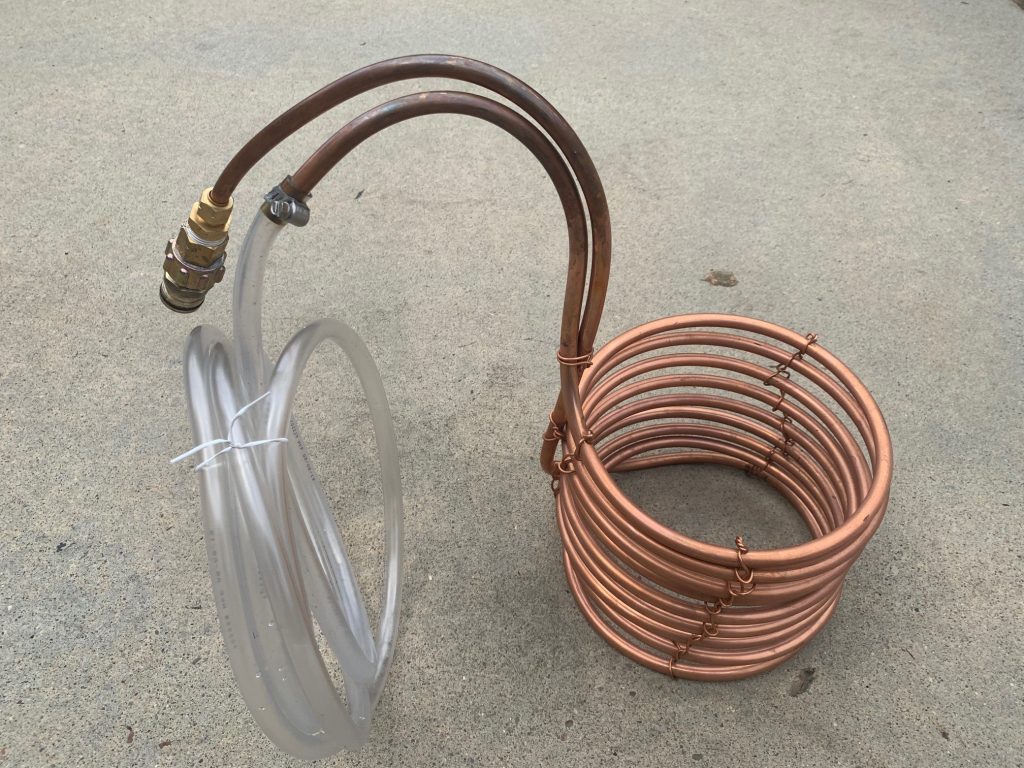
I built this immersion chiller with supplies I bought at my local Home Depot for about $50. It is what I still use to this day, and works wonderfully.
