The Many Ways to Achieve a Fuller Mouthfeel in your NEIPA
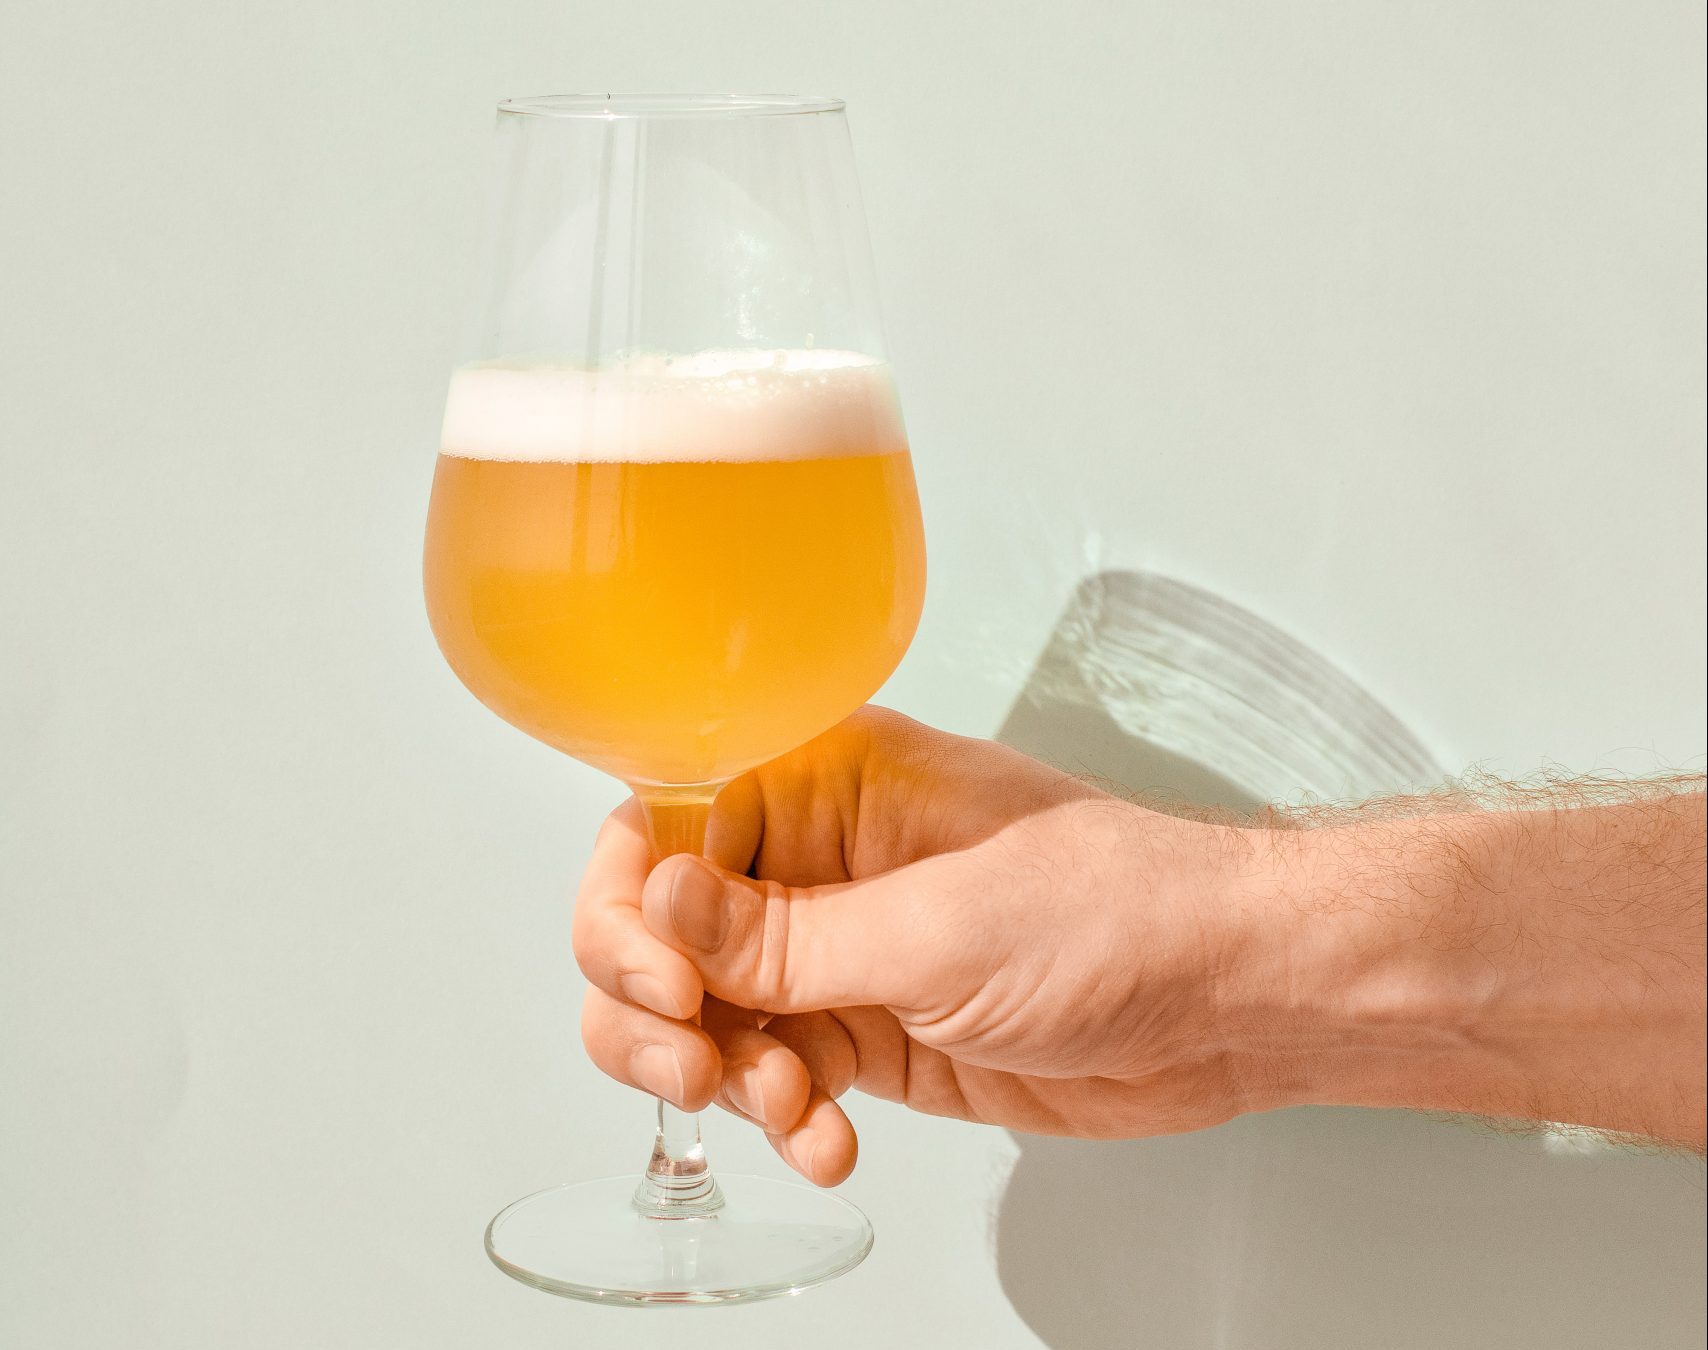
New England IPAs – or Hazy IPAs – all have that distinct thicker mouthfeel that any fan of the style has come to love and expect. If you are a homebrewer making your own NEIPA, you’ve undoubtedly brewed a thinner beer that was underwhelming in this department.
NEIPAs are a historically hard style to brew properly at home – from high oxidation rates to excessive amounts of hops – these beers give even the most experienced brewers problems.
A softer, fuller and thicker mouthfeel in your beer can be achieved a few different ways, and usually with a combination of one or more of the options I explain below.
Choose the Correct Yeast
English yeast strains typically have a lower attenuation – resulting in a higher final gravity – than most American strains. American ale strains tend to be very strong attenuators and work until around the 73–80% range. English strains are lower than that, near the 63–70% range with some Scottish strains even below 60%.
Lower attenuation will result in a lower alcohol content, but will give the perception of a fuller mouthfeel in your beer.
Popular NEIPA yeasts, both of which leave haze and some residual sugars are the Conan and Boddington (London Ale III) strains.
Experiencing with Different Malts
Adding flaked oats, barley or wheat will give your New England beer some haze, but it also has an impact on how your mouth perceives the beer’s thickness. I like to use a combination of any of these three – up to 20% of my grain bill – to add a good protein haze to my NEIPAs. The added viscosity is very apparent to me in the final beer.
There are also some pale caramel malts, such as Carapils and Carafoam that are specifically produced to boost the dextrin content of your wort. This has the same effect as adding unfermentable sugars separately as I outline next. You can use up to 20% Carapils and/or Carafoam, but I think 8–10% gives me the best impact on the beer’s body.
Other malts are also available to help build body. Munich malt is great at building body in beer and can be used in larger quantities. I would suggest replacing up to 80% of the 2-row base malt in your recipe with Munich. However, I think the sweet spot of replacement is around 20-40%. Vienna malt can be used as a replacement if Munich cannot be found.
Adding Adjunct Unfermentable Sugars
Yeast only eat certain types of simple sugars and the rest are left behind. Sugars that yeast love include dextrose, table sugar and those sugars from your malt.
The goal with adding unfermentable sugars like maltodextrin or lactose is to force your final gravity to be higher than it normally would have been without it. Adding 8-12 ounces of one of these sugars will be enough to raise your FG by a few basis points, which will add to the illusion of a fuller beer. The goal here is to add enough to impact FG, but not enough to make it as sweet as candy.
I’ve had super sweet NEIPAs before and they are not for me. A little sweetness is fantastic in a NEIPA, but too much will be cloying and make your beer taste like candy syrup.
I usually add either maltodextrin or lactose to my beer in the last 15 minutes of the boil. It is best to sprinkle it in as to not create hard globs of sugar burnt to the side of your kettle or spoon.
Water Chemistry
This option is not for the first time home brewer, but after a few batches, you may feel comfortable adding some salts and minerals to adjust certain ratios. I would suggest starting with approximately <200pm of calcium chloride and keeping the S04/CaCI2 ratio close to 1:1.
Now, in order to do this right, you need to either use reverse osmosis water (essentially “zeros” across the board) or know your home water’s base chemistry. I live in the country with decent well water, so I use that for all my home brews. I am fairly lazy and cheap when it comes to some things, so I never got my home water tested, but did find someone else’s well water chemistry that lived within 5 miles of my home and figured that was a good place to start.
Mashing at Slightly Higher Temperatures
Typical mashing takes advantage of two different types of enzymes that release the sugars from the malt, and they work at slightly different temperatures.
Alpha amylase is the enzyme responsible for breaking large, complex, insoluble starch molecules into smaller, soluble ones. This enzyme is stable in hot, watery mashes converts starch to soluble sugars in a temperature range from 145 to 158 °F (63 to 70 °C). Alpha amylase requires calcium as a co-factor, which won’t be a problem unless you are using plain reverse-osmosis water without any salts added.
Beta amylase is the other mash enzyme capable of degrading starch. This enzyme is largely responsible for creating large amounts of fermentable sugar. It breaks starch down systematically to produce maltose. Beta amylase is active between 131 and 149 °F (55 and 65 °C). But like all enzymes, its activity reaches a peak, declines, and then drops precipitously as temperature increases.
Most recipes call for your mash to be at the dually-acceptable range of 145-149°F to take advantage of the optimal range for both enzymes.
The reason for the science lesson is that the alpha amylase enzyme extracts more non-fermentable sugars from the grain. As I outlined above, unfermentable sugars give the feeling of a fuller-bodied beer. Now the higher temperature used to get more unfermentable sugars can also cause your beer to end up with a lower efficiency than you’d hope. This can manifest itself as either a lower original or higher final gravity.
Lower Carbonation in Keg
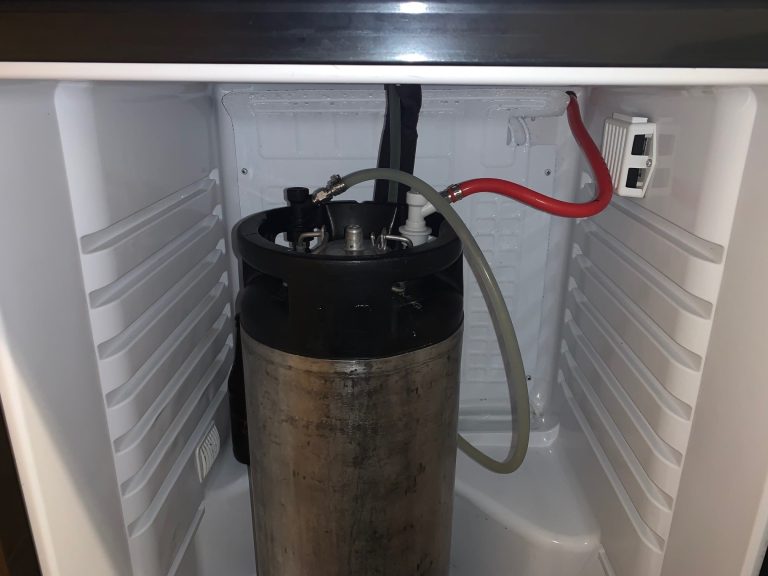
If you are making a NEIPA, you are probably kegging it to help prevent oxidation as much as possible. I have not tried to bottle a New England IPA before, but I know that kegging gives you the best chance at a stable beer over a couple weeks.
If you keg like I do, then you can achieve a fuller mouthfeel by simply lowering the carbonation level in your kegged beer. NEIPAs should have a slightly lower carbonation level than a typical IPA. This isn’t so much a trick, but more of a “don’t forget to put the right amount of CO2 in this beer” type of idea.
To get the best carbonation level for a NEIPA, I crank up my CO2 regulator to 25PSI, then connect only the gas post of my carbonation station (while leaving the liquid post disconnected). Give the keg a couple good shakes back and forth, then leave it sit at 25 PSI overnight for about 24 hours. After the 24 hours, you can drop the regulator down to serving pressure (~10PSI is my preferred level). I also release the pressure in the keg before changing the pressure from 25 to 10 PSI. This just prevents the first couple beers or so from coming out of the tap like a rocket and full of foam.
Be careful to not leave it at the high pressure any longer than 24 hours, else you will risk an over carbonated beer.
Heavy Dry Hopping
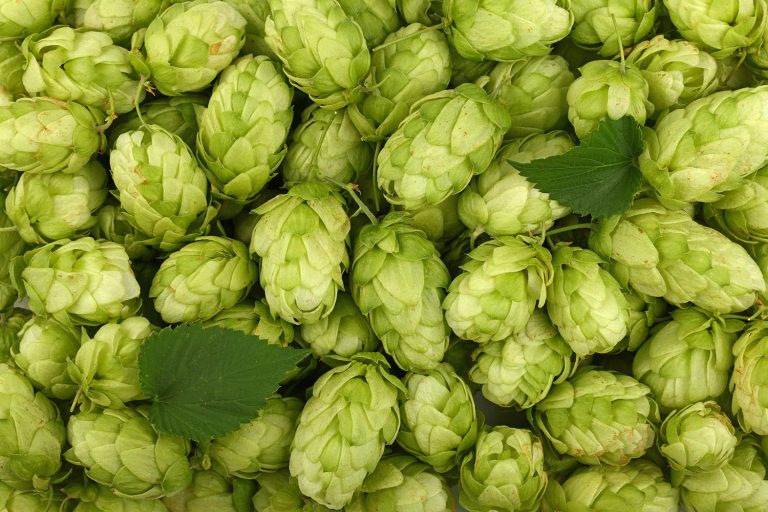
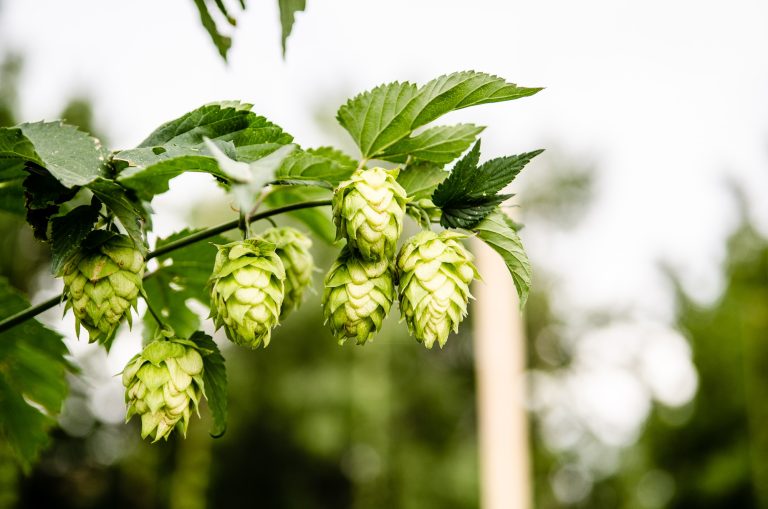
Dry hopping certainly adds more haze than mouthfeel, but when hops are added in the dry hop phase, they release their polyphenol oils that end up being suspended in the beer. This hop oil suspension is said to increase the suspension of other particulates, notable the proteins from flaked grains.
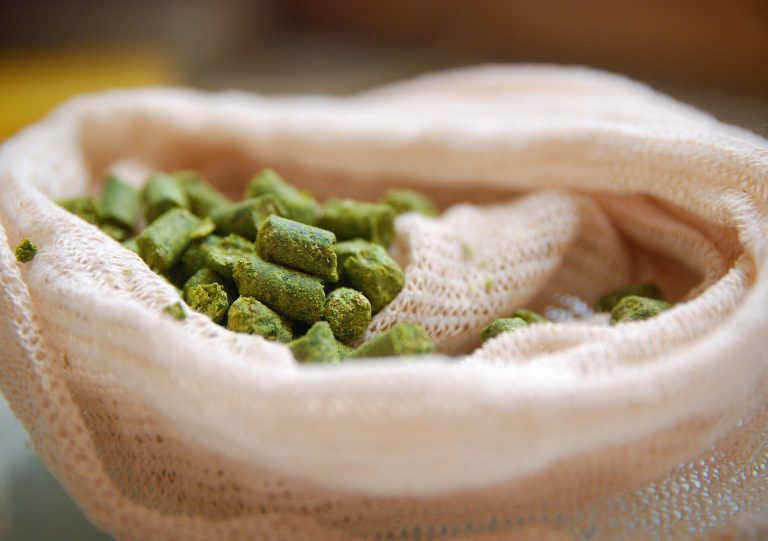
The hazy NEIPAs that we’ve all come to love recently are hopping with huge amounts of hops, sometimes upwards to 2 oz per gallon. While this may seem like a huge amount, I can confirm that there is a huge difference in haze from 4 to 8 ounces of hops used in dry hopping. Your mileage may vary, but I enjoyed the 8 oz dry hopped beer much more.
