The Complete Guide to Replacing and Cleaning Kegerator Lines
First you started homebrewing, but bottling got tedious. So you then switched to kegging. You either bought a kegerator or built your own keezer and happily served your own beer out a draft system.
Hopefully you didn’t realize too late that your beer lines needed cleaned on the regular. Even if you clean regularly, replacing your lines – however infrequently – is eventually needed too.
I have a kegerator downstairs that I serve a mix of commercial beers and homebrew from. I’m going to explain the best cleaning methods, how often it should be done, and the eventual process of replacing the beer lines.
Cleaning Kegerator Lines
First thing is first. If you have your own draft system, you need to clean your lines. If you don’t, you’ll end up with off flavors by the time you hit your second or third brew, depending on how fast you drink the kegs empty.
I think we all know the lines need cleaned, its just that we are all lazy to some degree about the stuff that isn’t fun. Maybe it is that it’s hard to clean the lines because you don’t have the equipment because you only buy commercial beer inside sixtel or sankey kegs.
How Often?
I clean my kegerator lines and couplers after each keg is kicked. Some have claimed its overkill, but not in my experience. It usually takes between one and two weeks to kick a 5 gallon keg, and that is plenty of time to have some funky stuff growing behind your tap or in your lines.
This is especially so if you let your system sit for any length of time between kegs. An empty line with beer residue in it will mold within days.
This whole cleaning process takes me about 20 minutes, so it is not like it is an all day endeavor. If you spent all your hard time on a homebrew or your hard-earned cash on a commercial keg – don’t run the chance that you ruin it by not cleaning your setup.
Step #1: Disassembly
Your kegerator or draft system has multiple parts. Some of them come apart, some don’t. There are two places in your setup that need to be cleaned regularly.
Keg Coupler
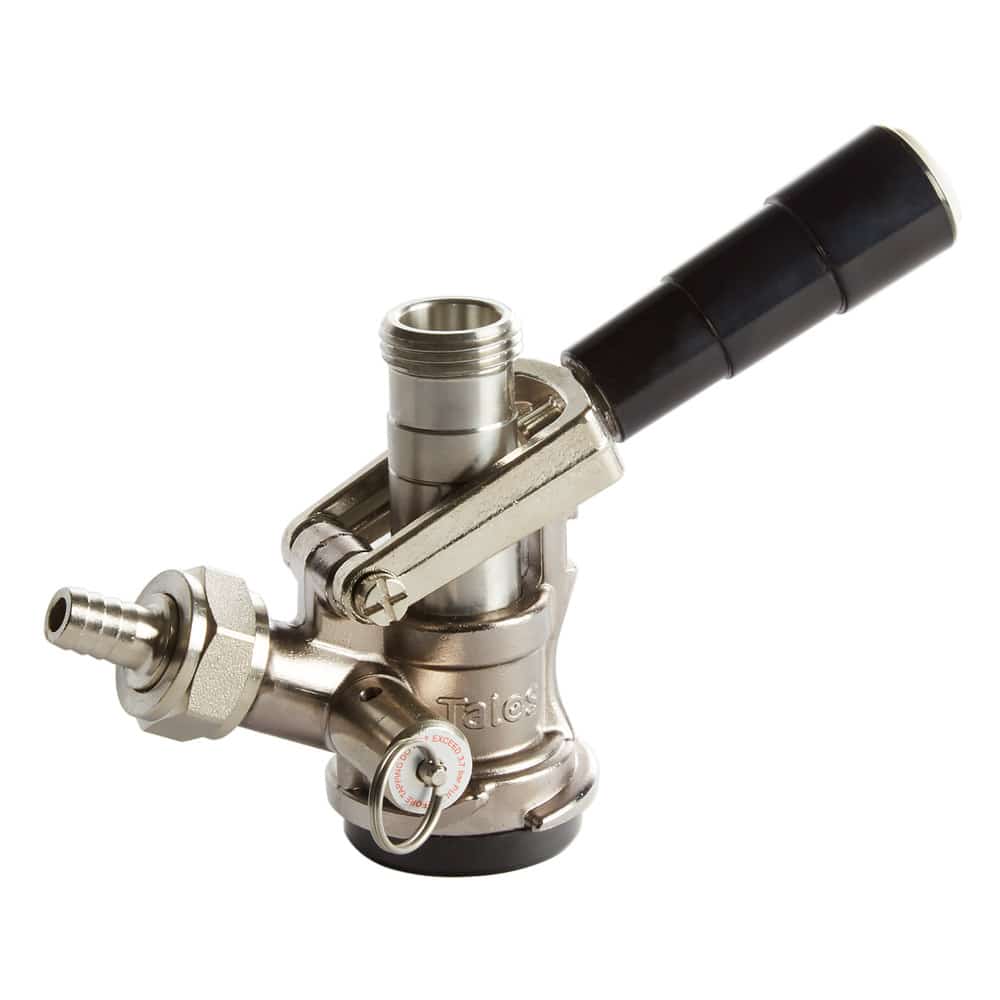
Some parts of your kegerator can be disassembled pretty easily. The tap coupler should be the easiest. Most kegerators or tap systems have the “D” style coupler that simply unscrews from your two lines: gas (in) and liquid (out).
Unscrew the coupler and soak it for 5-10 minutes in a solution made from PBW. If you don’t happen to have any of that, regular old dish soap will work just fine – just make sure you rinse it good. You don’t want soap taste in your next brew. I usually take a pipe cleaner and lightly scrub the inside of the coupler as well. Make sure you don’t lose any washers or gaskets your coupler may have.
Tap
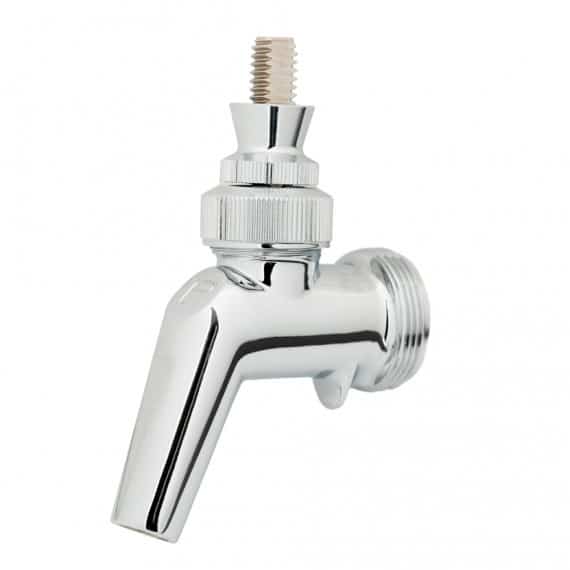
The next part that needs to be disassembled is the tap itself. Believe me, this one is maybe the most important. I’ve ruined a couple kegs of beer by shoddily cleaning my system. No matter what cleaner I ran through my lines, if I didn’t give my tap some love, my next keg got a funky taste towards the end.
I have a Perlick tap which is really easy to take apart. All you’ll need is a faucet wrench to do this. First I unscrew the tap handle and pop it out. There will be a little pressure when popping it out, but not much.
Next, take your faucet wrench and unscrew the tap from the tower. Ensure you are turning it the right way. If you are facing the faucet hook the wrench in and turn clockwise to loosen. Take care to not twist the whole faucet as to unscrew it from inside the tower. You are just trying to take the “face” off the faucet.
Sometimes if I’m in an extreme hurry, ill just unscrew the tap handle and look inside the faucet for any gunk. If its clean, I’ll put it back together and move on to step #2.
Once everything is apart, let it soak in the same PBW or dish soap solution for 5-10 minutes just like the keg coupler.
When everything is clean, put the coupler and faucet back together.
Step #2: PBW Wash / Beer Line Cleaner
Next, you are going to want to clean the inside of your keg lines. Most keg lines are made of clear vinyl, so its pretty easy to see how bad of shape they are in. Regardless of how dirty it looks, you should still run some PBW or beer line cleaner through the lines.
Homebrewers
If you are a homebrewer and have your own corny kegs available, you can clean your keg and your lines in one step. After rinsing your keg out, fill it about 1/2 way with warm water and PBW solution. Scrub the inside of the keg with a carboy brush and then close the keg up with the solution still inside.
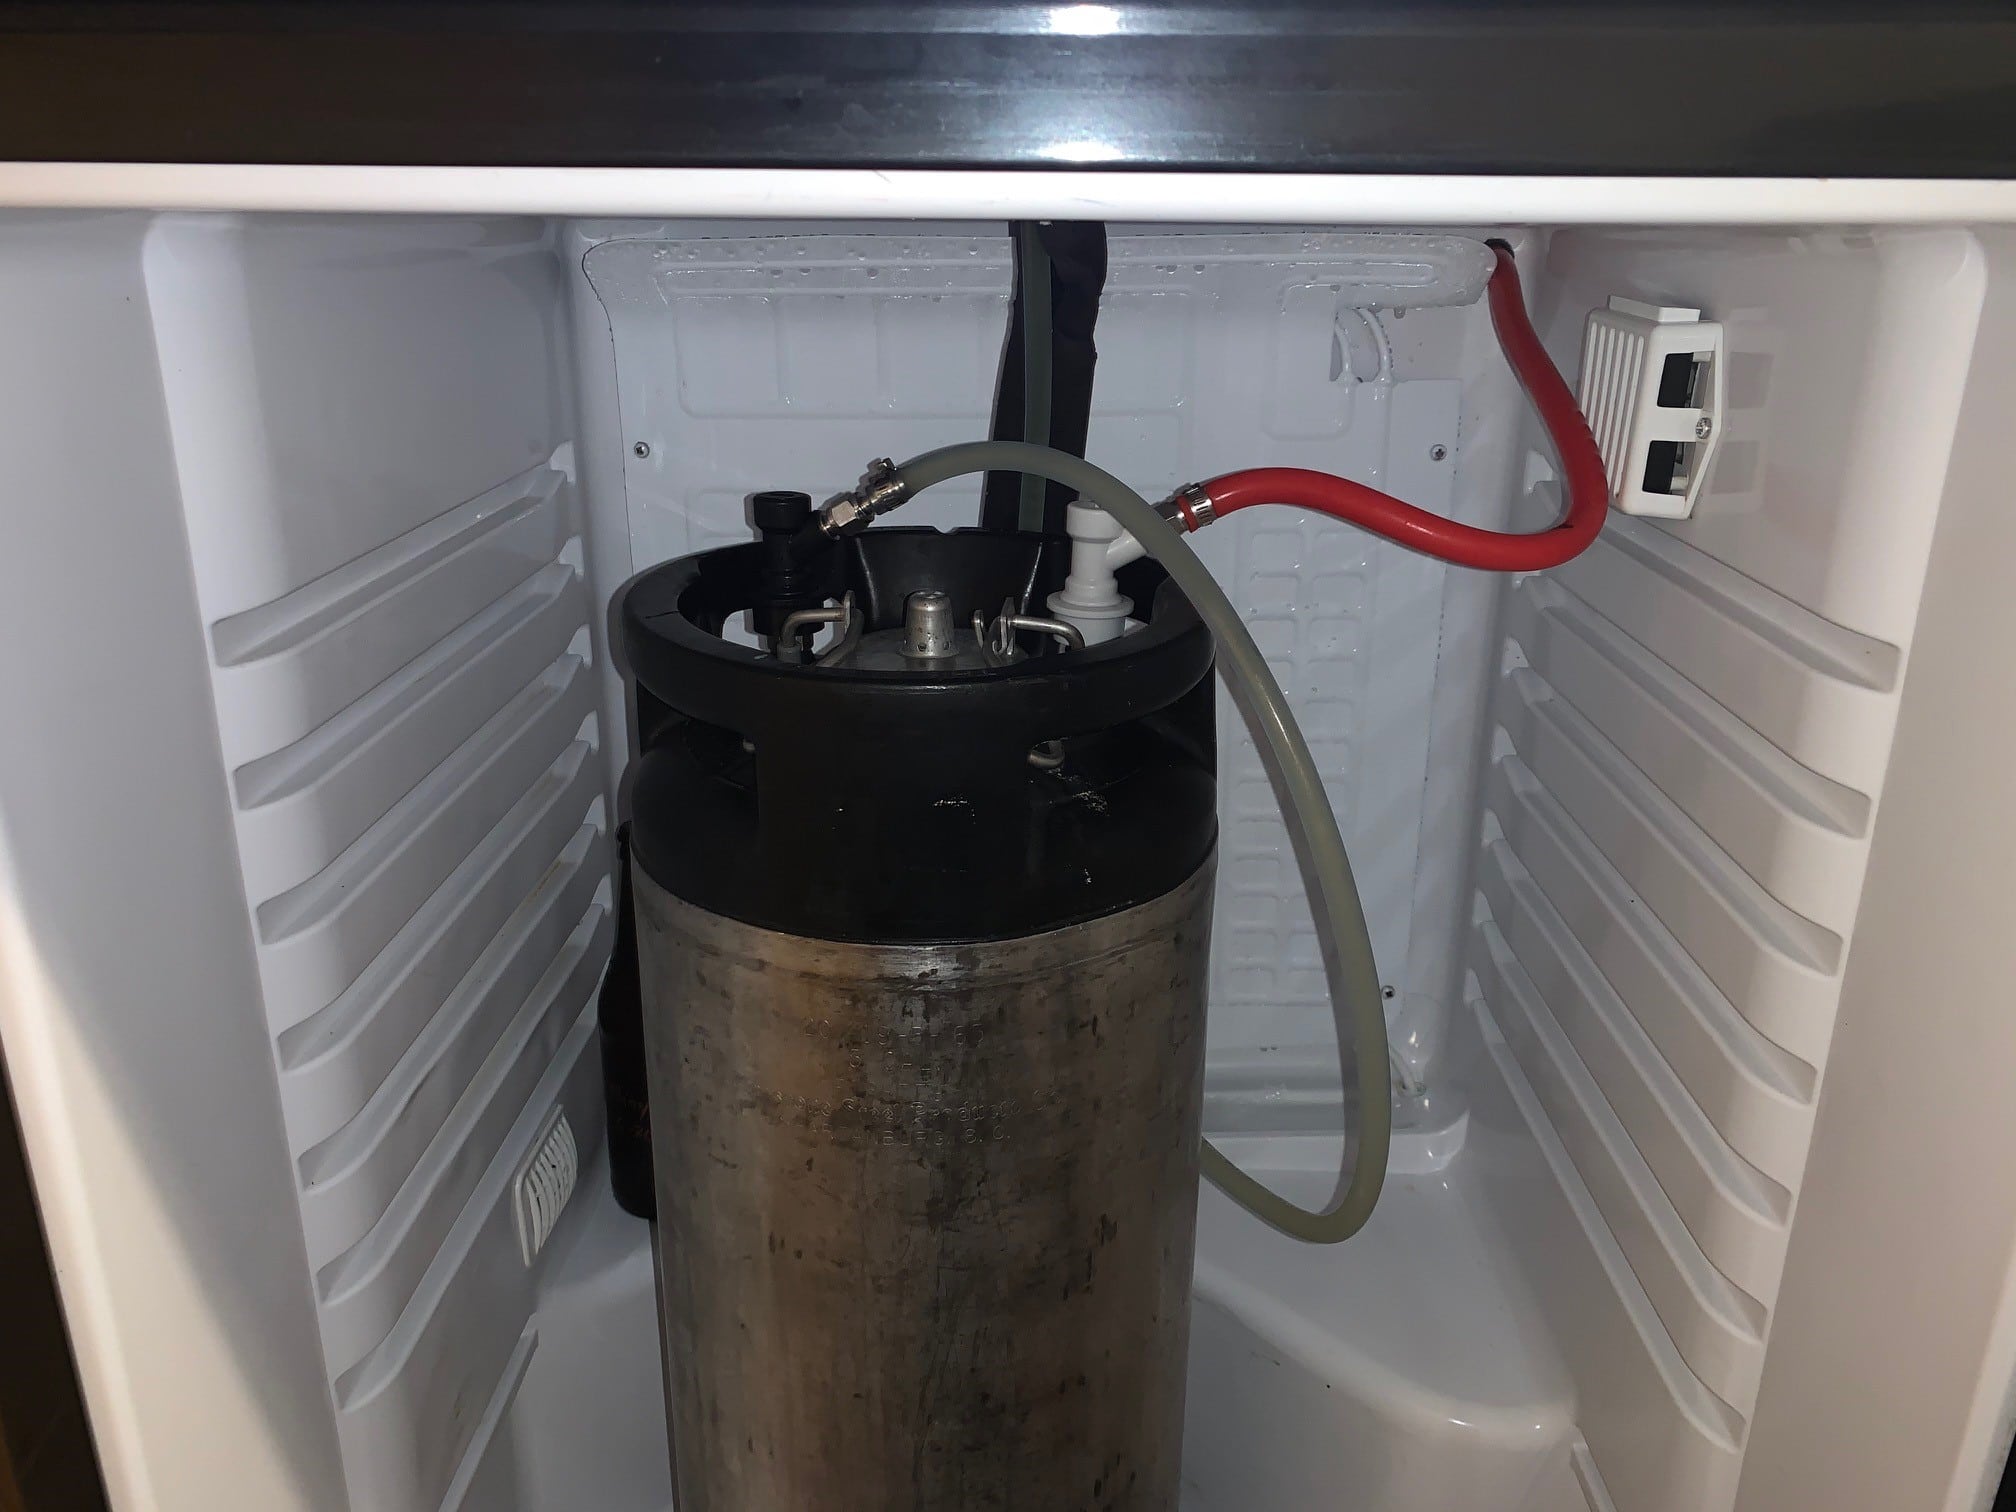
Place the keg in your kegerator, hook it up to the CO2 gas line and the beer out line. Open your tap faucet up top and empty the contents into a bucket. You should end up with an empty keg and a bucket full of PBW solution.
Non-Homebrewer / Commercial Kegs
For those of you who don’t brew your own beer and don’t have a corny keg, there is an easy to use kit that connects to a disassembled tap and pushes cleaning solution through the lines into an empty bucket you put inside your kegerator.
The cleaning solution goes into the bottle, the bottle hooks up to the same threads the tap was on, and you “pump” the cleaning solution through the line from the top and into an empty bucket waiting at the other end of the beer line.
Step #3: Sanitizer (Starsan) Wash
To be honest if you did the first two steps, this step isn’t 100% necessary, but I do it anyway because I use it to also purge my newly cleaned keg with CO2 so it’s ready for the next batch.
The right way to do it is to completely fill the keg with your Starsan solution (using the dilution listed on the bottle) and then dispense it all through the keg lines using the same method as the PBW wash.
The reason we fill the keg to the top with StarSan is so we know the keg is 100% flushed with CO2. If you only filled the keg partially there would be a mixture of oxygen and CO2 left in the keg once the StarSan solution was gone. This kind of defeats the purpose of purging the keg.
Replacing Beer Lines
No two ways about it – this is a pain. I’ve only replaced the beer lines once (when I bought the kegerator off Craigslist) years ago, but I am about due to do it again. All the beer lines are stained yellow (still clean), and I have some upgrades that I want to do as well.
You probably only have to replace the lines every 5 years or so, but it more likely has to do with the amount of kegs you’ve run through your system instead. I had a 5-year hiatus in using my kegerator, so those years didn’t count in my opinion. If your lines are still flexible and in good shape, you probably don’t have to replace them.
Here are some of the tips I have for replacing your beer lines:
- Don’t use Crimp Hose Clamps. While they work very well, they are an absolute pain to take off. You have to cut the beer line and then pry the clamp apart. The first time I did this, I thought I was going to break the barb on my tap system. Never again… I’ll use the regular old screw tightening clamps from now on.
- Replace the gas lines too. At the very least look inside the lines to see if they got any beer up inside of them. For those of you who force carb your kegs by shaking them, there is a good chance that some of your delicious beer splashed up into your gas line at some point.
- Keep those keg lines long. My beer line is about 8 feet long and my CO2 line is 4 feet. I really wish I had added a couple feet to each of them. Beer lines have a specific length they need to be to reduce foaming. By making your lines the max distance they can be is also really convenient when replacing the kegs. My CO2 line is a bit too short to hook the keg up outside the kegerator. This means I have to place the full keg into the fridge and then hook up the gas line – complete with limited headspace. Your mileage may vary on this problem, but it’s at least something to think about.
- Buy the right lines. The 5/16″ ID red PVC lines are best for your gas lines. As for your beer line, make sure you get food-grade, PVC vinyl. Most systems say to use 3/16″ ID 7/16″ OD hose, but I prefer a 5/16″ ID 7/16″ OD hose. The outer diameter is important because it ensures there is enough strength to handle the pressure. Any tubing thinner than that should be avoided. ID = inner diameter; OD = outer diameter.
- Get a gas disconnect check valve. This is the one upgrade I wanted to do. Since I force carb my kegs by shaking them, I run the risk of splashing beer up into my gas line. This check valve will prevent that from happening.
- Consider adding quick disconnects. By adding quick disconnects to your beer and gas lines you give yourself the opportunity to easily replace or change a line on a whim. If you decide to use these, make sure you get one that is food grade quality and stainless steel. Most disconnects are 1/4″ barbed, which will work for both 3/16″ ID beer line and 5/16″ gas line.
