The Art of Saving and Stretching Your Expensive Beer Yeast
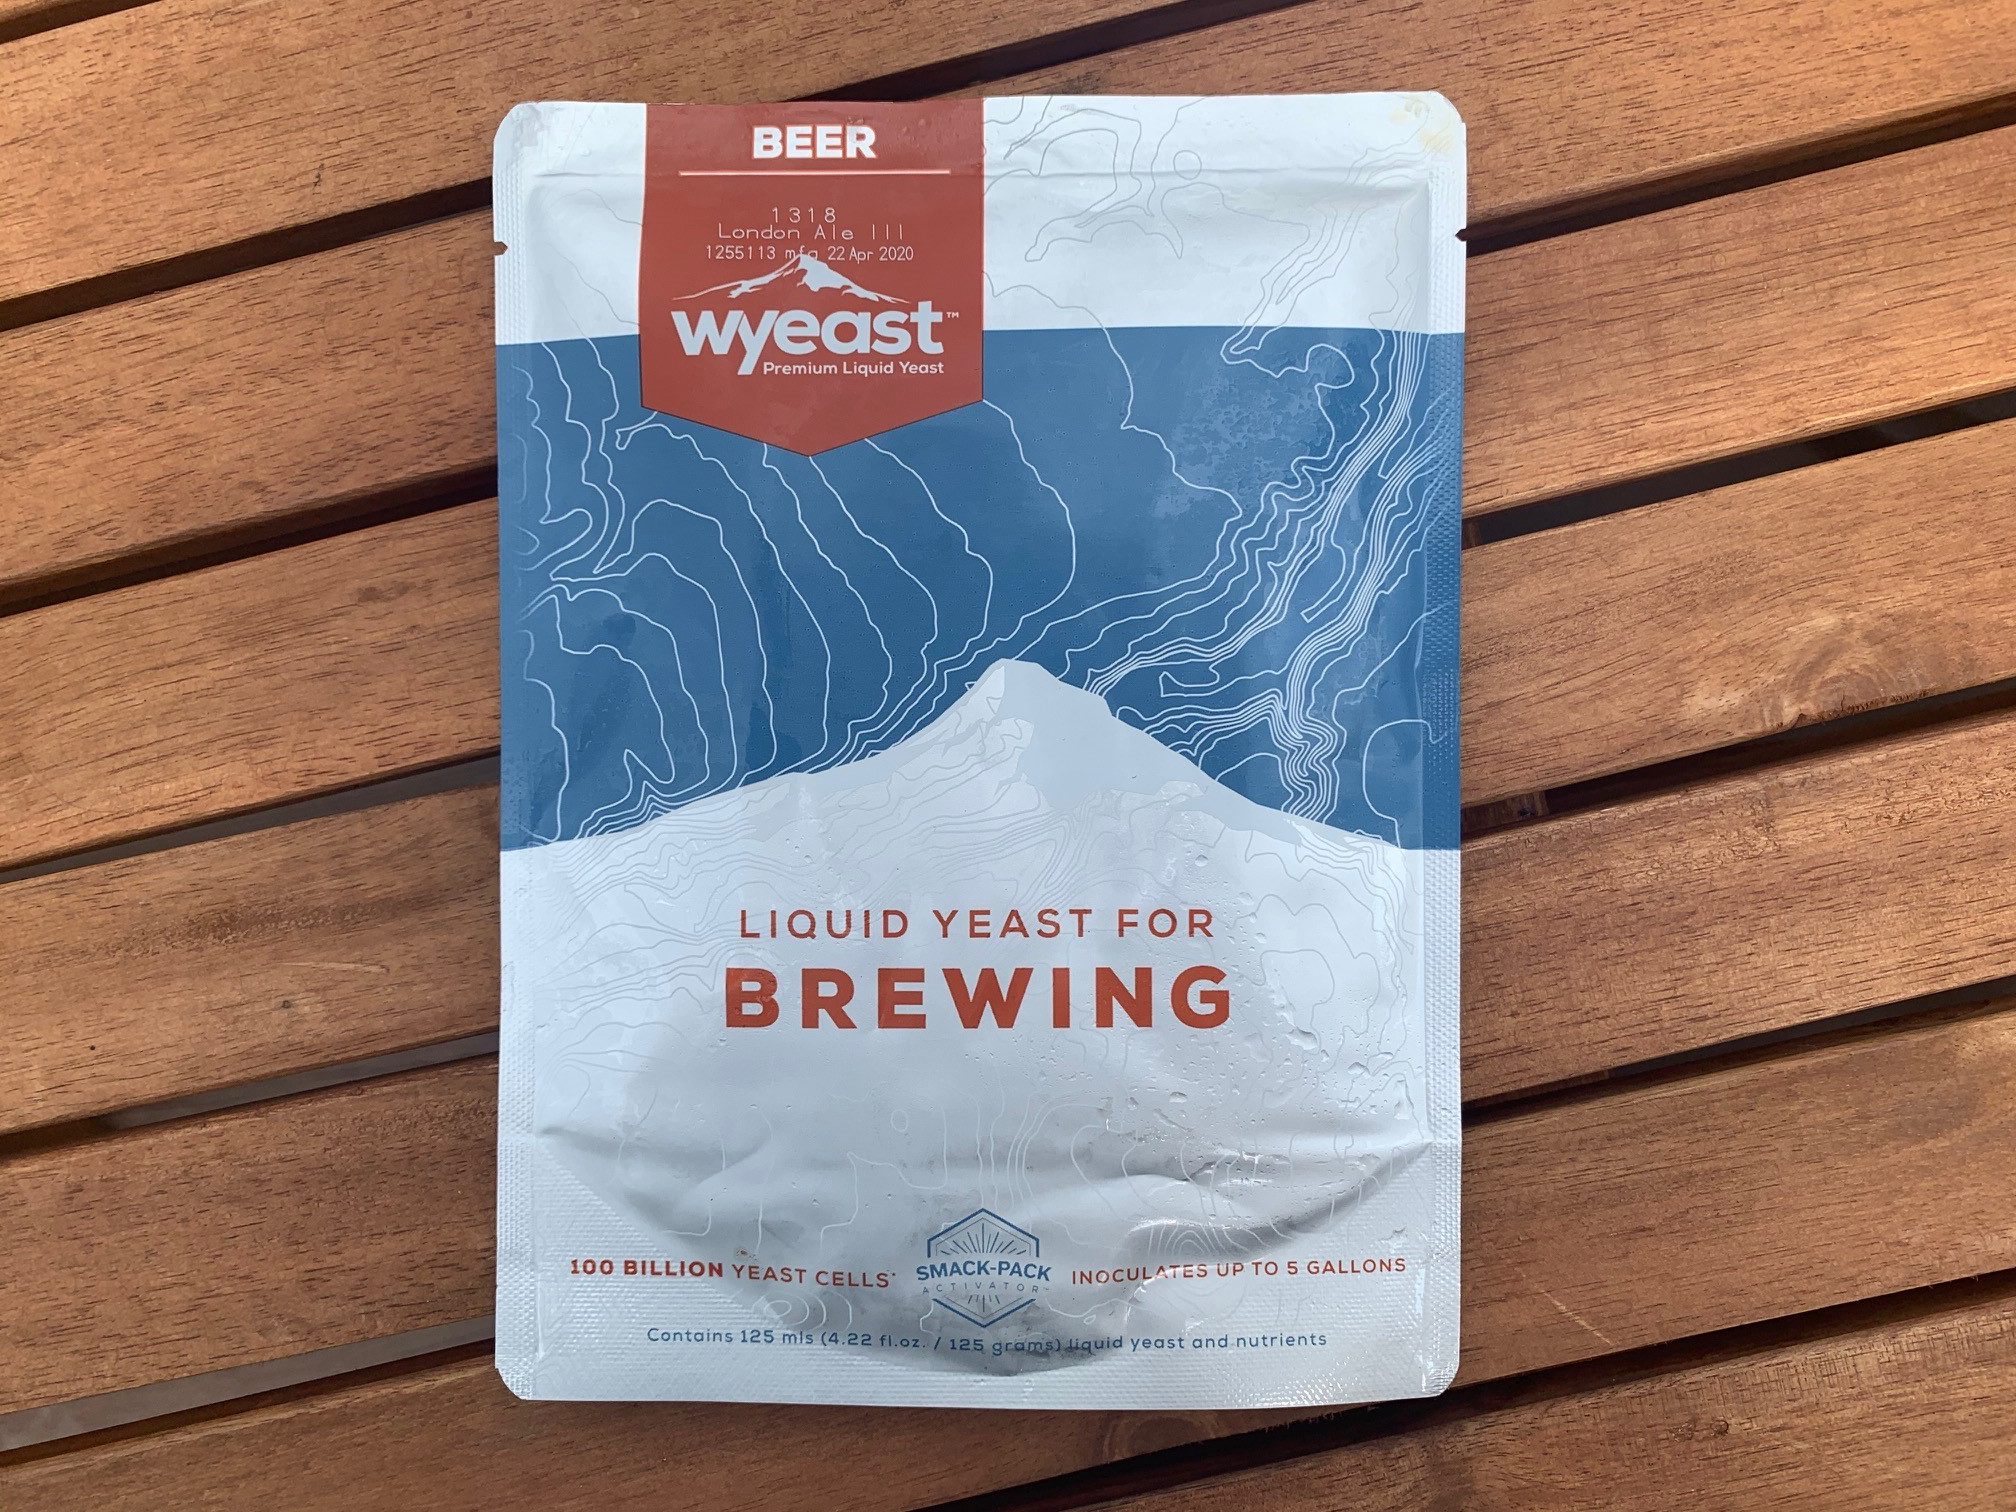
Yeast is essential to your beer, but it is also one of the most expensive ingredients if you aren’t careful. Traditional liquid beer yeast will run you about $8-12 a pack, with some higher gravity beers requiring twice that. While you can knock the price down in half by using dry SafAle yeasts, I prefer the complexities you can only get in a more expensive liquid packs.
Option 1: Washing Yeast
There is a well documented process for washing yeast that includes taking yeast from either the trub at the bottom of your fermenter. You can also take a bit of the krausen when its at its peak. Washing yeast is a time-consuming process though. The goal is to separate living yeast from the hops, grain proteins and dead yeast cells. Te result is a condensed vial of yeast that can be grown back into a pitchable amount by making a starter.
While yeast washing is not a hard process to do, it does take some time. For me it is totally not worth the effort in my opinion.
Option 2: Splitting the Pack
I’ve only split one yeast pack into multiple batches, and that was with a Kveik yeast. For those who have been living under a rock, Kveik yeasts came from Norway farmers that have been brewing beer for hundreds of years. These yeasts want to be under pitched and fermented hot.
From one standard sized Hornindal Kveik pack, I was able to make 6 different 5-gallon batches. All of these batches got about a tablespoon of yeast slurry from the pack, and they took off within 4 hours. This yeast is really something else.
I would not recommend under pitching any other yeast other than Kveik. Kveiks are meant to be under pitched, which is why you can get away with it.
Option 3: Splitting the Pack + Making a Starter
Very similar to the option above, you can split the yeast pack into multiple batches, but then grow out one of those portions by making a starter. A starter will grow the small portion yeast you’ve taken into a viable amount by time it is ready to be pitched. A yeast starter is a solution that enables yeast cells to reproduce into a viable amount before being pitched. It is similar to a mini-batch of beer but is not meant for drinking. Instead, you add it to your cool wort that is ready to be fermented.
Making a yeast starter requires that you have some LME/DME (the food for the yeast), a stir plate and a flask. You can sometimes get away by not having a flask, but you would then be advised to give it a good swirl from time to time.
This also seems like a lot of work, but can be very worthwhile if you tend to do a lot of high gravity beers and don’t want to spend $24 on yeast for each batch.
Option 4: Reusing the Trub or Yeast Cake
This has become my preferred method for reusing yeast. I tend to do a lot of similar versions of IPAs, so there is not much of a problem with imparting unwanted flavors from different beer types.
This method can be done one of two ways, although I almost always go the “saving” route.
“Saving” Method. After emptying the carboy, I take my siphon and fill up a sanitized quart mason jar with the bottom trub. The jar usually ends up being about 90% trub. I tighten the canning lid and immediately stick it in the fridge. I usually brew back-to-back within a few days of each other. This allows me to take the jar out at the beginning of my brew day allowing it to warm up slightly before use. Warning: Be careful it doesn’t explode. You may need to “burp” the jar from time to time as the yeast begin to wake back up.
“Yeast Cake” Method. The yeast cake is what is left over in your carboy after you’ve taken out all your delicious beer. This consists of dead yeast cells, protein that has dropped out of the wort and probably some hop leaves. Using this method requires you to brew successive batches. I have seen great results where other brewers simply pour their new cold wort on top of an old yeast cake.
I personally don’t use the “yeast cake” method for two reasons:
- Usually I brew my next batch a day or two later. I would be afraid the yeast cake would go bad or get funky before I got around to reusing it. I instead store about a quart jar full of slurry in the fridge.
- Most of the trub in the yeast cake is just dead yeast. I just don’t feel right adding all that crap to my new beer. Plus, at some point you’ll just run out of room in your carboy if you do this.
I usually tend to brew one batch right after another. With a 2-3 week fermentation timeframe, I will usually go through our first batch before the next one is ready. Once I keg or bottle, I usually brew my next batch within the next few days. The speed of my brewing makes the “saving” method more acceptable in my opinion.
