My Review of the Delta 8 Gallon FermTank Stainless Steel Fermenter
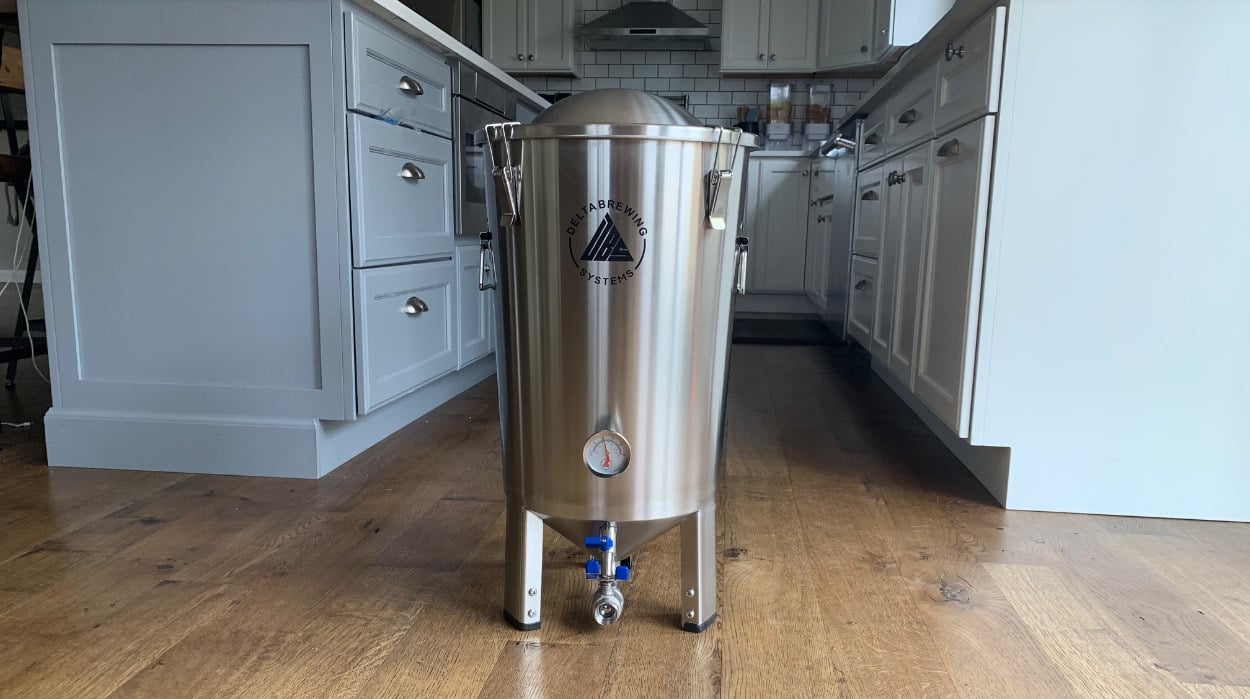
I was extremely excited when I decided to upgrade from my starter kit’s glass carboy to my first stainless steel fermenter. I compared 5 different kinds, and ultimately decided on the Delta 8-gallon FermTank.

Here is my review of their product in HD photos… something I wish I could find when I was researching this product and others originally. I hope this review gives you clarity and the information you’ll need to pull the trigger on your own. I have absolutely no regrets choosing Delta over more popular brands such as Anvil or SS BrewTech. Spike appears to make a top of the line quality product that I would’ve loved to have, but it was more than double the price of the FermTank. Just not worth it for a hobbyist home brewer such as myself.
Delta FermTank Features
The Delta FermTank is loaded as a mid-priced one should be. It is in the middle of the price range for a stainless steel fermenter, but doesn’t have as many bells-and-whistles that a Spike or Stout has. However, it is still loaded:
- 8 gallon capacity
- 304 stainless steel
- Has a 3/4″ welded drain for clean out
- 3/8″ hose barb spigot with rotatable internal racking arm
- Height adjustable legs
- Includes a thermowell
- Pressurizable up to 4 PSI
- Conical shaped bottom
What the Delta FermTank is Missing
Let’s be clear, the features the Delta FermTank is missing are really only found on fermenters over twice the price. However, these are features that it doesn’t have, and you may find yourself wanting in the future.
- Trub Dumping Issues. While there is a conical bottom to the Delta FermTank, the bottom valve is known to get stuck when trying to do a trub dump. This is something I never have wanted to do, so it wasn’t an issue for me at all.
- No Tri-Clamp Fittings. Triclamp fittings are the gold standard in brewing, and Delta does not use them. The spigot and lid ports are weldless, which is OK for sanitary reasons, but not the same as tri-clamps.
Overall Impression
My overall impression of the Delta FermTank was that it was extremely well-built. The steel is heavy duty and definitely 304, and not the flimsy cheap stainless that plagues the cheaper brewing options. Everything from the handles to the ports to the lid clips are extremely sturdy.
All accessories were wrapped in styrofoam for safe transportation, so that was very nice. It also needed a good cleaning to rid the steel of any oils left over from the manufacturing process, but we should all be used to cleaning by now. They suggested I use dish soap, but disliking that option, I instead did a PBW wash followed by a StarSan soak. The dump valve made this fermenter the easiest cleaning I’ve ever had.
Let’s look at each individual part of the Delta FermTank.
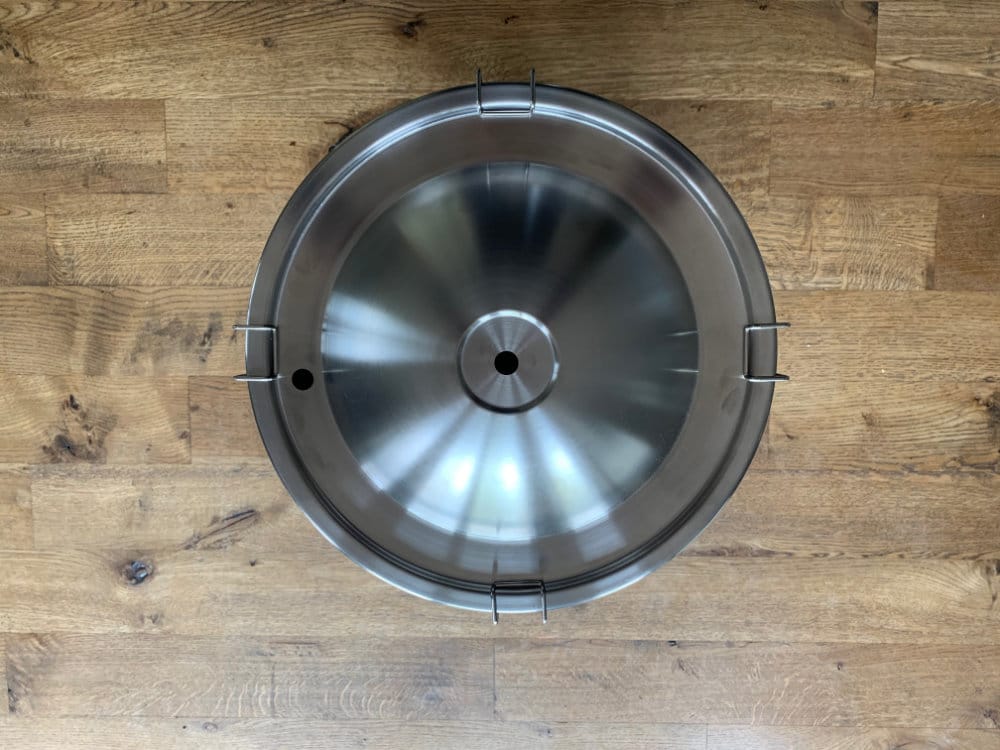
The default lid comes with two 1/2″ holes predrilled. One is dead-center, and the other is offset to the outer ring of the lid. Since both ports are the same size, all the accessories we get or buy for this lid are interchangable.
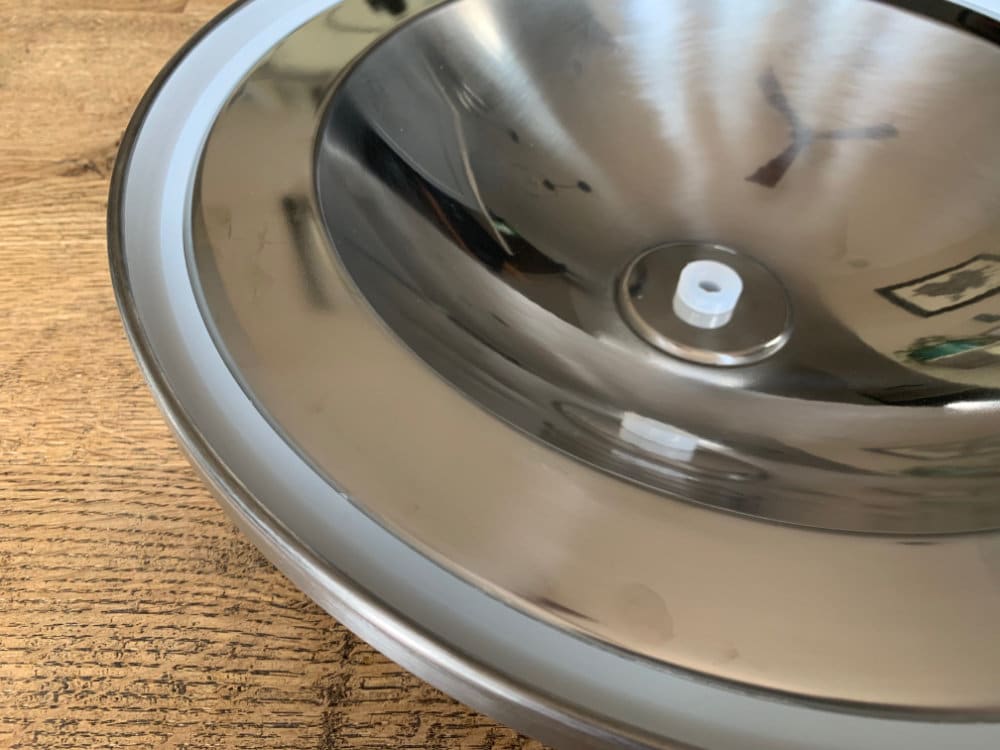
Underneath the lid is a very durable silicone gasket. It takes a bit of pressure to seat the lid onto the tank. However, when the lid is set, it feels as though it is 100% airtight regardless of whether the lid clips are engaged or not.
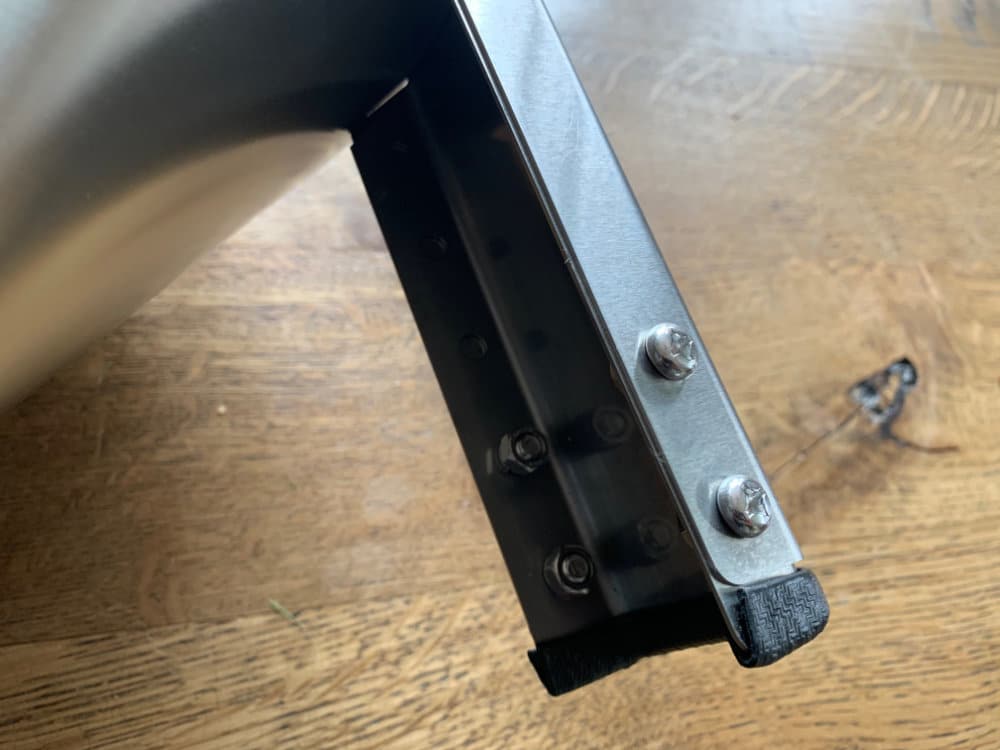
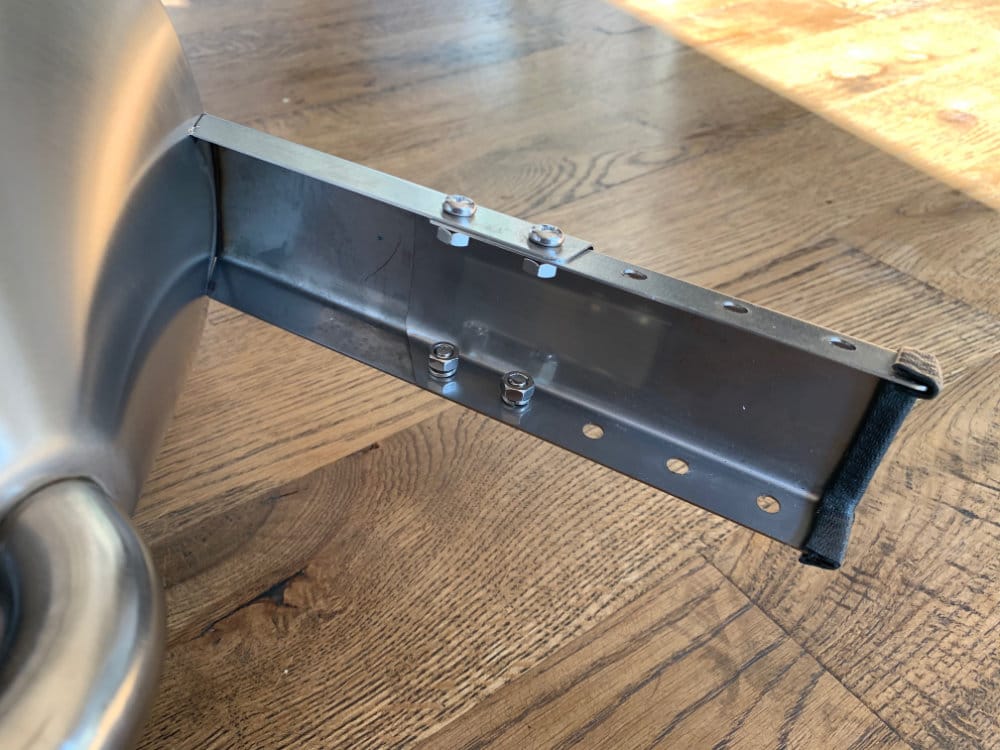
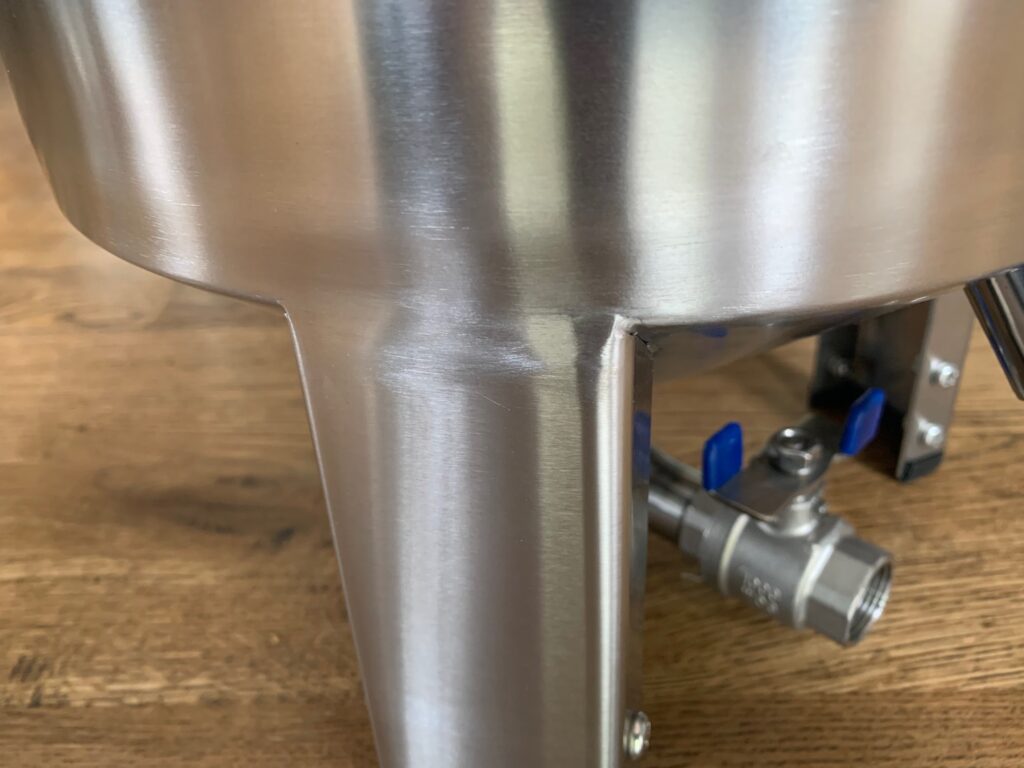
The three legs on the FermTank are very sturdy, and are welded onto the body of the fermenter. There are three different height settings that can adjust the fermenter’s height an extra 3 inches. To adjust the legs, you will need a Phillips screwdriver and a 10mm wrench. Each of the legs have a rubber foot glued to the bottom to prevent slipping.
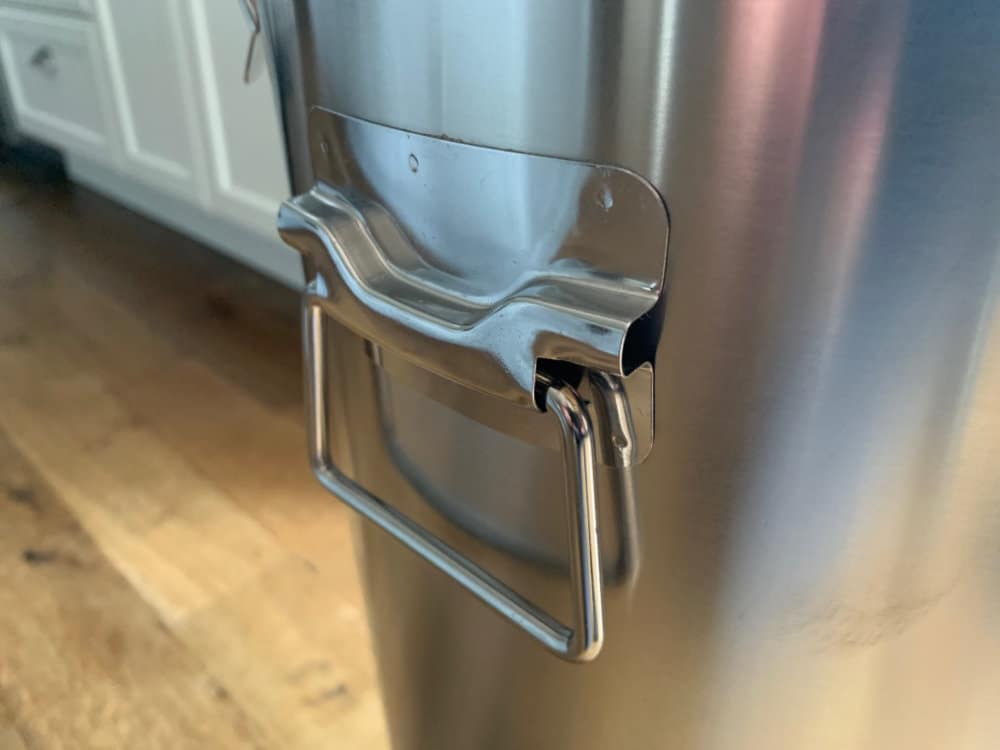
On the side of the fermenter are 2 handles, on opposite sides. They are tack welded on with no plastic parts. I filled the fermenter up with 5.5 gallons of water and while heavy, the handles felt like they were easily handling the weight.
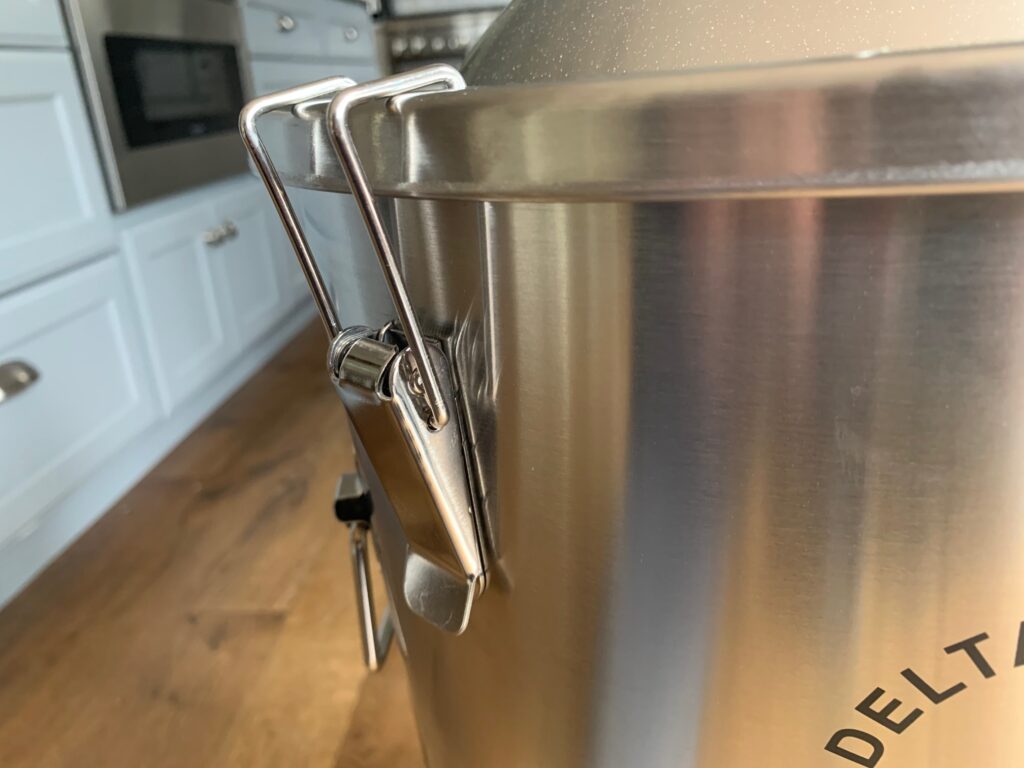
There are four spring-loaded clips tack welded to the circumference of the fermenter. These clips snap tightly and securely with no wiggle room. However, like I mentioned above, the lid sits so well onto the tank that these clips seem to be just extra precaution for spillage rather than needed to keep it airtight.
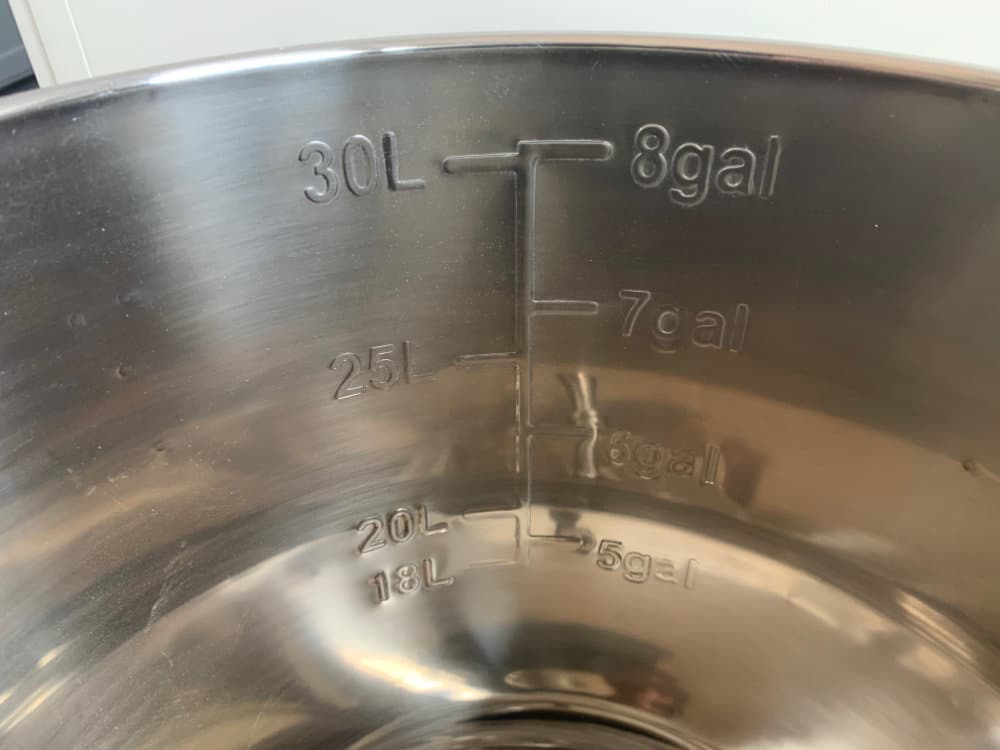
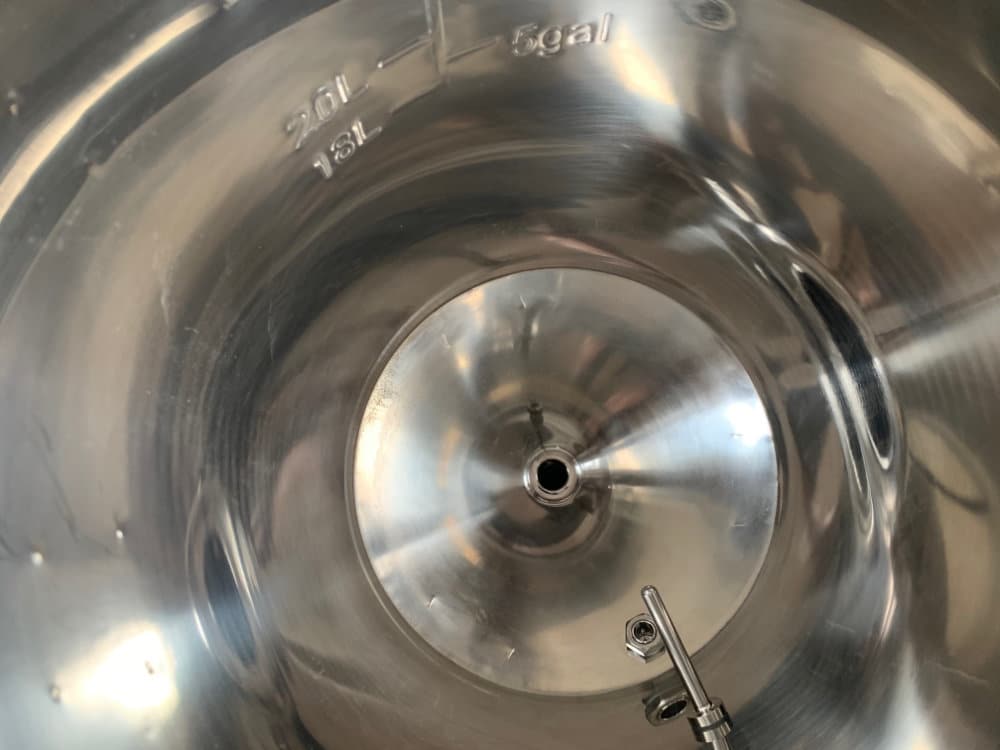
The volume markings are stamped (which means you can see the inverse of them from the outside), and go from 5 to 8 gallons (18-30 liters).
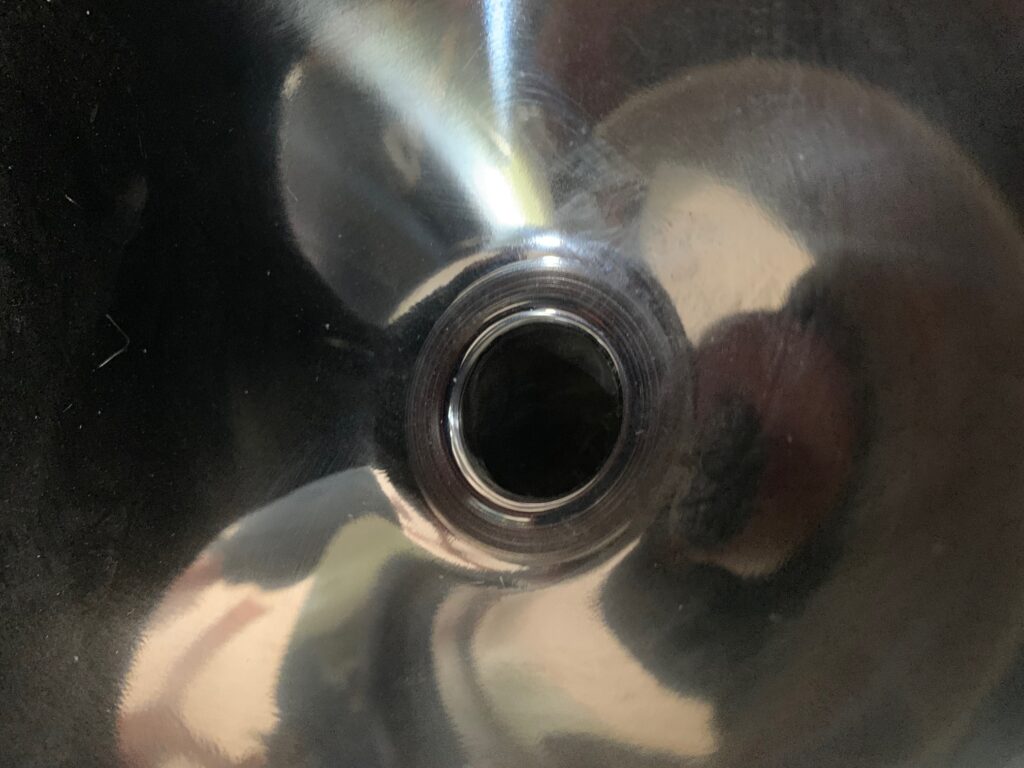
Looking inside, you can see the thermowell poking through first, with the port for the racking arm/spigot next, about 1 inch into the start of the conical shaped bottom. At the very bottom of the inside you can see the 1/2″ ID clean out port. Some have tried to use it as a trub dumb – I have not – and the trub is usually too caked to move out freely.
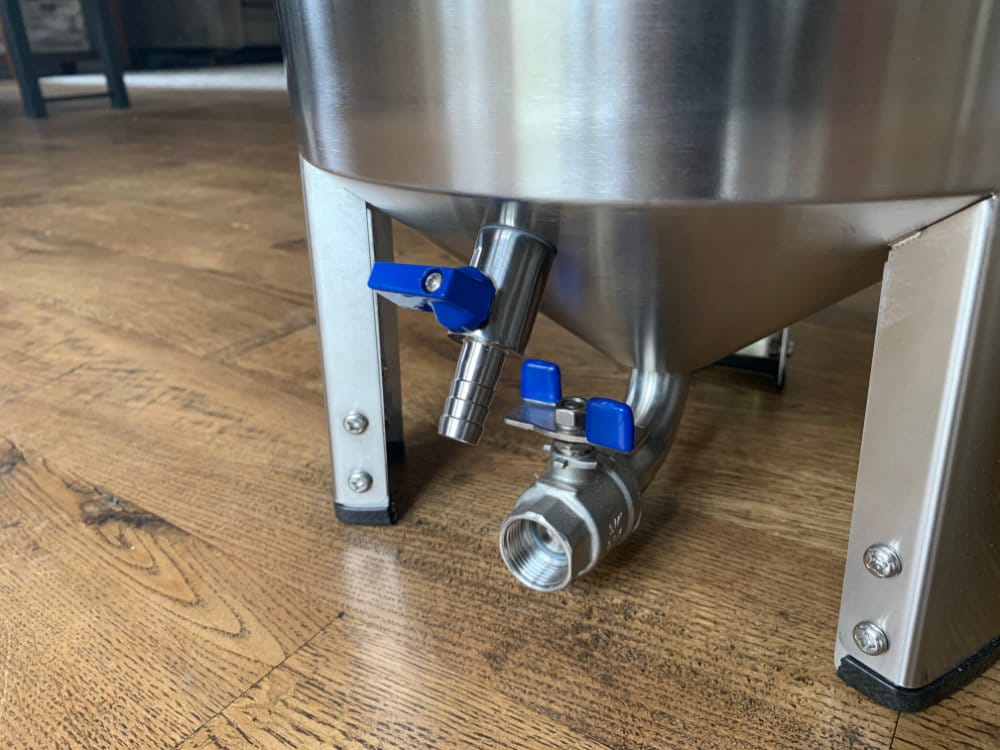
Bottom Left: Spigot, Bottom Right: Dump port
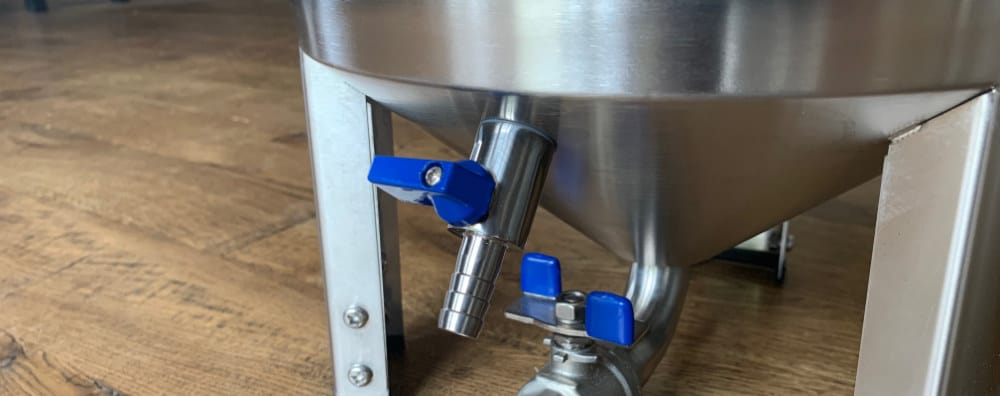
Here we see the FermTank’s two bottom ports. The one down the side of the conical bottom is the ball valve spigot. The rotating racking arm pressure-fits inserts into the back end of it inside the fermenter. The spigot’s barb best fits 3/8″ ID silicone tubing. To rotate the racking arm you literally just twist the spigot back and forth.
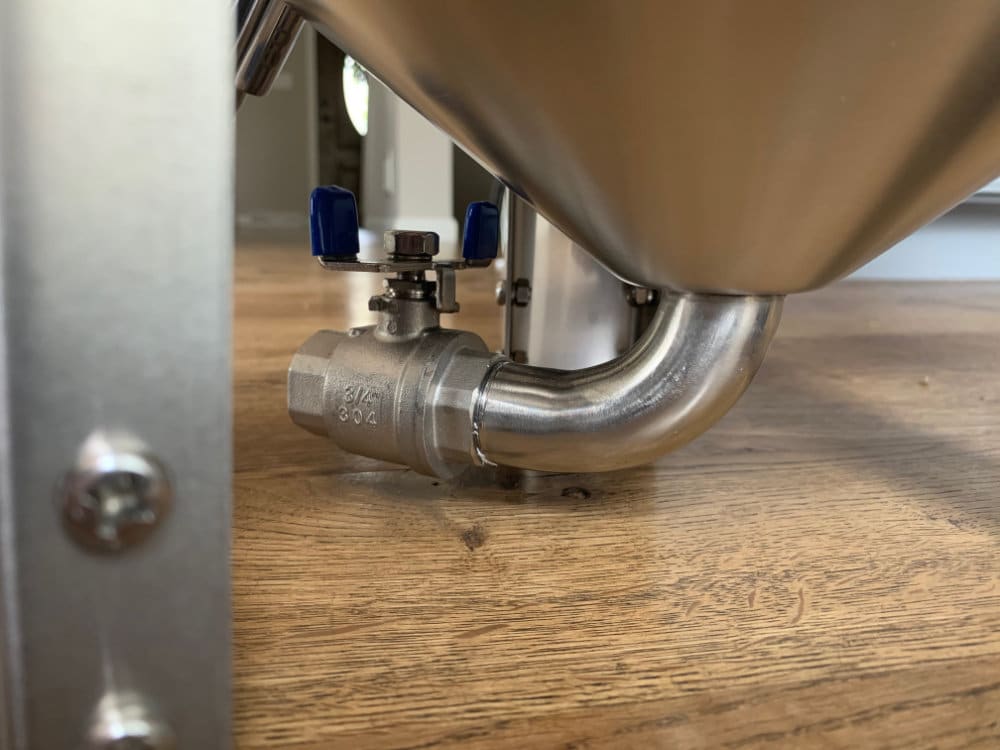
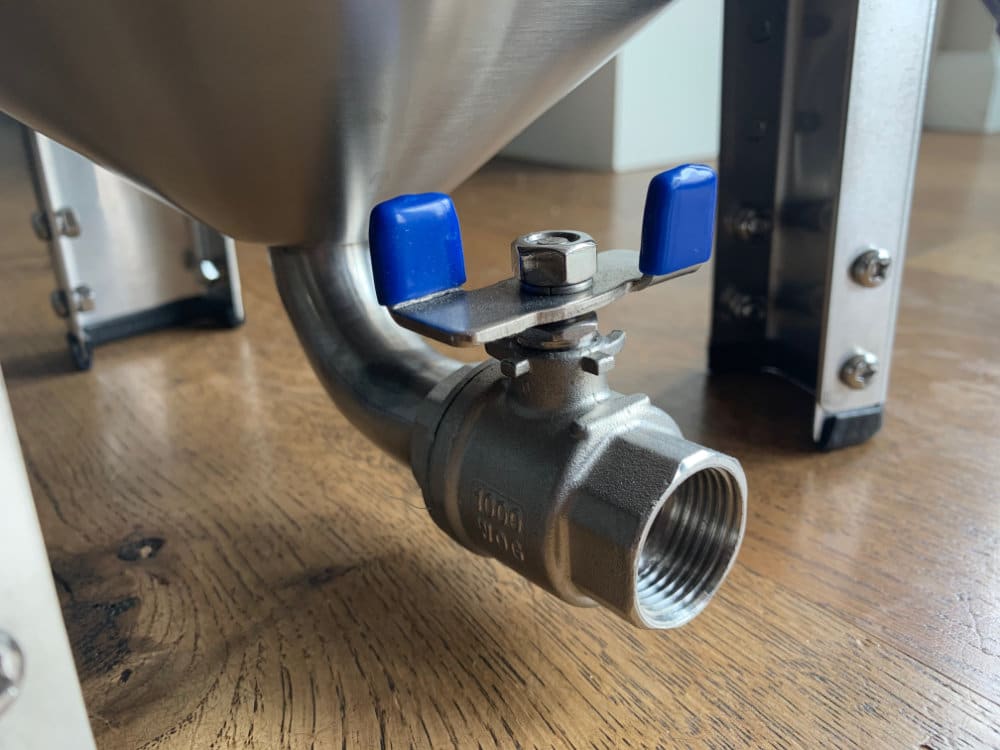
At the very bottom of the fermenter is the clean out port. The bent tube is welded to the bottom of the fermenter. The ball valve was already attached when I got the tank, and accepts a 3/4″ female thread. The ball valve was very tight, and took two hands to open/close. This may change as the tank gets more use, but it is very tight and shouldn’t give you any leakage issues.
The welds all appear to be clean, well ground down and do not appear to have any pits to the naked eye. Pits here would be hugely detrimental as they could provide hideouts for infection-causing bacteria.
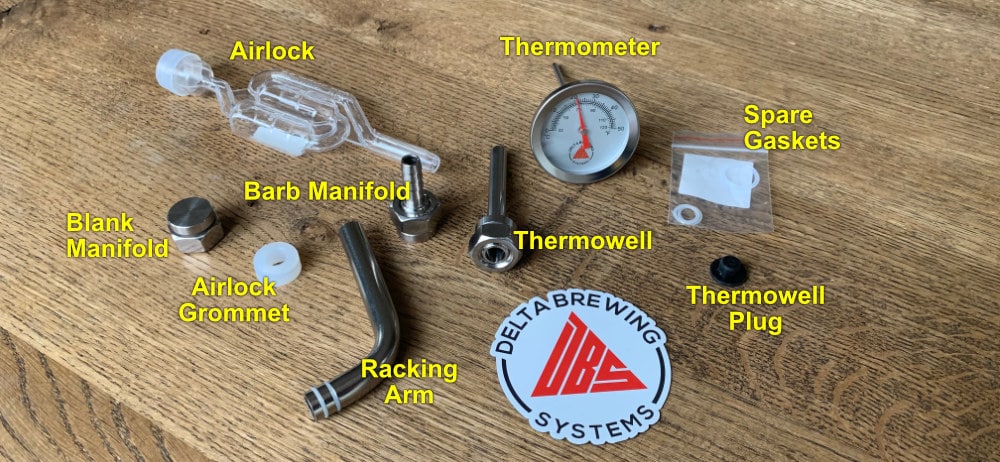
Now we are getting with the accessories that come with the Delta FermTank.
- Blank/Plug Manifold – This is used to plug one of the two 1/2″ lid ports.
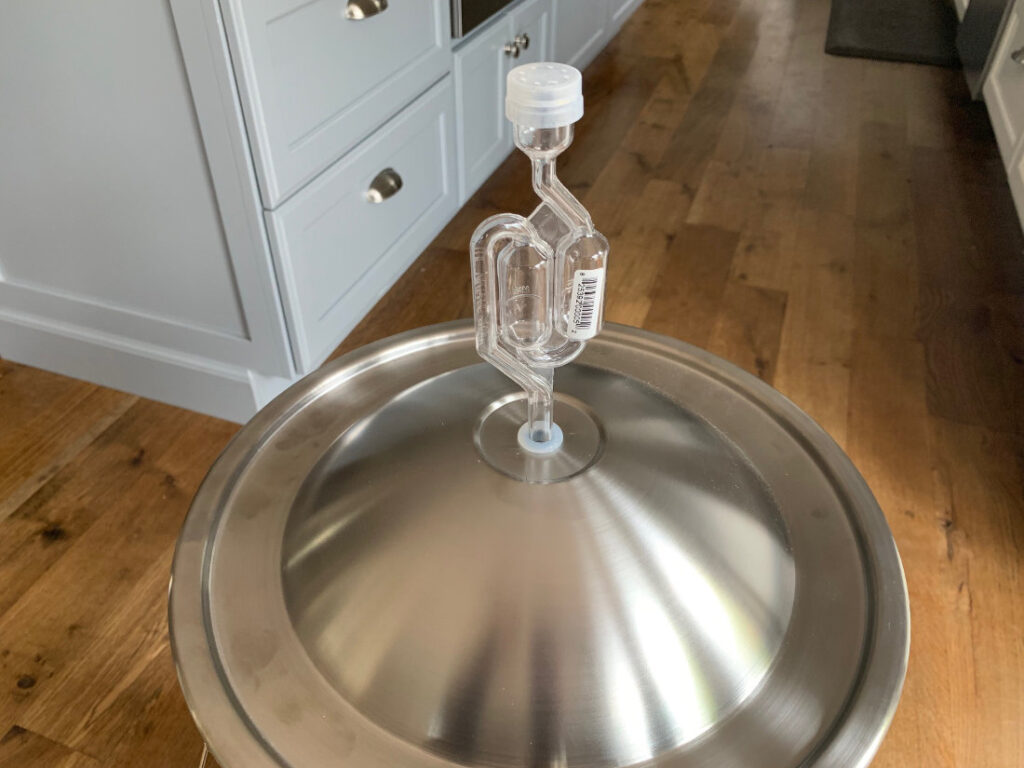
- Airlock and Airlock Grommet – The grommet is heavy silicone. However, when we tested installing the airlock into it on the lid, the grommet pushed through the lid hole too easily. If you take it easy with inserting the airlock, then you should be fine… but be careful.
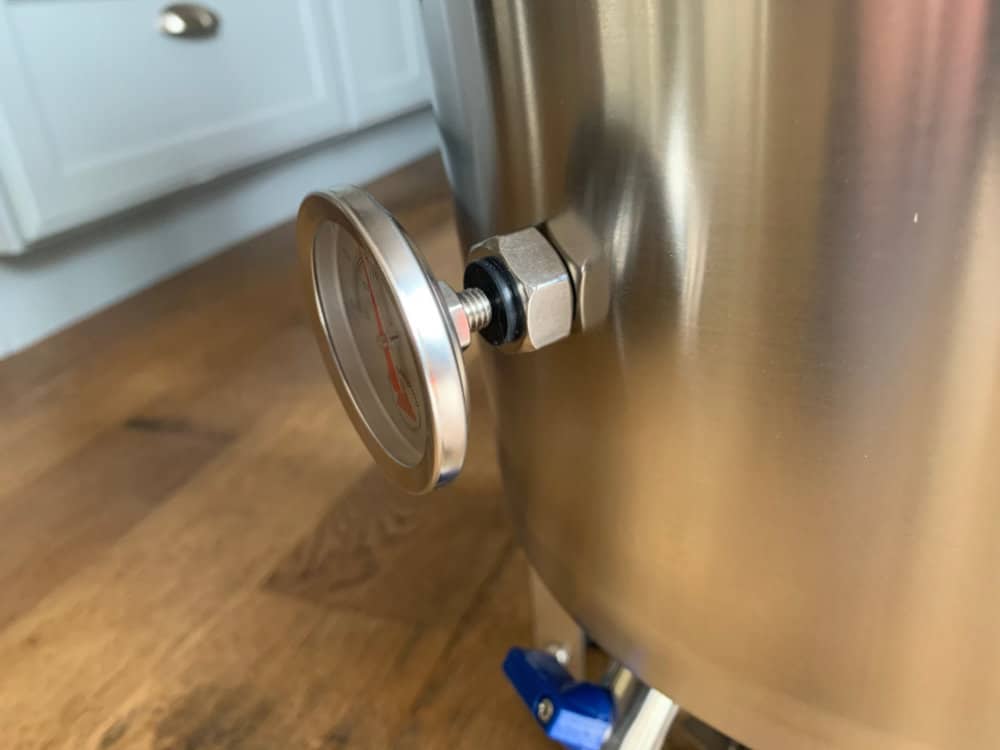
- Thermowell, Analog Thermometer & Plug – A fermenter at this price point with an included Thermowell is a huge bonus. Everything seems to be very good quality, however pushing the thermometer into the plug is a little harrowing. I had to push really hard, and was afraid of bending the thermometer’s rod. You can always replace the thermometer with something digital like an Inkbird for more accurate readings.
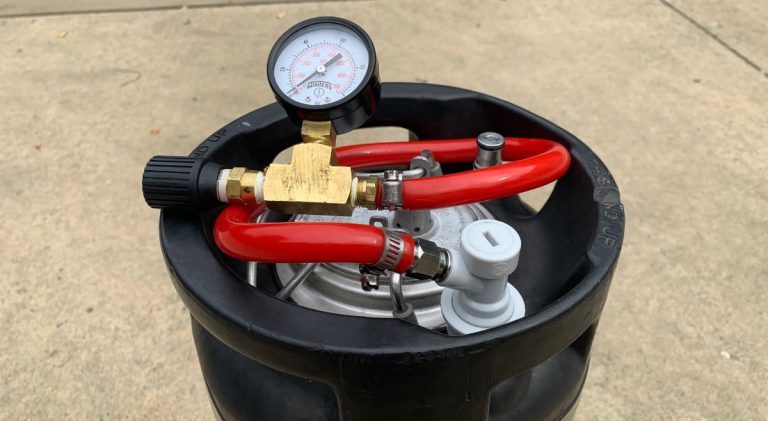
- 3/8″ Barb Manifold – Can be used as a barb to a blow off tube or to connect a tube of CO2 if you are attempting to pressure ferment. However, we built a Pressure Transfer Kit to use here instead.
- Racking Arm – The end with the silicone gaskets pressure fits into the back of the spigot (that was already installed on the tank when I got it).
- Spare Gaskets – We got two small gaskets for the racking arm, and one large gasket for the manifolds.

Delta FermTank Hacks
I have a handful of hacks planned for my Delta FermTank. They will either replace some OEM accessories sold by Delta, or add on functionality that it is currently missing. Here is the complete list (should continue to grow):
