Brewing-in-a-Bag (BIAB): Tips, Tricks and Advantages
Brew-in-a-Bag brewing is very similar to what is commonly labeled “All Grain” brewing, but instead uses a nylon bag in place of the mash and lauter tuns. However, any recipe that calls for “All Grain” can easily be used in a BIAB setup assuming you have the right equipment.
Advantages of BIAB over “All Grain”
When compared to HLT (Hot Liquor Tank) brewing, there is less equipment needed to brew with a bag, which means there is less to clean, less to store and theoretically, should be cheaper. That last one can be a little tricky as some All-in-one BIAB – called eBIAB – systems can cost a pretty penny.
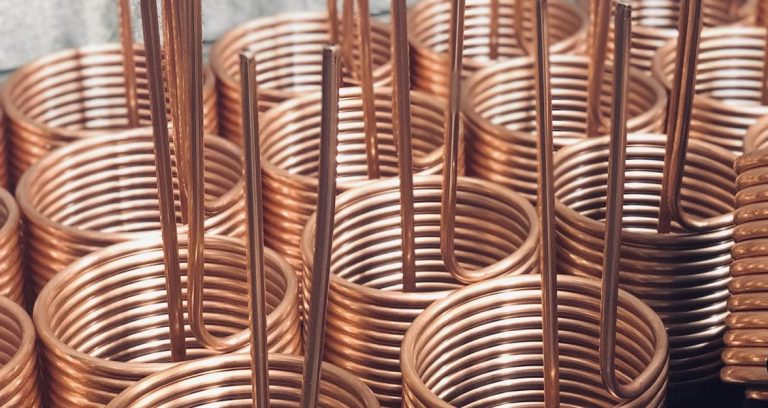
The advantages of cleaning and storing less will always hold true though. No pumps, coolers or multiple kettles to clean. Cleaning up after my BIAB brew day is never too difficult anyway as I use the water runoff from my immersion chiller to clean my equipment. Sometimes I just use the hot water, and sometimes I add a little PBW cleaner if the mess is stuck on pretty good.
However, at the core, BIAB uses All Grain recipes, but simply mashes the grains in a nylon bag inside your kettle instead of using a mash tun (a cooler) and a lauter tun (hot water in a second kettle) that feeds the mash tun. I do not make any changes to an All Grain recipe that I find when I plan on doing it with my BIAB setup.
If you happen to be lucky enough to own an all-in-one BIAB system like the Anvil Foundry or the Grainfather, you have the added advantage of being able to have a professional brew day from inside your home (if you want to of course). These electric models remove the need to have a high-powered propane burner setup outside. These types of systems allow you to brew no matter what the climate is outside.
Smaller batches using the BIAB method can easily be done inside – even inside a small London apartment, as our friend Faith has been documenting recently.
Tips & Tricks to a Successful BIAB Brew Day
- Double Crush Grains – I buy a lot of my grains online, and companies like AtlanticBrewSupply.com will double crush my grains, unlike Northern Brewer. I don’t have access to any close local home brew stores, so I can’t get my grain very easily unless I purchase online. ABS will also allow you to purchase your grains in increments less than a pound, so that is another great advantage to using them over MoreBeer or NortherBrewer.
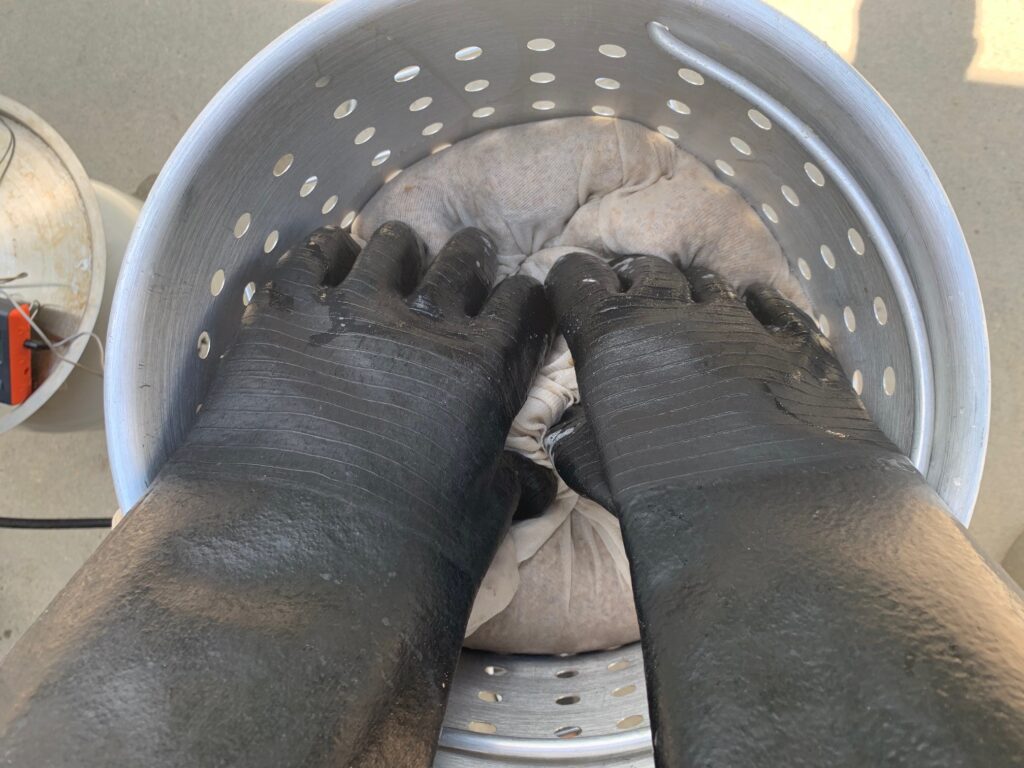
No matter if you buy it double crushed, or you crush the grains yourself, the finer the crush, the better the sugar extraction. This is the case with BIAB, but not with HLT systems as finely crushed grains will lead to clogged filters and stuck sparges. - Squeeze The Bag – Originally there was a strong contingent among homebrewers that by squeezing the bag, you were extracting astringent tannins that were going to ruin your beer. Since that concern was first raises, many BIAB homebrewers have disproven this idea – including myself. I squeeze the hell out of that bag, and I have not once had any odd astringent taste come of it.
- Agitate the Mash – Stir those grains, and stir them often. When you think you’ve stirred enough stir some more. This is especially important when you have a grist containing a lot of flaked grains.
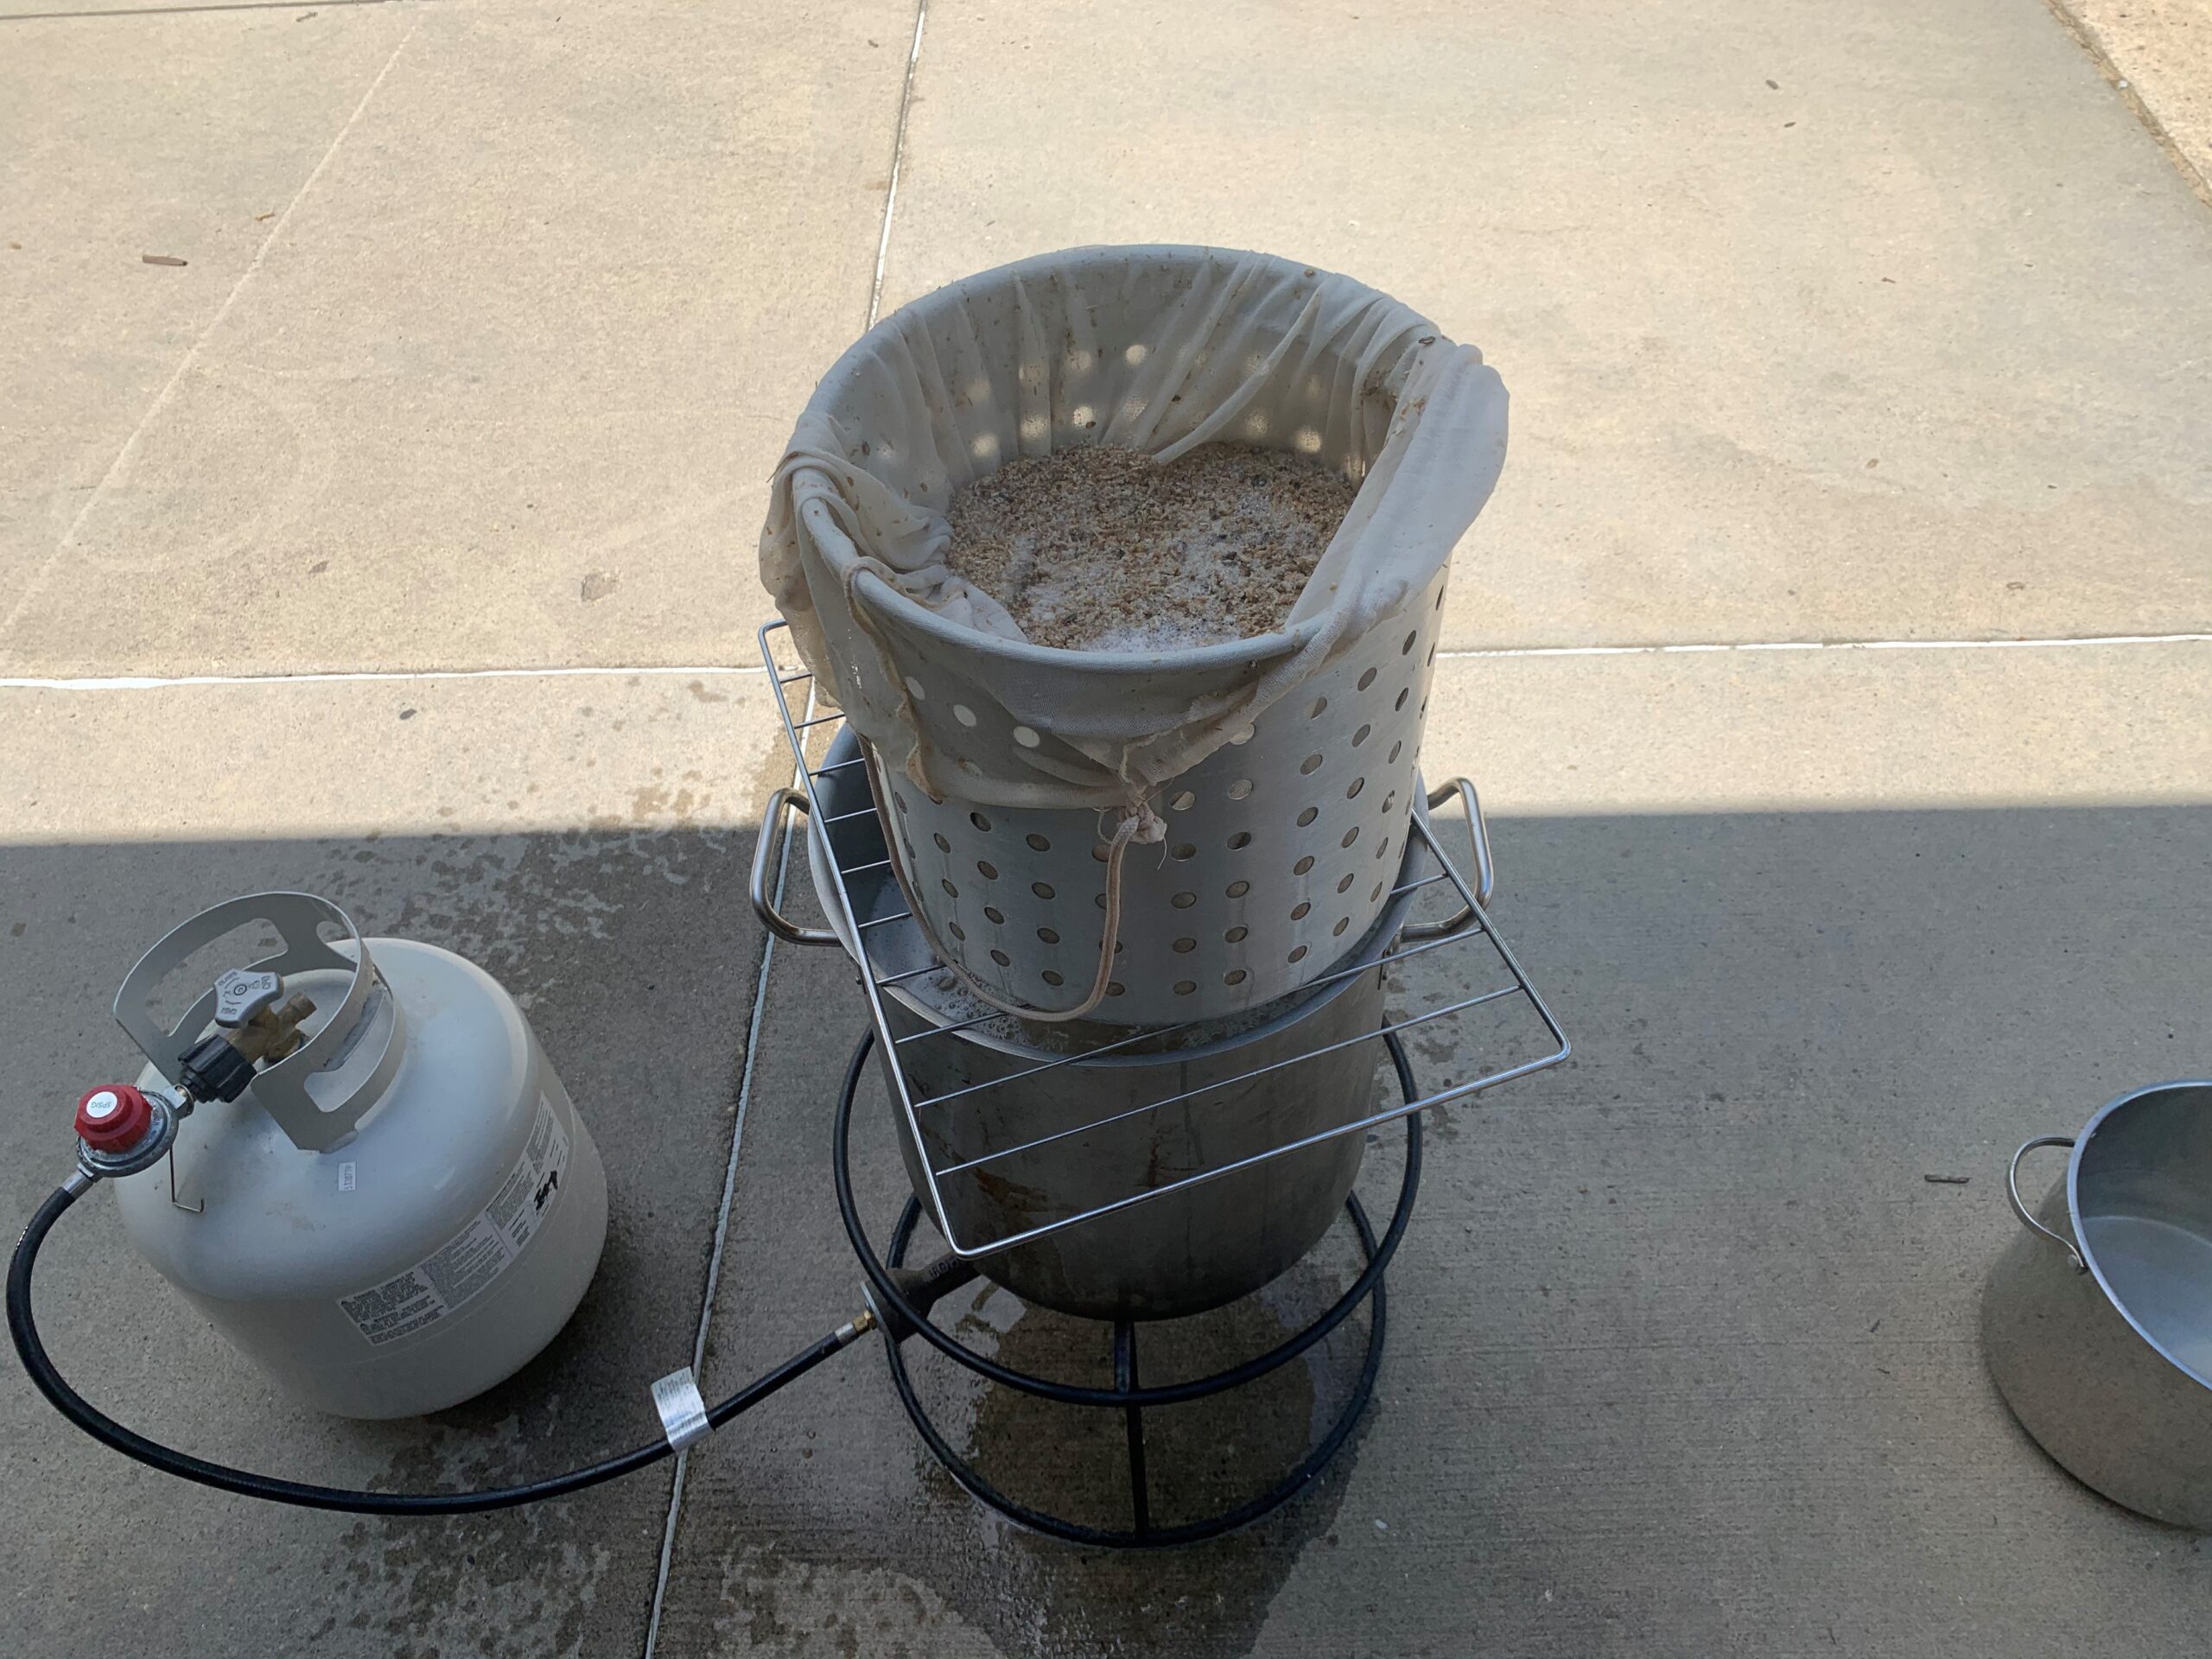
When using an HLT system, agitating the mash is a big no-no as you don’t want to get beset with a stuck sparge. Those will ruin your brew day and cause your mash tun to not fully run clear. However, with a BIAB system, we don’t have a traditional sparge system, so agitate the heck out of that grain to get as much sugar out as possible. Some may complain that agitating the grains will cloud the final product, but a little cold crashing or fining agents will usually fix that right up. - Steep & Sparge with Smaller Setups – I have an 8 gallon kettle that I do 5 gallon batches in. While this may not be the size of pot that I would have liked to have for this (10 gallon would have been much better), I can still make it work. I steep the bag of grains in about 6 gallons of water, then put the bag inside a fry basket and sparge the remaining water (usually 2 gallons) directly into the top the bag. I don’t worry about not disturbing the grains either. I can regularly get high-70 to mid-80% efficiency with this process.
- Mash for Longer – I sometimes mash overnight (8-12 hours generally) and routinely see conversion in the mid to upper 90’s. You can also extend your mash time to make sure the water fully penetrates the larger grain particles and solubilizes the starches so they can be converted to sugars.
- Mind the pH – Making sure your mash pH is within 5.2 to 5.8 will ensure good activity of the enzymes which reduce the starches to sugars. Outside this range, conversion will still happen, but at a slower rate.
- Raise Mash Temperature at End of Rest – Raise the temperature to 170°F for 10 minutes or so. This will help any residual sugars release from the grains that are stuck due to the temperature in your grain bed dropping over time. Don’t worry about your grain bag – it is nylon and it won’t melt until it reaches 515.9°F… so you’ll be fine.
- Bonus tip: Learn How to Care for your Nylon Bag
Limitations of using a BIAB Setup
Efficiency can be difficult to dial in at first. Until you get the hang of how high to get the strike temperature of your mash water at, or how much water to steep in or sparge with, your efficiency may be bad. My first BIAB brew came in at 59% efficient. This will come with time and practice, but you may have some low ABV beers to start out with at first.
Speaking of grain efficiency, it is very difficult to create high gravity beers on a BIAB system. For 5 gallon brews at 6.5% alcohol or so, BIAB is way less work, and efficiency becomes less of a concern. Any beer higher than that like a Double IPA or a Barleywine may be a little difficult. Three vessel HLT systems can just make higher OG wort.
This is because the amount of grain can be significantly more than your system allows or that without sparging you end up leaving a lot of the sugar behind in the grain bag – even with squeezing.
If you happen to have an all-in-one eBIAB system, another drawback is the limitation of power if you don’t have access to 240v. The heating of the water to a boil will take longer and the boil intensity won’t be as great either.
