Bottle Labeling Options for Homebrewed Beer
When you first started brewing beer, your only option for storage after it was done was likely to be bottling. Bottling is messy, takes a ton of time and those bottles… oh so many bottles.
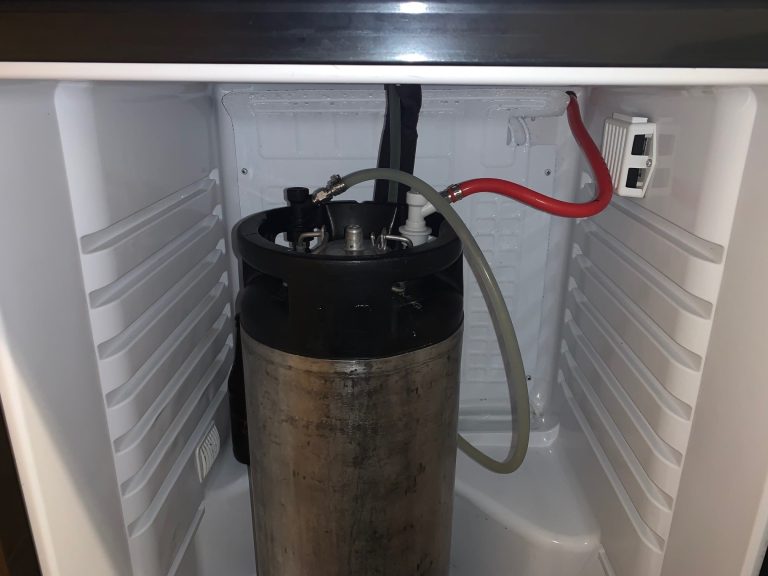
Now, I agree that any serious homebrewer will eventually switch to a kegging setup. But there will still be brews you make that are simply better after a lengthy bottle conditioning. For example, any Barleywine or Imperial Stout should probably be bottled. My latest bottled creation was my clone of the fantastic Stone Xoceveza Mocha Stout. Sometimes you just need to bottle to get it right.
Picking the Right Bottles
If you were like me, you probably drank a couple cases of bottled craft beer just for the bottles. Not the beer, just the bottles. Right.
If you are just starting out, then go get a case or two of bottled beer. Just make sure the beer is of craft origin (we need to support the small guys!) and that the caps are NOT twist-off. Unfortunately, the beer’s packaging will not tell you if the caps are twist- or pop-off, so you are going to have to do some research, like buying a 6 pack to “test”, or on the internet.
Note: You'll need approximately 50 (a little over 2 cases) of 12 ounce bottles for a full 5 gallon batch.
For my two cents, just as long as it is not something like Miller Lite, Coors Light, Corona, Busch, Bud or any others of their ilk… you’ll probably be fine. I know for sure that Lagunitas, Founders, New Belgium, Troegs, and Dogfish Head are brands that use pop off bottles. So there is your head start.
Now, go out and get a couple cases and start drinking.
Removing the Factory Labels
Some labels suck to get off, while others are the complete opposite. In my experience, there are mainly two types of labels: Plastic-based and Paper.
No matter the label type, I start off with cleaned bottles (i.e. no leftover beer) thrown in a Rubbermaid container with a couple scoops of scent-free Oxiclean. I happened to use the Dollar General knock-off, and it worked just as good.
I let all the bottles soak overnight. Within 24 hours, you will likely see a handful of labels floating on top. If there are any paper labels still stuck to the bottles, use a razor-filled window tool to scrape off the rest. Any bottle that has had its label peeled or scraped off just needs a final quick scrub with a blue Scotch pad to remove the glue. Rinse the bottle off, and these are done.
If you’re an unlucky soul that chose beer with plastic labels, your road to clean bottles is much, much harder. These suckers are extremely difficult to remove. No amount of soaking is going to help, so your only real option is to scrape until all the glue is off.
Important Note: Check each bottle as its “finished” to ensure there are no leftover label pieces stuck to the inside. The last thing you want is one of your homebrewed beers to be mixed with some label floaters.
Labeling Your Home Brew
Option #1: Printer Labels
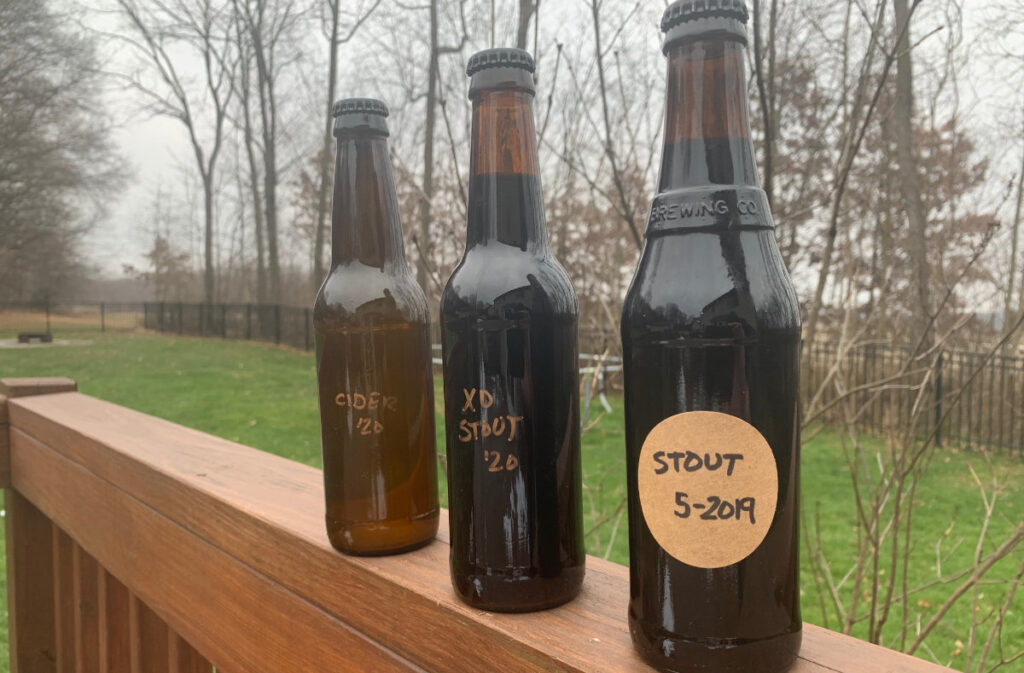
My first batch of beer was bottled with printed labels that I designed and printed using bottle-specific labels. While this looked OK, it unfortunately forced me to go through the soaking-and-scraping step again. I hate that step – so this was the last time for printed labels.
Option #2: Round Sticky Labels
For my next batch, I decided to use smaller stick-on labels. These were much a much cheaper option and I hoped that they would look just as good, but be way easier to soak off. While these paper labels had less surface area that required scraping, it was still ultimately too much work. Bottling is not a fun process as-is… and there was no need to make it more of a chore.
Option #3 (preferred): Sharpies!
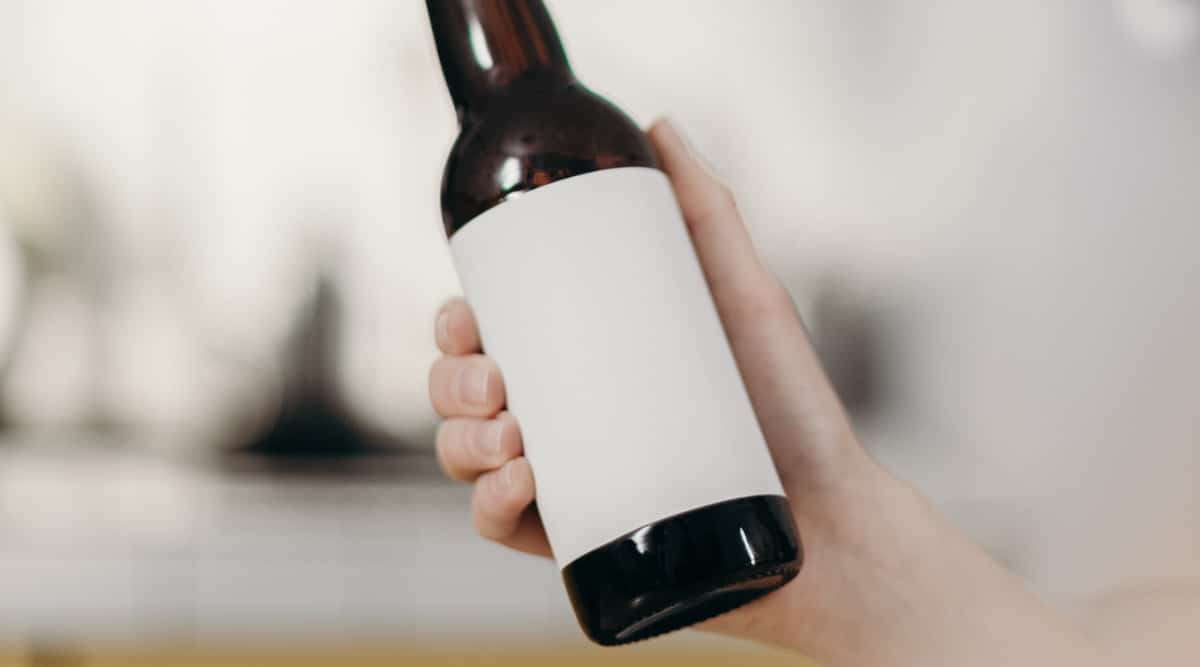
I have since settled on my favorite method: Metallic Sharpies. The metallic color stands out against the dark brown bottles, and comes off easily with a Magic Eraser pad.
I have stuck with this method for over a year now, and I will not be going back. It’s so simple that I’m kind of upset that I didn’t think of it earlier. I can relabel a full 5 gallon batch in about 10 minutes.
